Scrivener's revision mode lets you keep track of edits as you work from draft to manuscript.
How to Use Revision Mode to Edit Your Scrivener Projects
The first draft of any piece of writing is just that: a draft. It takes revision and editing to shape it into a final work. For some authors, the revision process might not be too extensive, but for others, who rework their draft over and over, the process can be quite complex. While you may simply want to make changes to your project without leaving traces, some authors like to make edits in a way that they can see their changes, and perhaps revert to previous versions.
Scrivener's Revision Mode is designed for these writers. You can have Scrivener automatically change the color of new and deleted texts in your project, and you can use five revision levels to record multiple edit passes. And snapshots, which allow you to keep previous versions of the files in your Binder, let you go back to older versions of your texts if you want to revert your edits.
In this article, I'm going to tell you about these tools that help you get from the first draft to final manuscript.
How Scrivener's revision mode works
Scrivener's revision mode is not like tracked changes in some word processors; it merely changes the color of new text, and allows you to apply strikethrough formatting to existing text that you want to delete, yet leave in the project. Here's a close-up view of some revisions in a project. Three revision modes have been used.
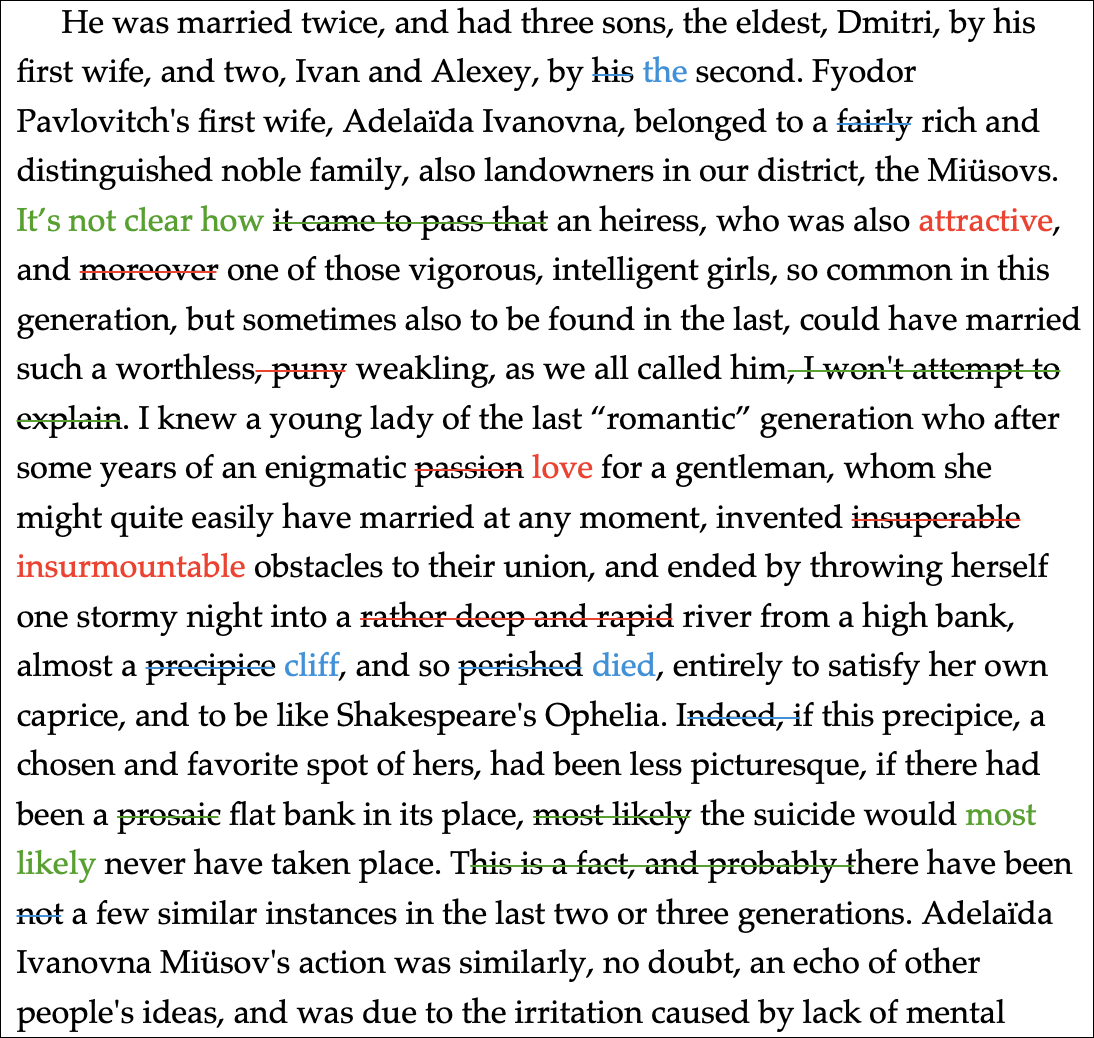
While this looks a bit like change tracking in a word processor, you don't accept or reject changes in a Scrivener project; you merely delete what you don't want to keep, then remove the revision formatting colors when you are finished.
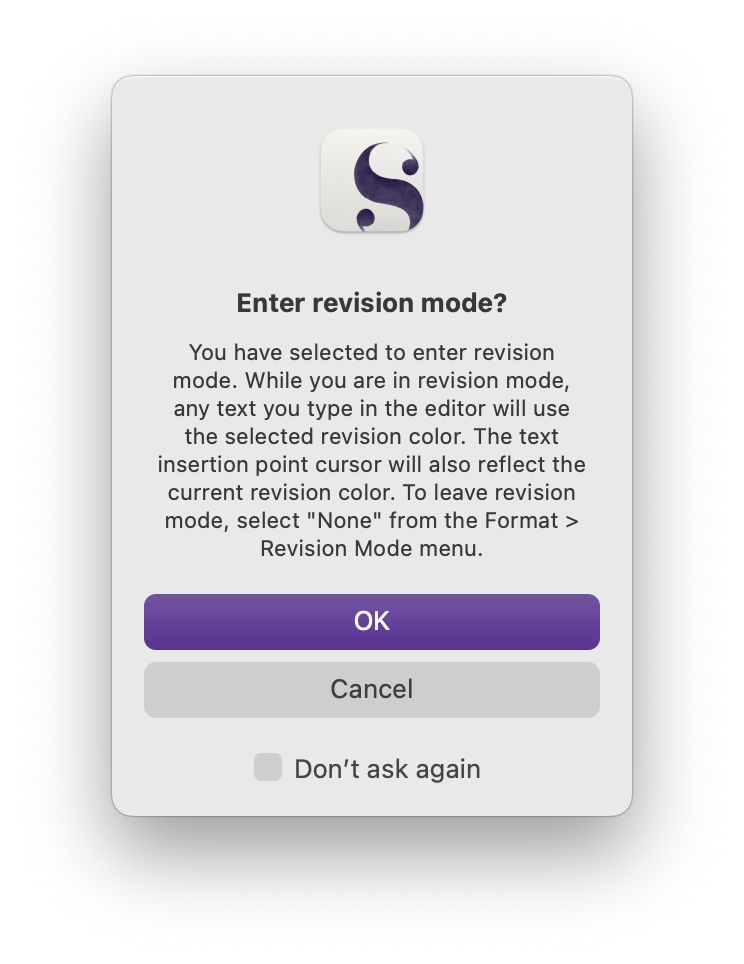
To turn on revision mode, choose Format > Revision Mode, then choose a revision level. You'll see this dialog when you enable this feature.
As you type new text, it appears in the revision mode color. If you want to delete existing text, the delete key removes it; however, you may want to mark text as deleted, yet not remove it from the project, so you can go revert your edits at sometime in the future. To do this, apply strikethrough formatting to the text, you want to mark. Select the text you want to delete and choose Format > Font > Strikethrough, or press Command-Shift-_ (Mac) or Ctrl+/ (Windows). In the first screenshot above, you can see a number of words with strikethrough formatting.
When revision mode is turned on, any unformatted text that you paste into the editor appears in the current revision color. To paste formatted text and have it inherit the revision color, and the current text style in the Editor, use Edit > Paste and Match Style.
You may also want to edit text, then mark it when you've finished, but not retain deleted words or granular edits. To do this, turn off revision mode, make edits to your text, such as to a paragraph, turn on revision mode, select the edited text, and choose Format > Revision Mode > Mark Revised. This applies the current revision color to all the selected text.
Note that when you use multiple revision levels, all new changes inherit the currently selected revision level, so you may have edits in first revision level that are superseded by revision level two edits, unless you scrupulously mark deleted text with strikethrough formatting.
To turn off revision mode, choose Format > Revision Mode > None.
Use snapshots to manage revisions
Revision mode lets you mark new text and deleted text, allowing you to later finalize your project. But at each step of the way, you might want to ensure that you don't lose anything. You can use Scrivener snapshots for this. A snapshot is a copy of a text at a given time, which is saved in your project. You can take snapshots, and compare them to revised versions of any files in your project, but also use them as back ups. To learn how to use snapshots, see Use Snapshots in Scrivener to Save Versions of Your Projects. Comparing an edited version of a text to a snapshot displays text in a way similar to revision mode, so working with snapshots could be another way to revise your projects.
Removing revision marks
After you have reviewed an edit pass, you may wish to remove revision marks. There are two ways to do this. If you wish to remove revision marks from a small section of text, select that text, then choose Format > Revision Mode > Remove Revisions. Note that this will remove the color from any text you have added, and text that you have formatted in strikethrough, but the strikethrough formatting will remain in black. You can remove this by selecting all your text, then choosing Edit > Text Tidying > Delete Struck-Through Text.
Revision mode settings
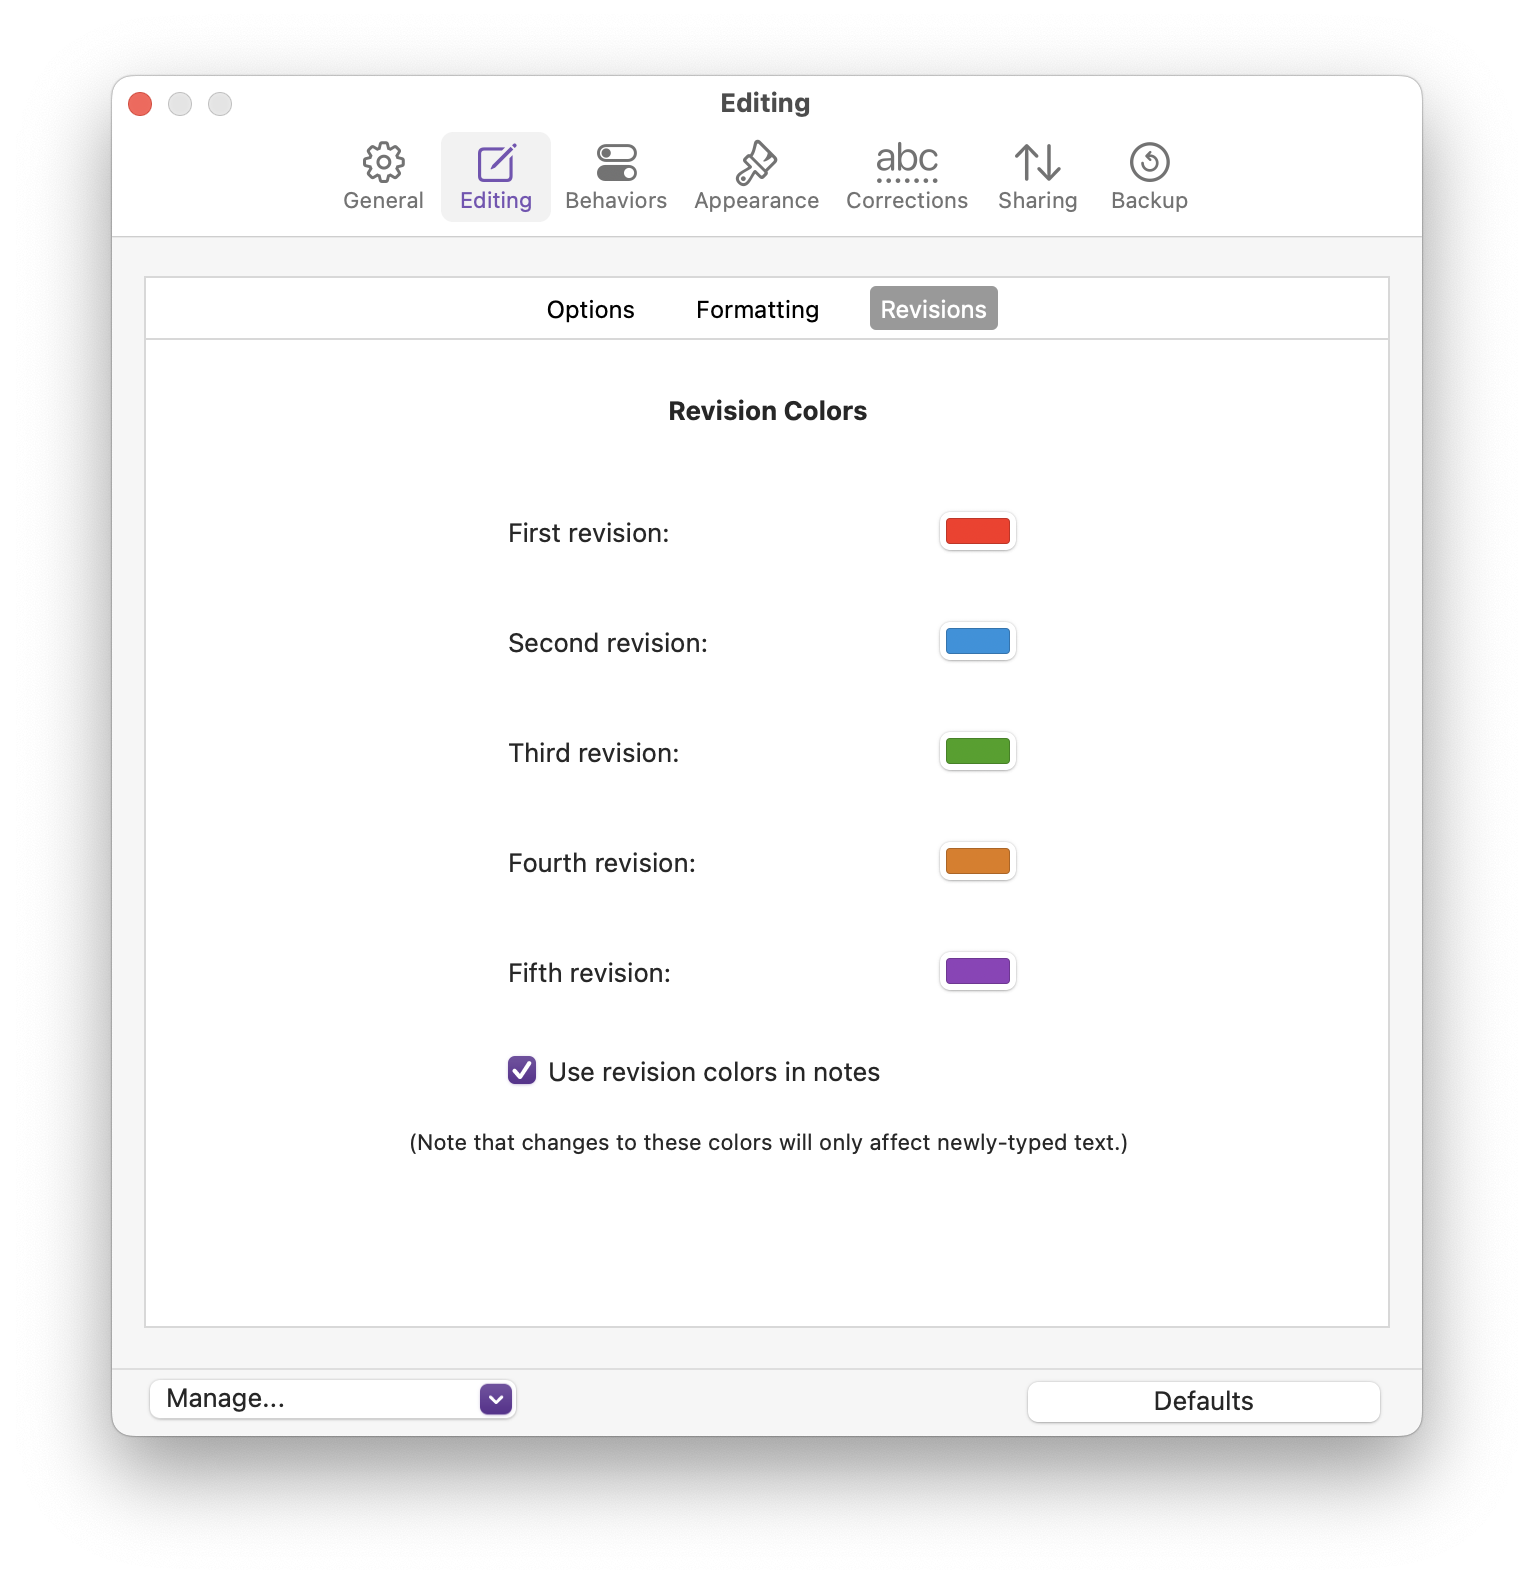
By default, Scrivener uses these colors for revision modes:
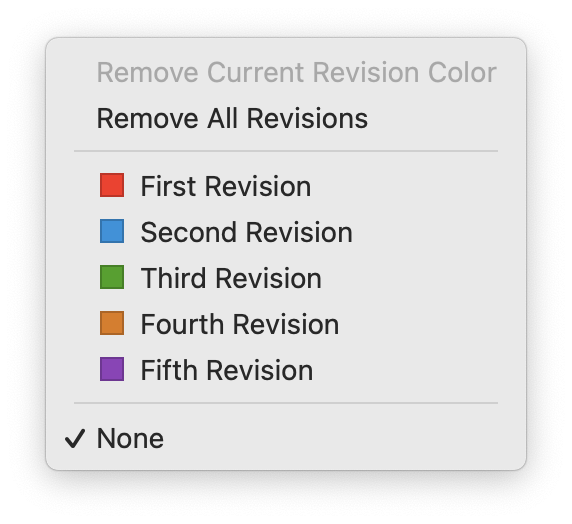
You can change these if you wish in Scrivener's settings. Go to Scrivener > Settings (Mac) or File > Options (Windows), then click Editing in the sidebar, then the Revisions tab. Click any of the colors you wish to change and select a new color.
For more on revision mode, see chapter 18.6 of the Scrivener manual.
If you like to keep track of your edits as you work on revising your work, take advantage of revision mode. It's a great way to see what you've changed, and eventually go back to something you had considered deleting.
Kirk McElhearn is a writer, podcaster, and photographer. He is the author of Take Control of Scrivener, and host of the podcast Write Now with Scrivener.