If you need to keep track of what needs writing, re-writing or editing, there are three ways to mark the status of items in your Scrivener project, which you can view in the Binder, Corkboard, Outliner, and Inspector.
Three Ways to Mark the Status of Items in Your Scrivener Project
Three Ways to Mark the Status of Items in Your Scrivener Project
There are three ways to mark the status of items in your Scrivener project, which you can view in the Binder, Corkboard, Outliner, and Inspector.
As you make progress on your writing project, you’ll have chapters and scenes in your Binder in different states. Some may be sketches, others may be drafts. You may have some items that need revision and others that are in their final state. It can be helpful to mark items in your Binder for their status. Scrivener offers three ways to do this: using custom icons, labels, and status metadata.
Why mark the status of items in your project?
As you work on your project, you may not write in a linear fashion, from beginning to end. One of the key features of Scrivener is the ability to write any section of a project at any time: you can start in the middle, flesh out the ending, and then write the beginning if you want.
But you need to know which scenes and chapters you’ve completed, which are just sketches, and which require rewrites. It’s especially helpful to be able to see this at a glance so you know the state of your project at any time.
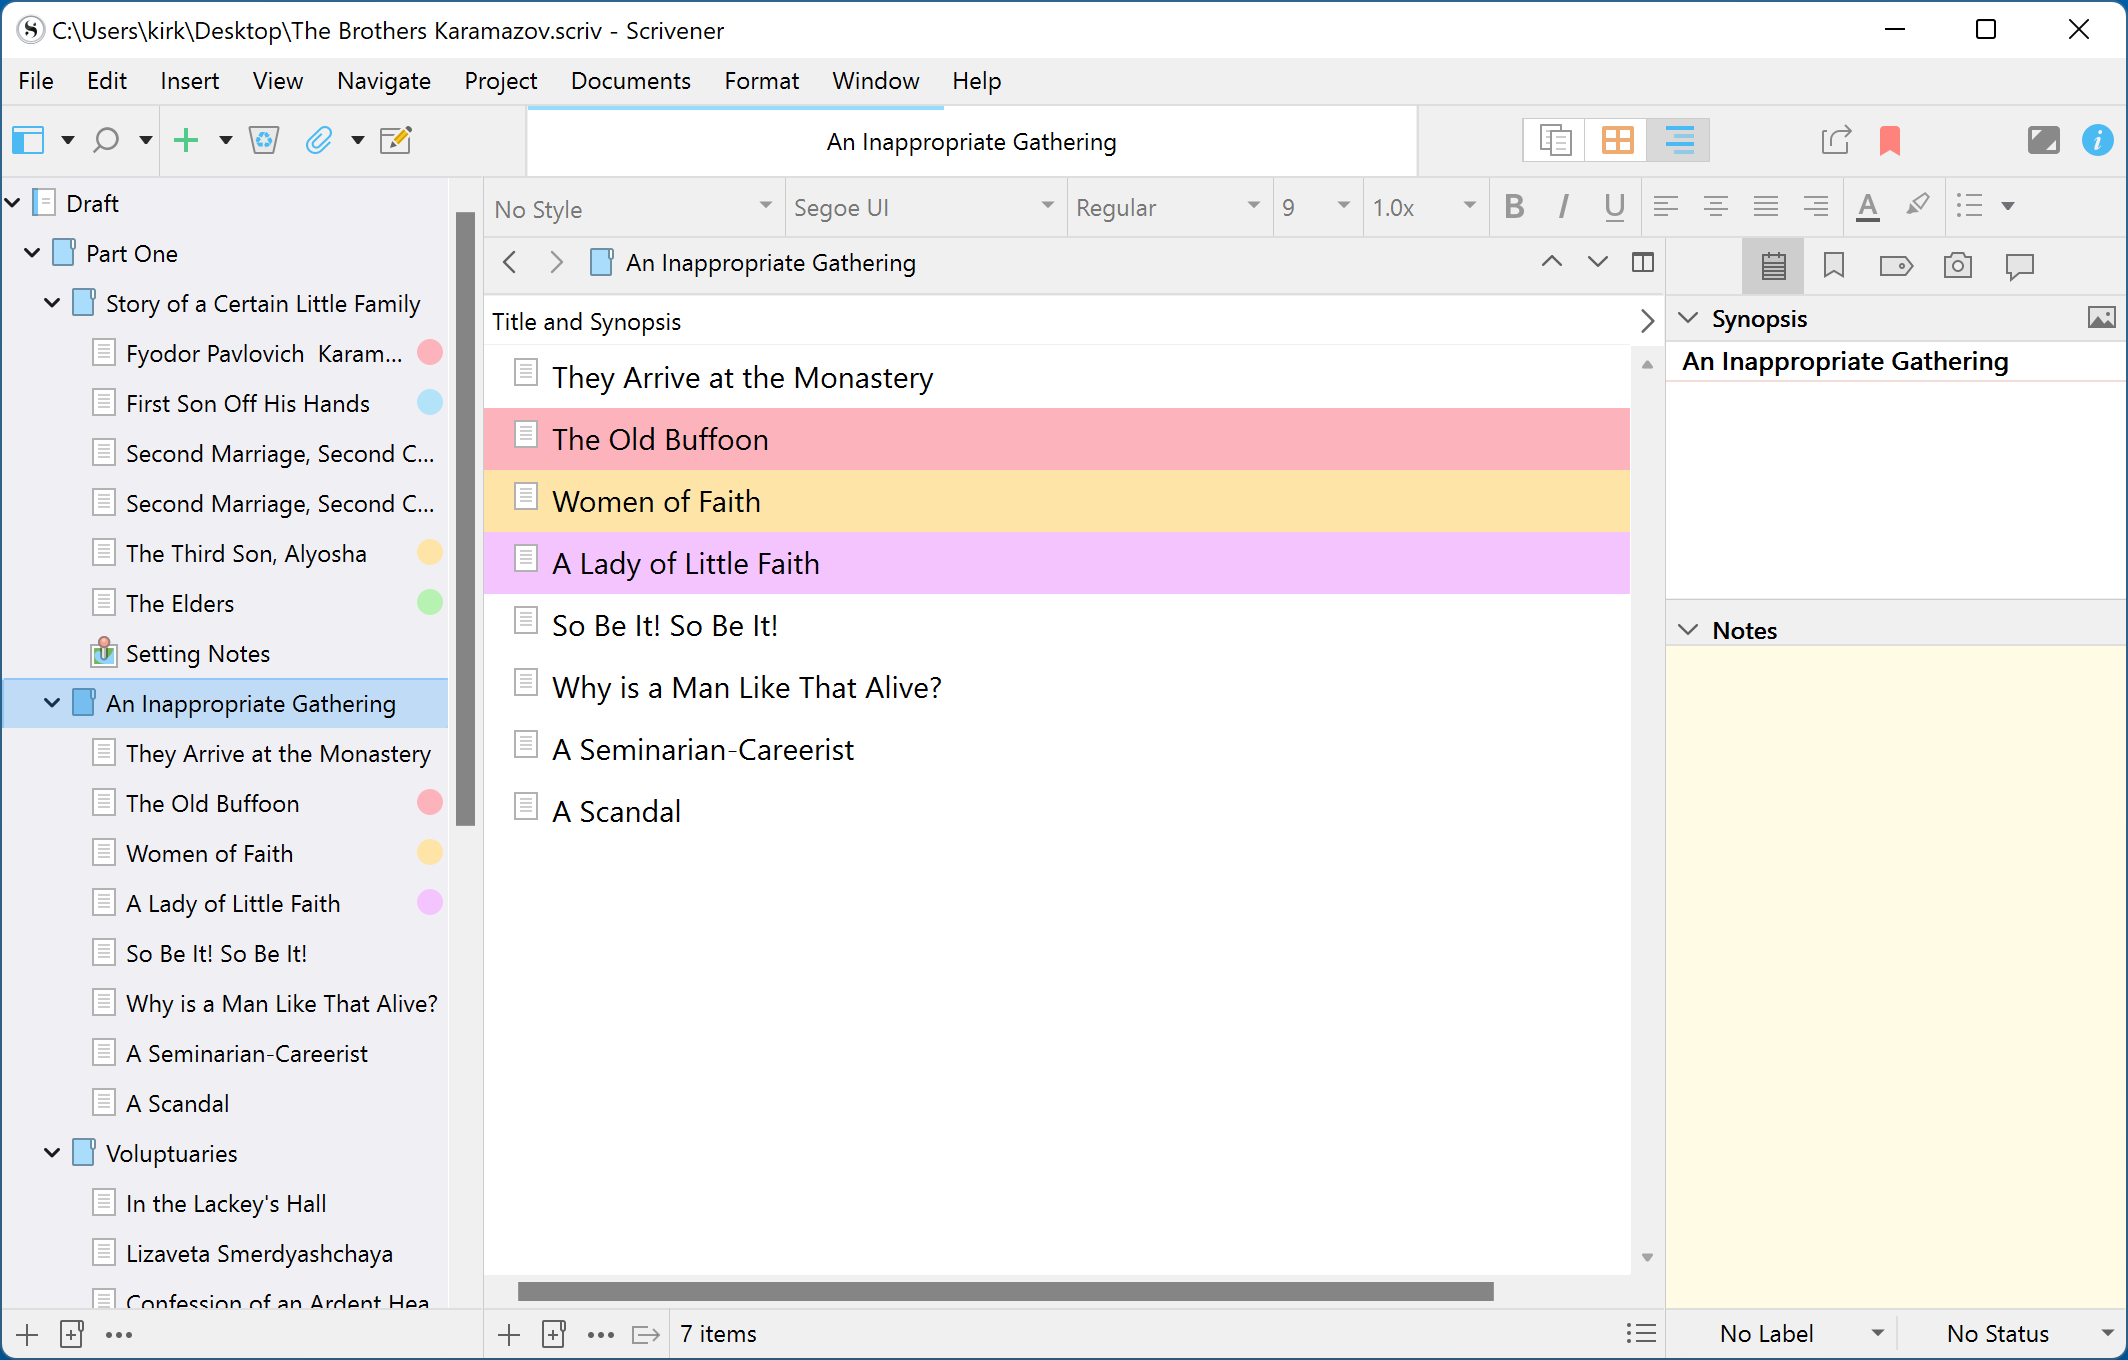
Depending on how you mark items, you can keep an eye on the status of them in multiple views. You can view some of these status marks in the Binder (icons and labels), in the Corkboard (icons, labels, and status), in the Outliner (icons, labels, and status), and in the Inspector (labels and status).
Icons
One way to mark items is to use icons. Instead of the usual text file icon, you can choose icons that can serve as reminders of what is happening in a scene or chapter, but also as status markers. Available icons include images like different colored flags, books, and notepad icons, checked and unchecked checkboxes, and various items such as a calendar, light bulb, speech bubble, and warning icon. These icons display in the Binder, Corkboard, and Outline.
To change icons for items in your project, select an item in the Binder, then choose Documents > Change Icon, or right-click on an item and choose Change Icon; the Change Icon menu item is near the bottom of the menu that displays when you do either of these.
If you use colored icons to mark the status of items in the Binder, you can change them when their status changes. If you use, say, colored flags, you could have red for your first draft, yellow for revised texts, and green for finalized items. Or you could just use colored icons to mark those sections that you need to rework. You can even add custom icons from photos or emoji. See Personalize the Scrivener Binder with Custom Icons to learn how to do this.
Labels
You can use labels to tag files and folders, and they display in the Binder, the Corkboard, and in the Outline, as well as at the bottom of the Inspector. Some people use labels to indicate scenes or chapters with different point-of-view characters; others to show present time and flashbacks; or you could use them to indicate different settings. You could also use labels to indicate how much work is done or needed on a scene or chapter: for example, red to indicate an early draft, yellow for a draft that’s been revised, or green for a final draft.
You can apply labels by selecting one or more items, right-clicking, choosing Label, then selecting a label. You can also apply labels for selected items by clicking the Label menu at the bottom of the Inspector.
You can choose where labels display by choosing View > Label Color In; this submenu gives you options to display labels in the Binder, in Binder Icons, in Index Cards on the Corkboard, in Outliner Rows, and in Scrivenings titles.
By default, you can choose from a number of colored labels, named for their colors. But you can create custom labels, with any name you want, and with colors that you choose. If you choose Project > Project Settings, and then click Labels, you can change the names of the default labels. If you click +, you can add your own labels, and if you double-click a label, you can rename it.
Read 5 Tips for Using Labels in Scrivener for more on how to use labels.
Status
Status is an element of metadata available in the Inspector. Think of Status as a comment on an item in your project. You apply Status from the Status menu at the bottom of the Inspector; Status is text only, there are no colors for Status.
The default Statuses include To Do, In Progress, First Draft, and more. You can view the Status of items in the Inspector, in the Outliner by choosing the Status columns (right-click in the header of the Outliner and choose Status), and on the Corkboard (choose View > Corkboard Options > Show Status Stamps to have Status displayed as a stamp on your index cards).
Status is also useful when you create snapshots; snapshot names include Status in parentheses, so you can tell what the Status of each item was when you created the snapshot.
You can also create custom Statuses. Click the Status menu at the bottom of the Inspector, then choose Edit.
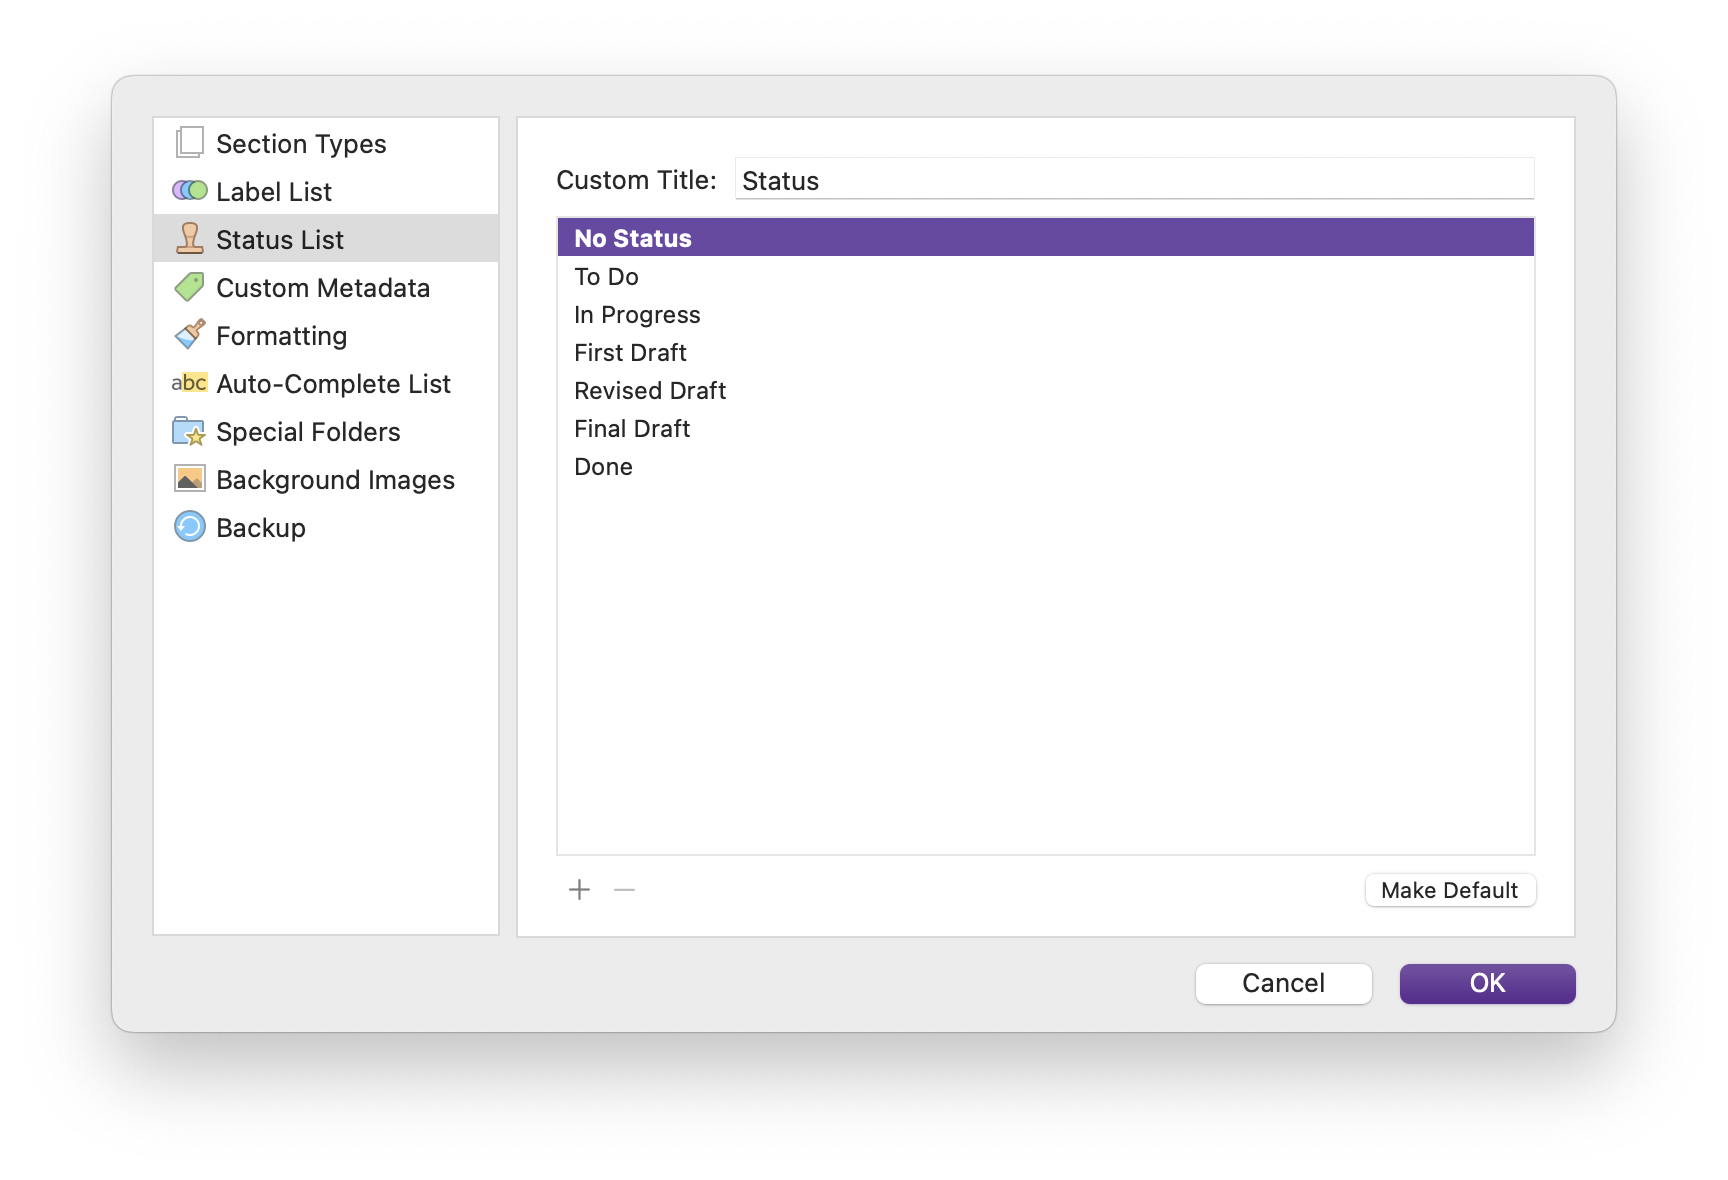
You can change the name of any Status by double-clicking it and typing a new name. You can choose which Status should be the default by selecting a Status, and then clicking Make Default. And you can create custom Statuses by clicking + and adding whatever you want.
Your Scrivener project is more than just the words that you write; it’s a tool that helps you manage all the moving parts of the project, and icons, labels, and status markers are ways of helping you work more efficiently.
Kirk McElhearn is a writer, podcaster, and photographer. He is the author of Take Control of Scrivener, and host of the podcast Write Now with Scrivener.