You can create a Scrivener project to use a second brain, a repository of information that you can search easily.
How to Create a Scrivener Project to Use As Your Second Brain
In addition to being a powerful, flexible tool for writing long-form documents, Scrivener is a great app for storing information. The dedicated Research folder in the Binder of Scrivener projects is designed for writers who want to have research materials and other information handy when working on a project.
You're not limited to storing additional content in the Research folder; you can store information and files in other folders as well. You can even create a Scrivener project to store all sorts of information and to serve as your second brain. Here's how to use Scrivener to store all types of information, and access it quickly.
What's a second brain?
You deal with emails, texts, and articles every day, and you attend meetings and seminars, and take classes. Your brain is constantly digesting new information, but forgetting most of it. If you can store much of that information in a single repository, so you can search for it when you need it, you won’t have to try to remember things you don't need to know often.
The idea of the second brain was developed by Tiago Forte, as a "method to organize your digital life and unlock your creative potential." The principle was to create "an external, centralized, digital repository for the things you learn," because "Our brains [...] can only store a few thoughts at any one time. Fundamentally, our brains are for having ideas, not storing them."
This sort of data repository has been around for a long time; many productivity books have been written explaining different methods of dealing with this glut of information, and hundreds of productivity apps offer ways to store information. But if you're a Scrivener user, why not create a Scrivener project as your second brain?
Creating a second brain Scrivener project
If you've used Scrivener, you're familiar with the Binder, the sidebar at the left of the app's window which you populate with files and folders. When writing a book, you may set up folders for chapters and use files for scenes. When creating a second brain project, you can use the folders for anything you want: notes, emails, ideas, PDFs, links, photos, videos, and more. By default, Scrivener suggests that you use the Research folder to store all these items so they don't get in the way of your project, but there's no reason why you couldn't use any folder in the Binder to store information. (One exception is media files; see below.)
Once you've created the project, you can start adding content to it as you find things you want to restore. Much of the content you'll add will be text you've copied from the web, from articles, emails, or documents. For this type of text, you can create new files in any folder in the Binder, or you could just paste the text at the end of one larger file, which may contain a specific type of content, such as emails, articles, or reviews.
Importing content into Scrivener projects
In addition to manually pasting text into your project, Scrivener lets you import a number of file types:
- RTF, or rich text documents
- RTFD, a proprietary Apple rich text format
- DOC and DOCX word files
- ODT, Open Document Text documents
- TXT, plain text documents
- PDFs
- HTML files
- Final Draft files
- Fountain plain text files
- OPML, Outline Processor Markup Language Files
- Files with no extension
For many of these file types, you can just drag them to a folder in the Binder. Exceptions are PDF files and media files, such as audio and video files, which can only reside in the Research folder. However, you can make sub-folders in the Research folder for each of these types of files.
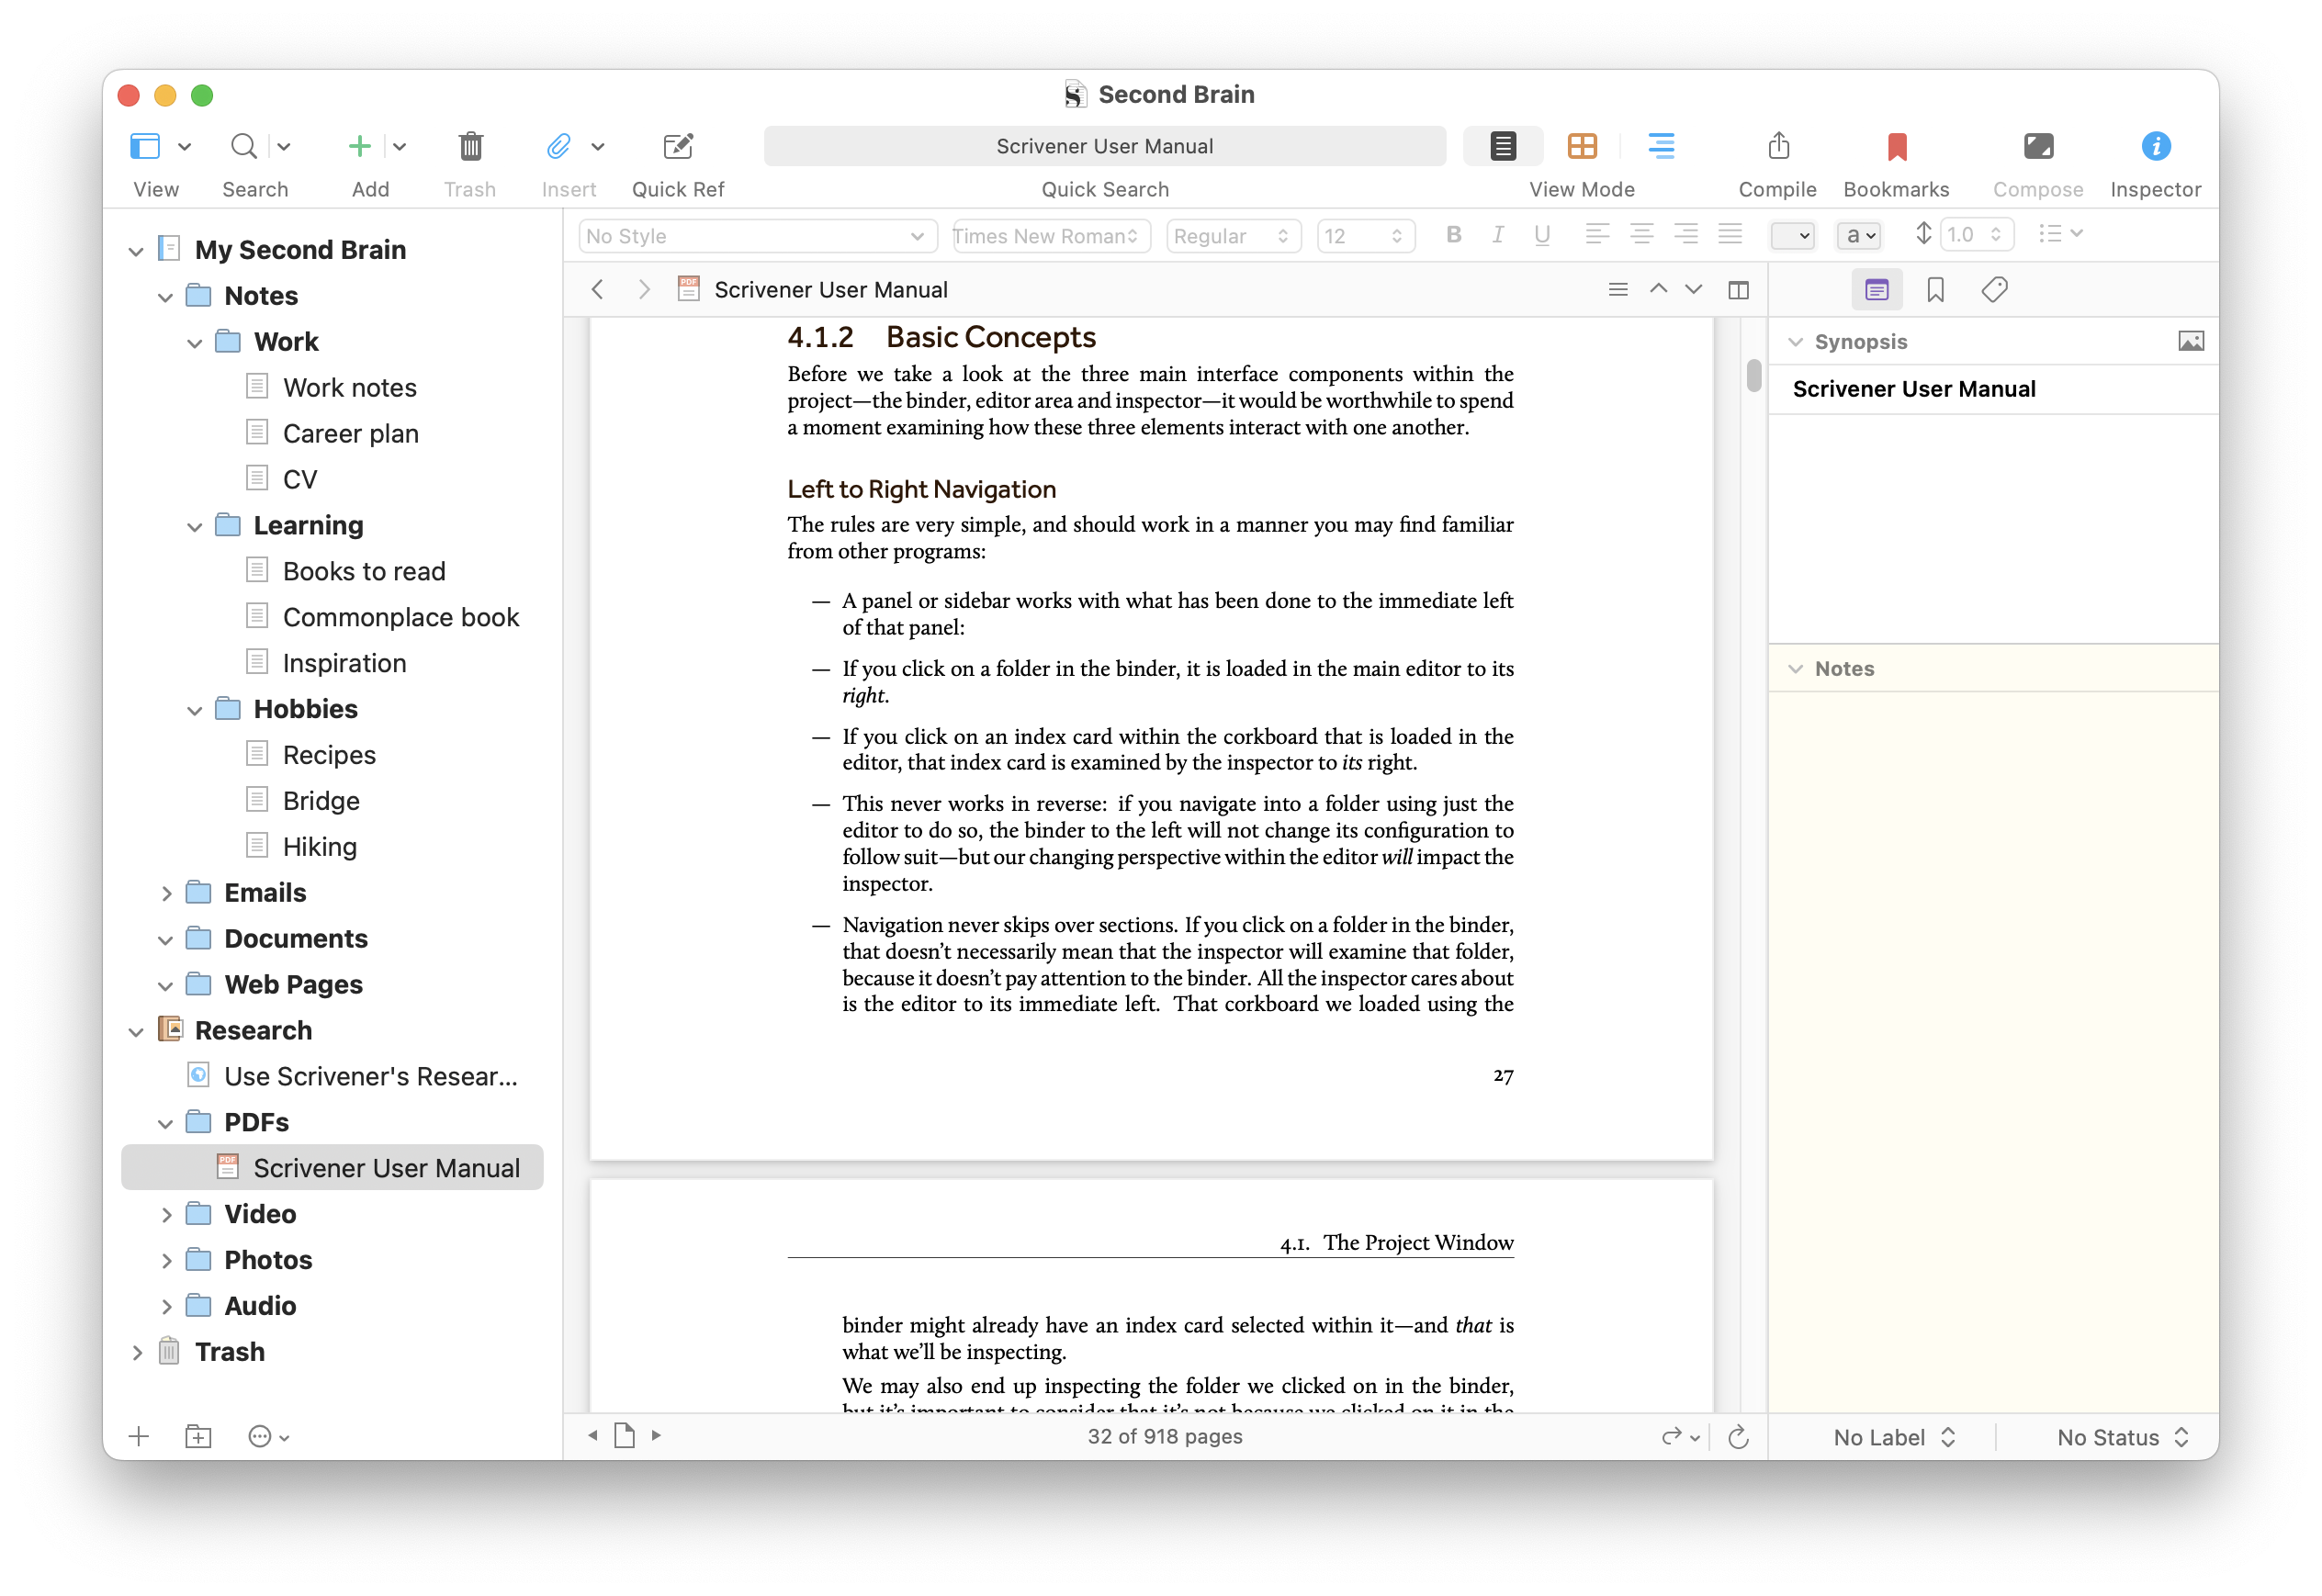
Scrivener has a built-in PDF viewer, with controls in the window footer that make it easy to flip through pages in these documents. See Chapter 8.1.3 of the Scrivener manual for more on viewing PDFs and other media files.

Tip: if you create a folder to store PDFs, you can switch to Corkboard view when examining that folder to see all the PDFs as index cards.
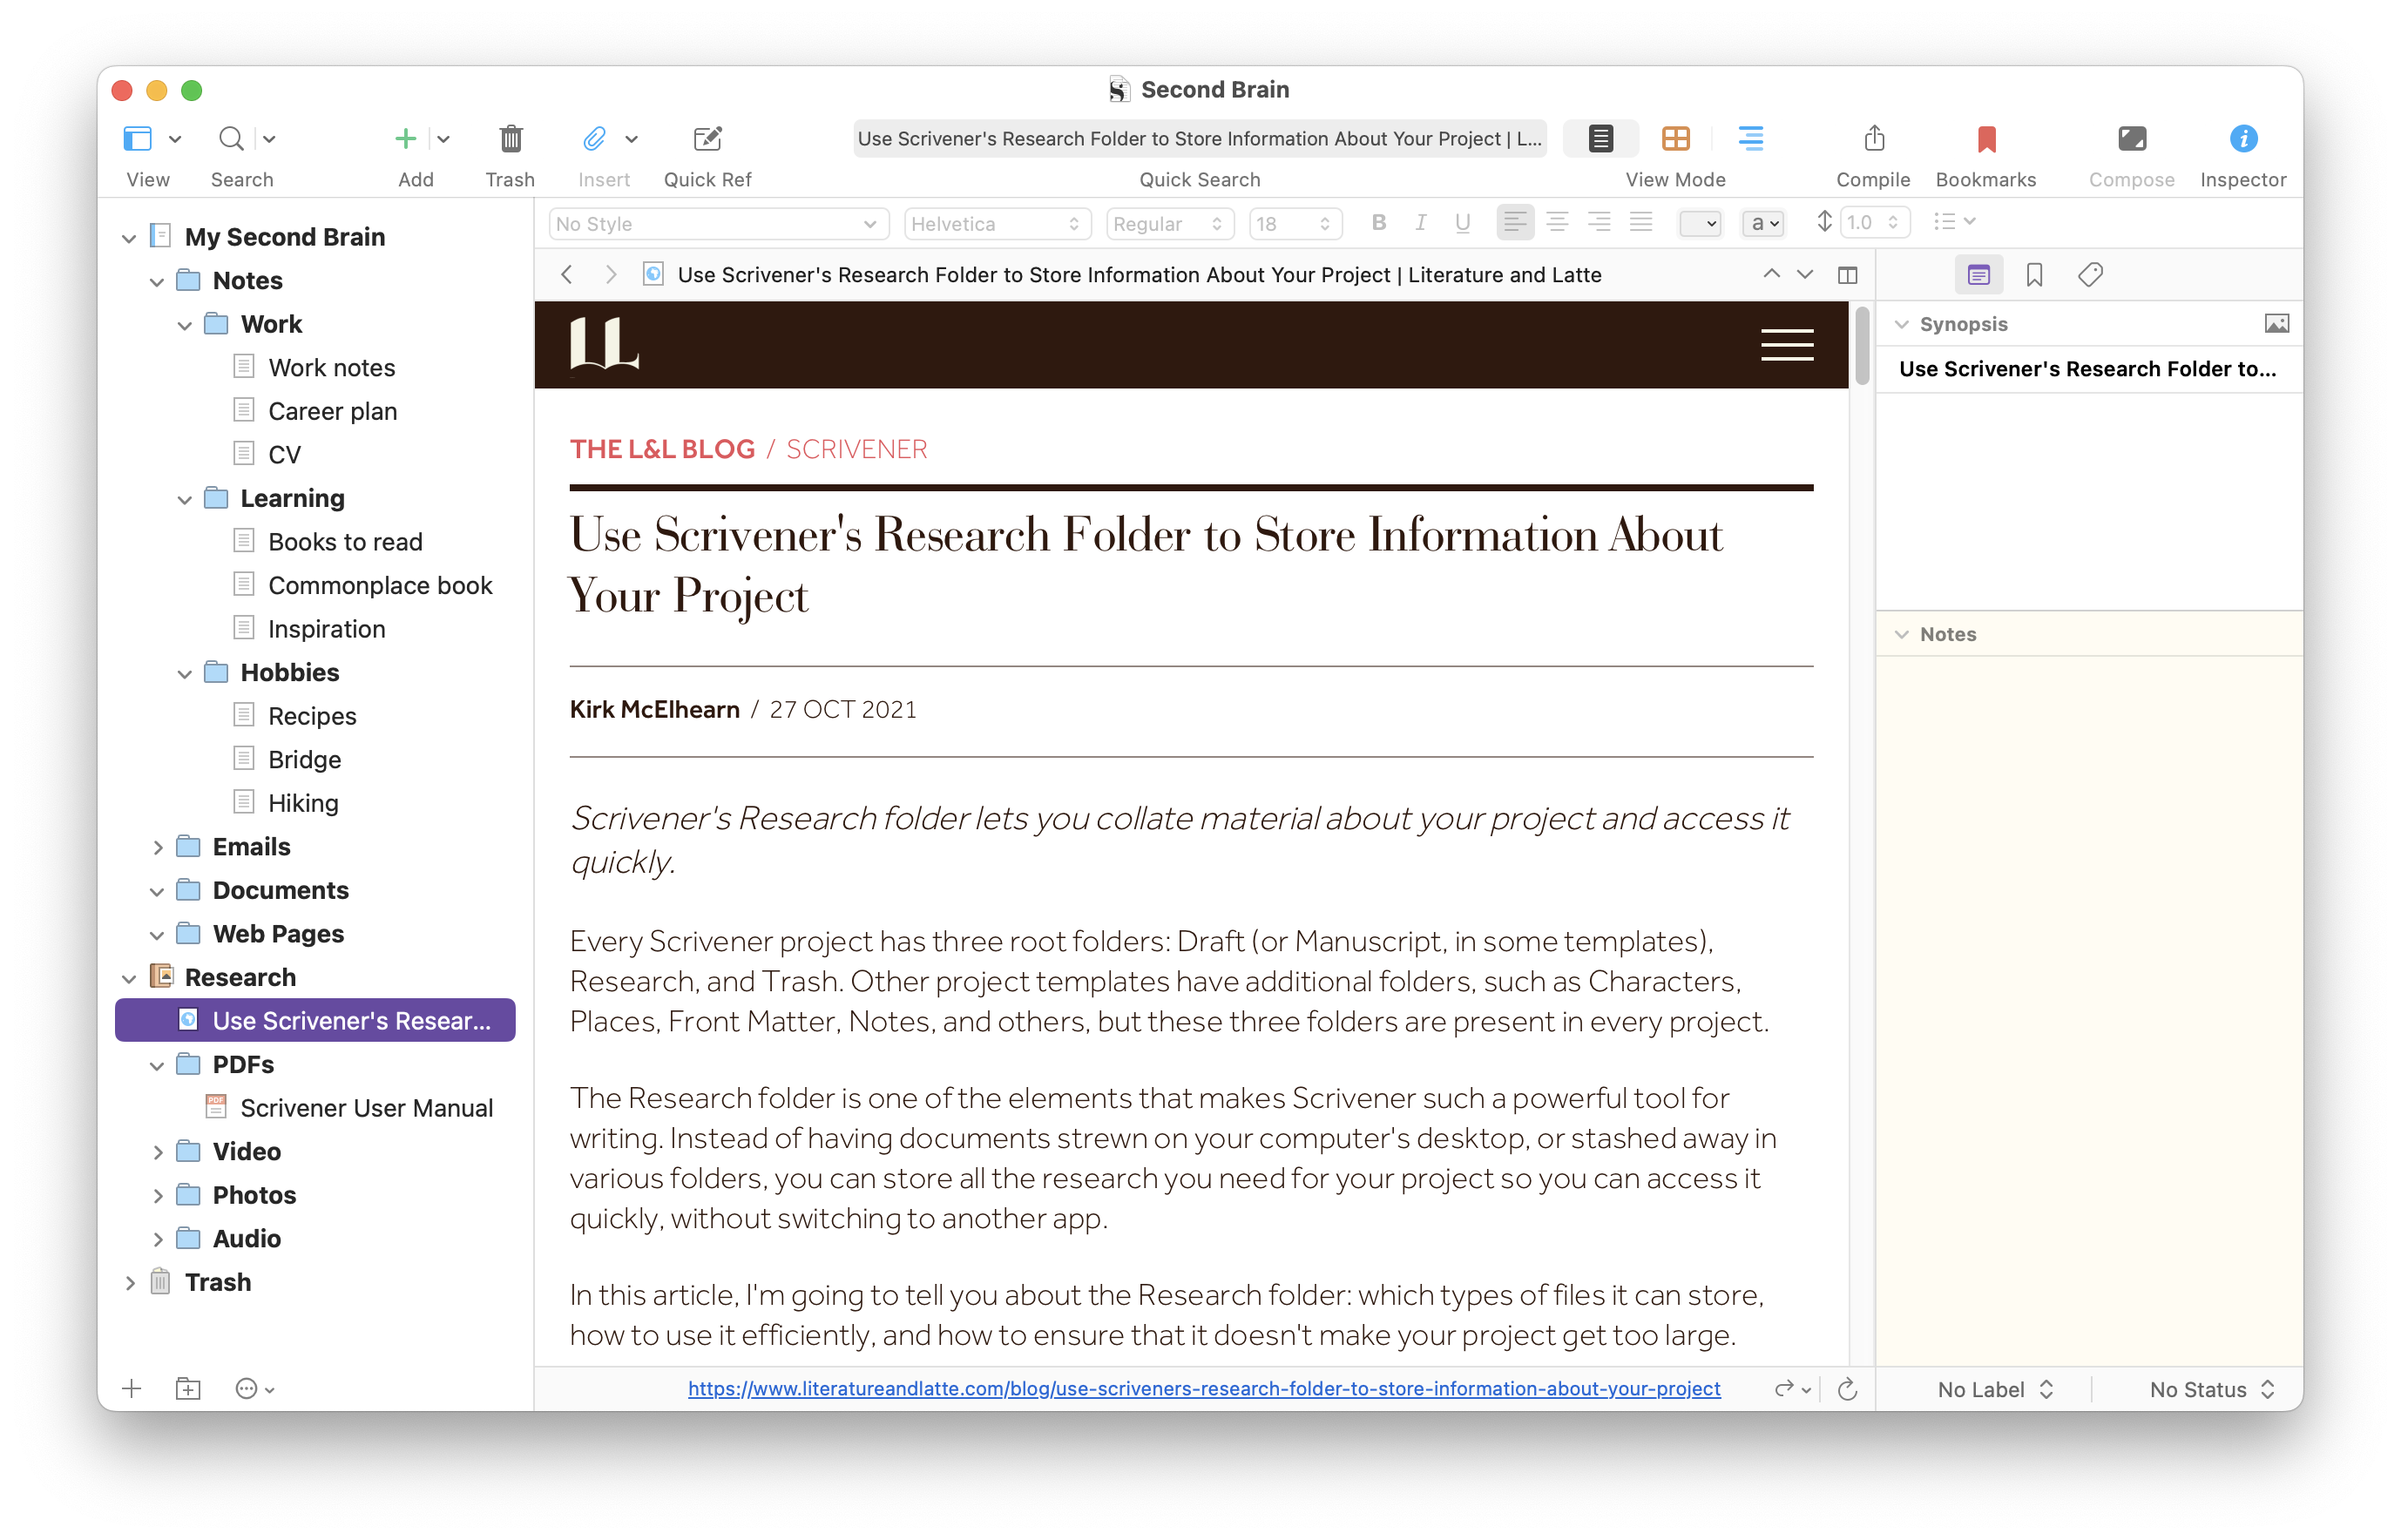
You can import web pages to your Scrivener project, and you can view them the way they appear on the web. This is another type of content that cannot be stored in the Binder. To import a web page, choose File > Import > Web Pages, then paste the URL in the dialog.

When you import web pages, Scrivener stores them as they are at the time of the import; these are not live web pages, but you can click the link that displays in the footer at the bottom of the window to access a current version of that page. Note that Scrivener can't import web pages that require you to log into an account, such as Google Docs. But you can copy the text from that type of document and then paste it into a file in your Binder.
Scrivener can convert web pages and PDFs to text documents, so you can edit their text if you want. Select a document and choose Documents > Convert > Web Page to Text or PDF File to Text. If you always want Scrivener to convert web pages when you import them, go to Settings / Options > Sharing. On the Import tab, enable Convert imported WebArchives and web pages to text. Note that you will lose much of the formatting when you convert these files.
Accessing your second brain in Scrivener
It's one thing to store a lot of information in a Scrivener project, but you need to also be able to access that information. Scrivener's powerful find feature lets you search your entire project, and even search text in PDFs (if the PDF files aren’t just scans of documents). You can also create search collections to return to specific searches with just a couple of clicks.
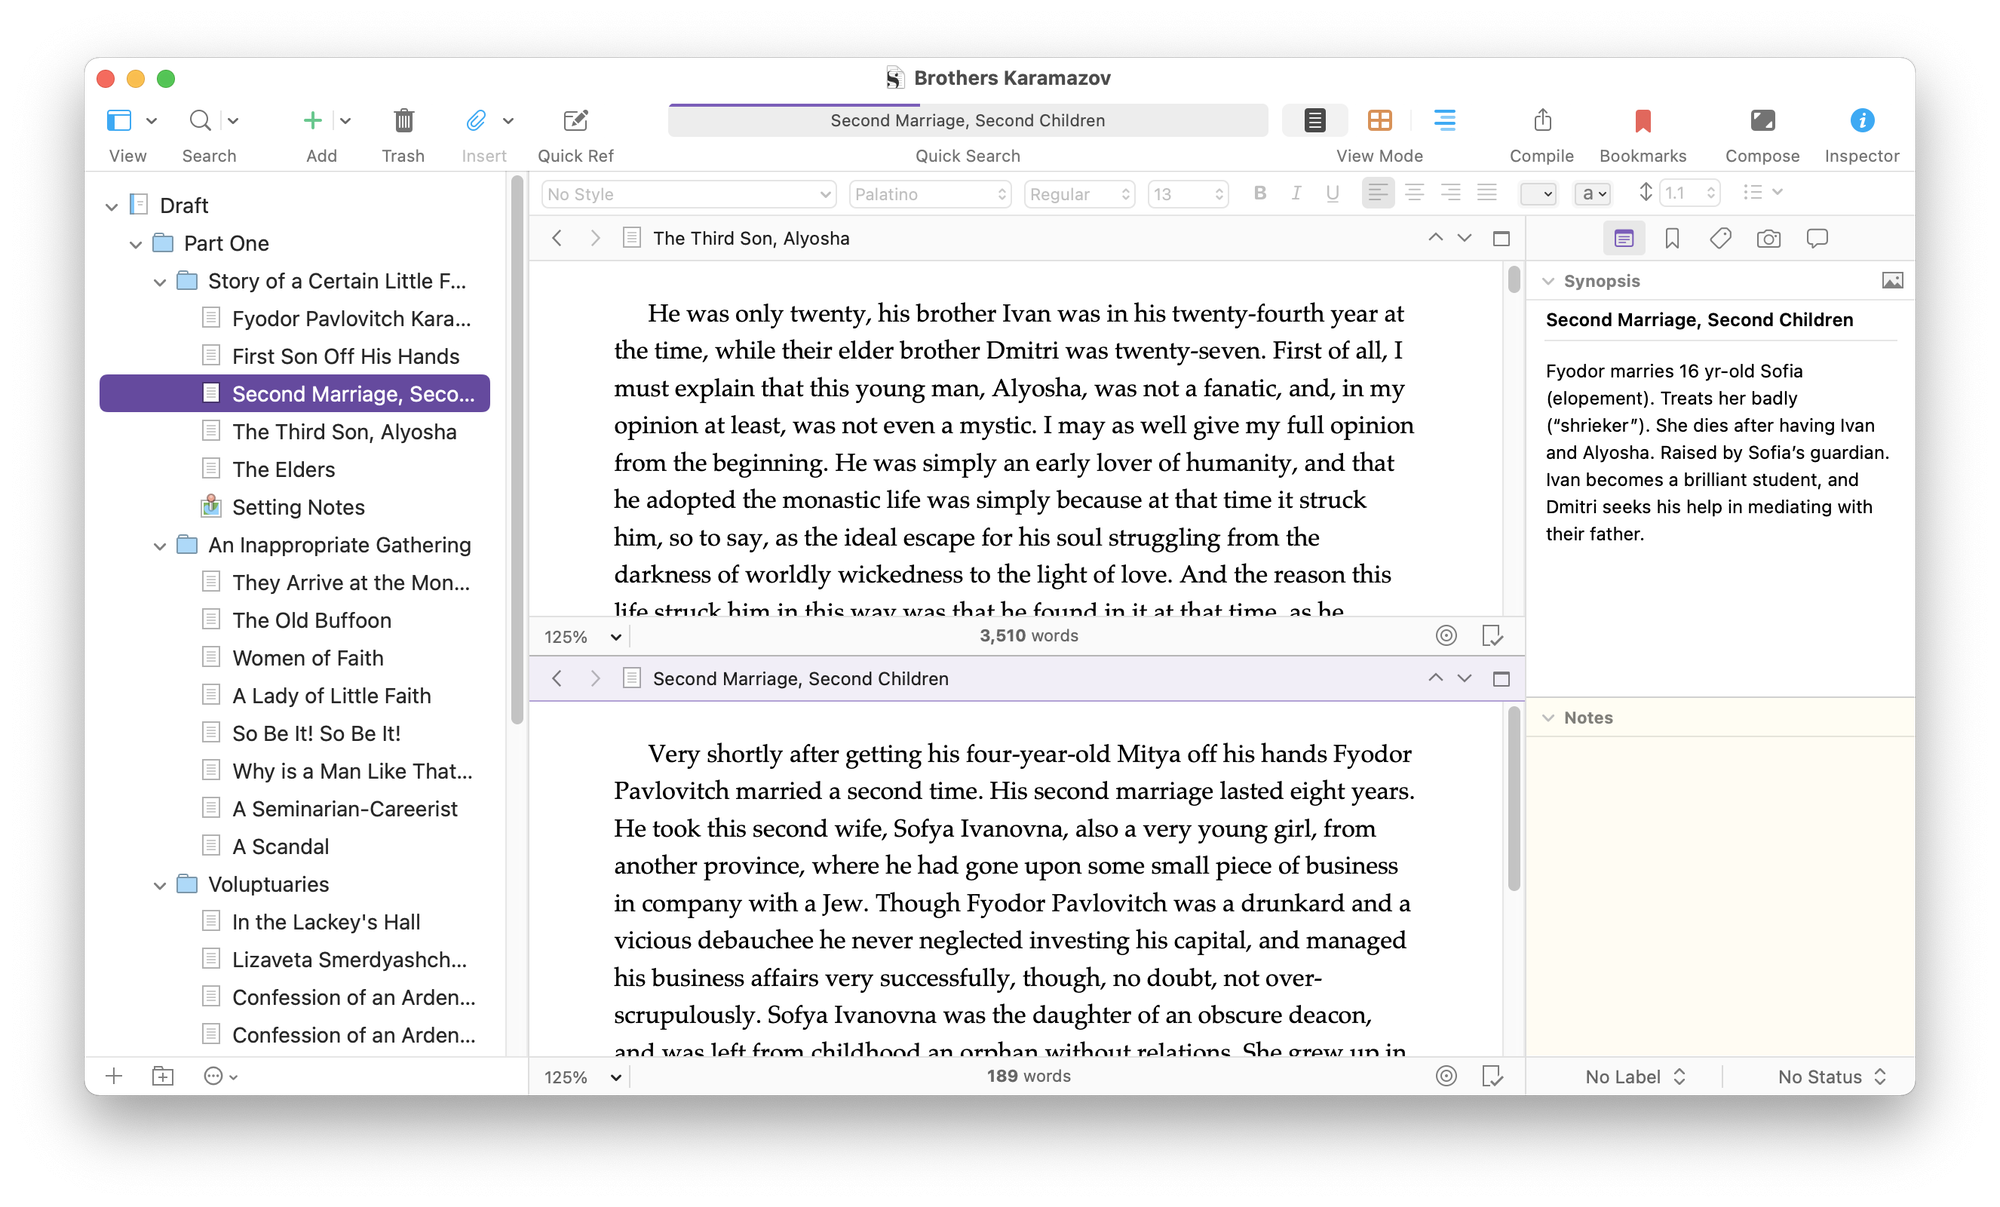
You can also view multiple items at the same time, by splitting the Scrivener Editor; this way, you can view two or more files at the same time to gather information or compare them.

While it may seem complex to set up a second brain Scrivener project, don’t forget that it’s just a repository and that you’re not meant to remember everything you add. As you build your second brain, you’ll get used to searching this project for something that you recall having added, but without remembering its specifics. The whole point of a second brain is to allow you to forget details and call them up when you need them.
Kirk McElhearn is a writer, podcaster, and photographer. He is the author of Take Control of Scrivener, and host of the podcast Write Now with Scrivener.

