Scrivener's freeform Corkboard lets you move virtual index cards around without constraints.
How to Use Scrivener's Freeform Corkboard
Scrivener’s corkboard is designed to replicate the old-fashioned, analog method of using index cards to outline and structure a book. Each card may contain a scene, a beat from a scene, information about a character, bits of dialogue, locations, or anything you want to include in your book. Index cards can be rearranged easily, and allow you to structure your book starting with basic ideas, and adding more as you fill in your outline.
In Organize Your Scrivener Project with the Corkboard, we looked at how you can use the Corkboard to develop your project. In this article, we’re going to discuss the freeform Corkboard, which gives you even more flexibility in arranging and rearranging your ideas.
What is the freeform Corkboard?
By default, Scrivener’s Corkboard snaps cards to a grid, creating an even, linear display. This is an excellent way to view cards, because they all take up the same space, and the relationships between cards, both horizontally and vertically, are the same.
The freeform Corkboard replicates what you see when you spread cards out on a desk. Nothing is even, and, as you move the cards around, they overlap and make little stacks. It is ideal for that stage when you’ve created a lot of cards, but haven’t yet decided how to organize them. You can freely arrange them to see how they go together, and rearrange them if you don’t like their order.
How to use the freeform Corkboard
As explained in Organize Your Scrivener Project with the Corkboard, when you click the Corkboard button in the Scrivener window, the display shifts to show the Corkboard.
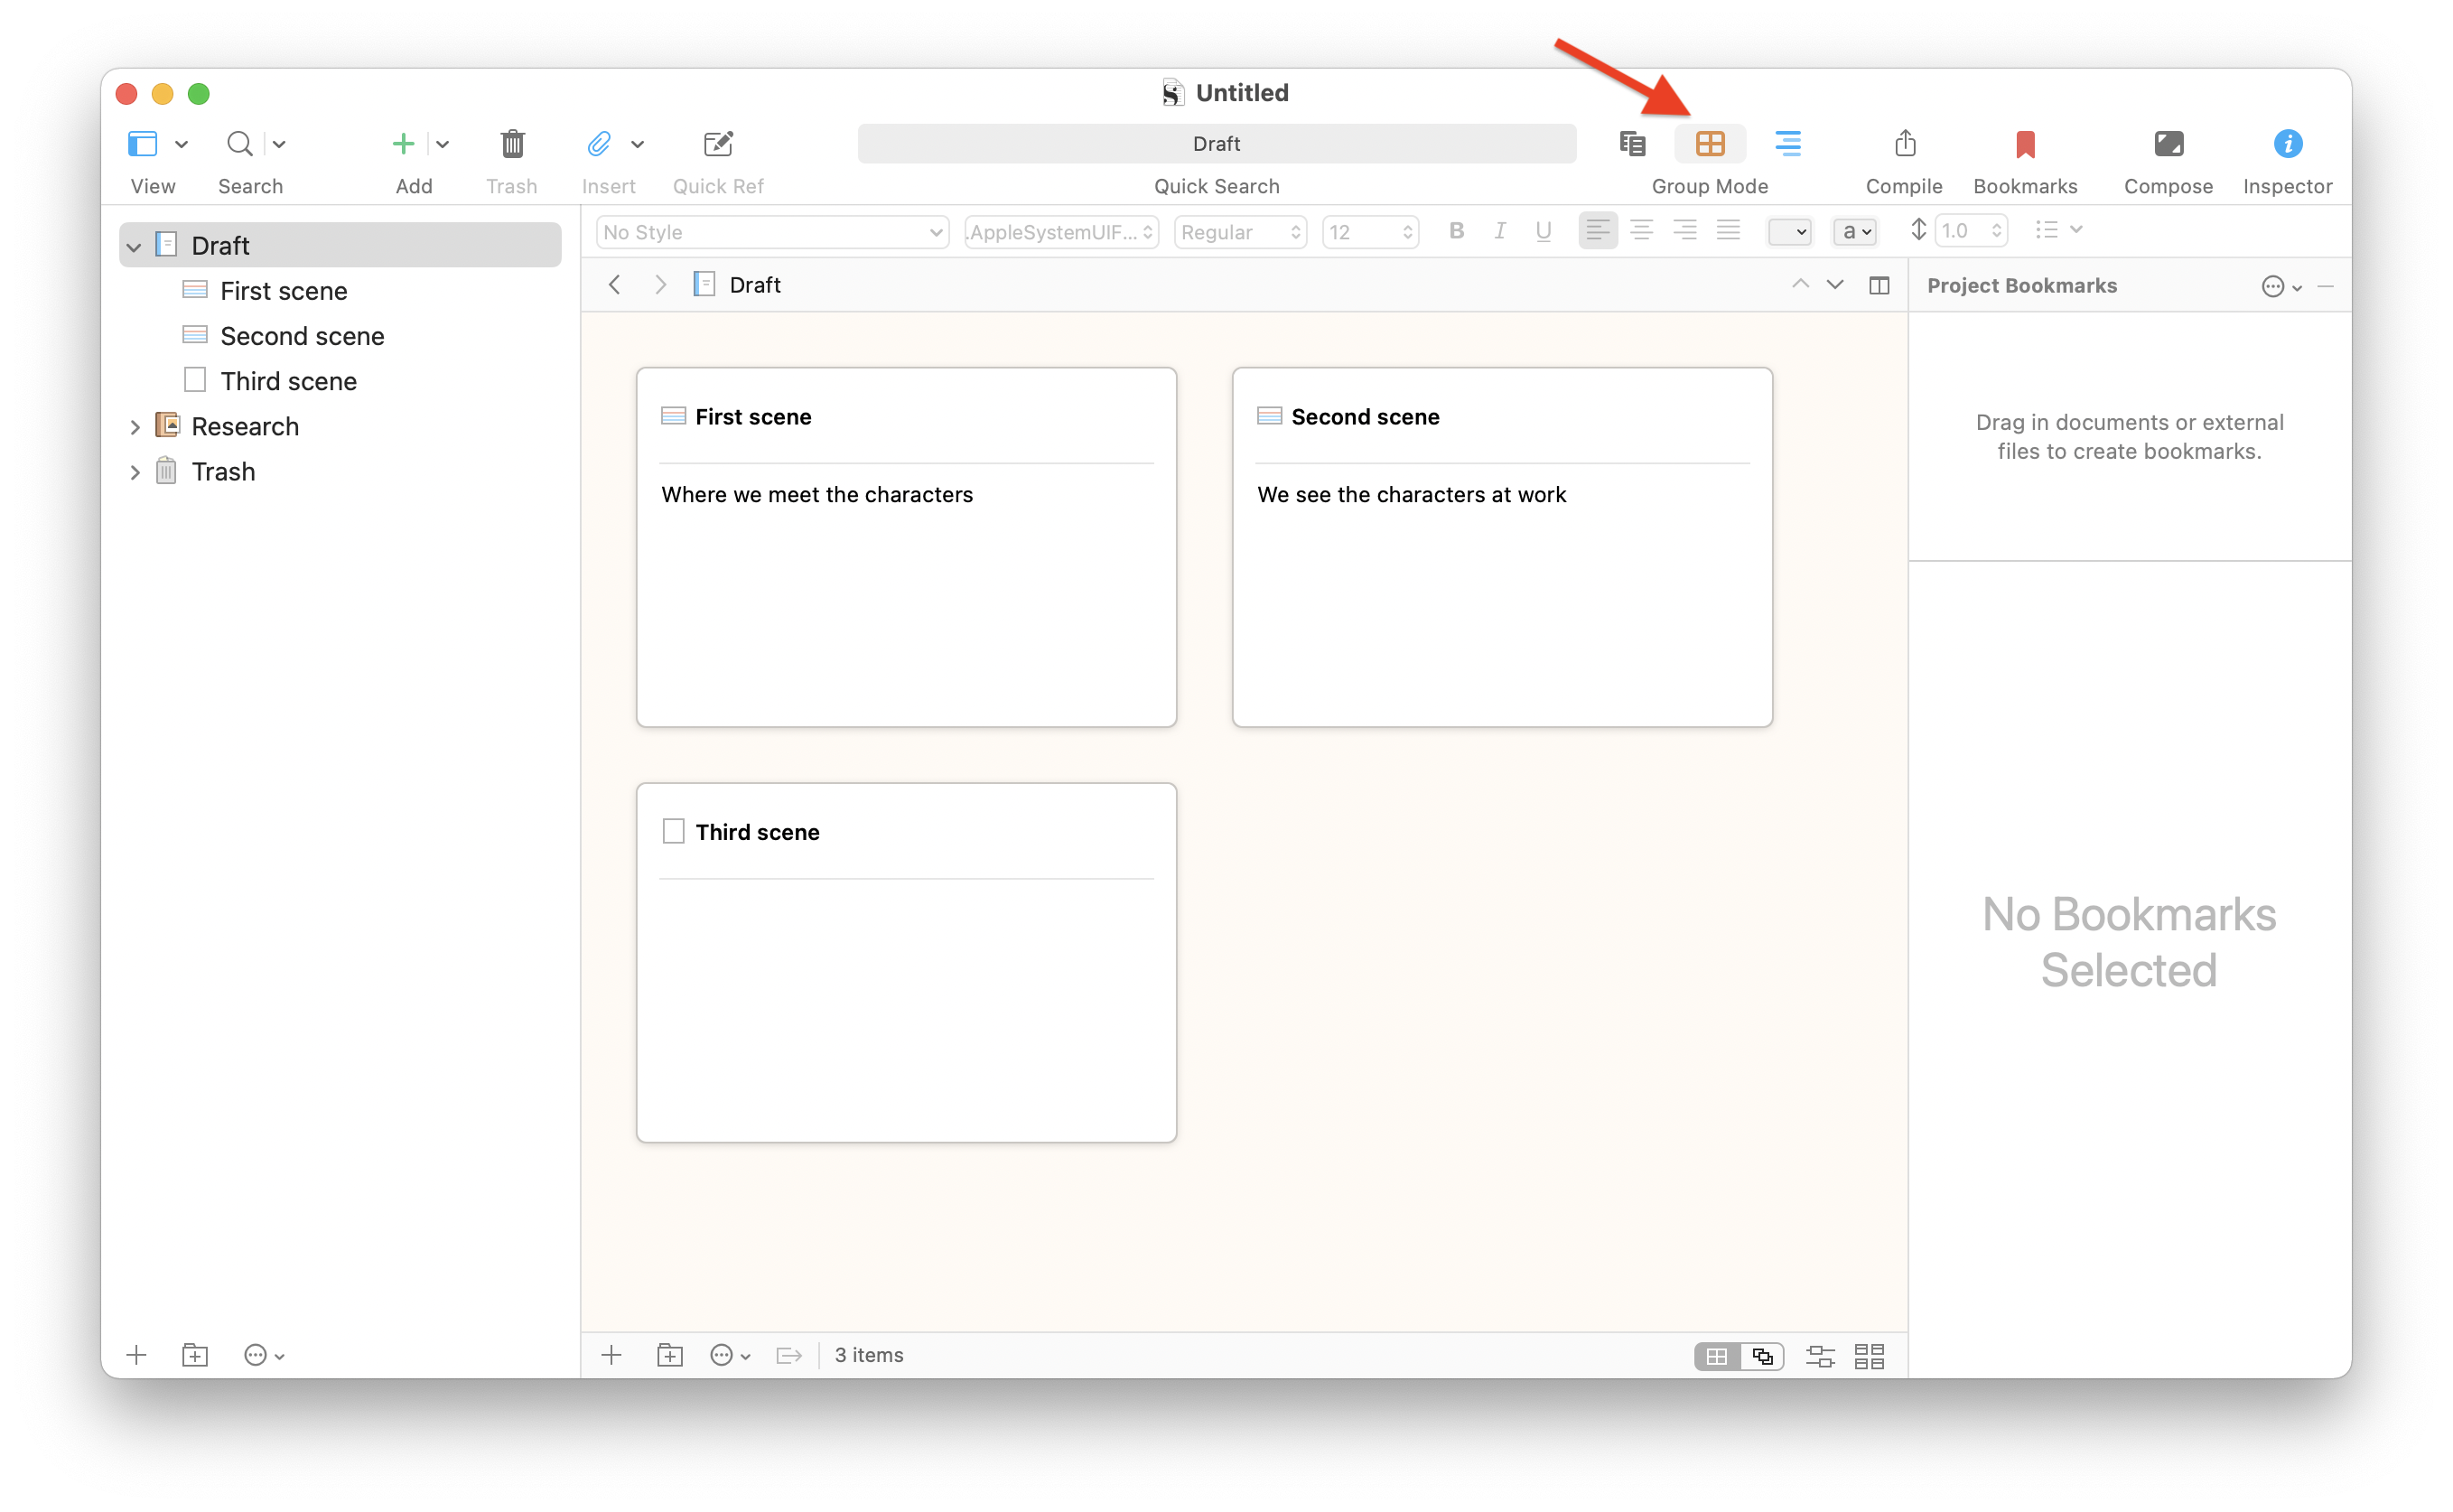
At first, the Corkboard is neatly organized in rows and columns. To switch to the freeform Corkboard, choose View > Corkboard Options > Freeform, or click the stack-of-cards button in the footer.
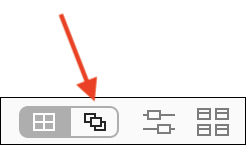
Note that if you don’t see that button, you’ve selected multiple items that are not in the same container, either a folder or collection.
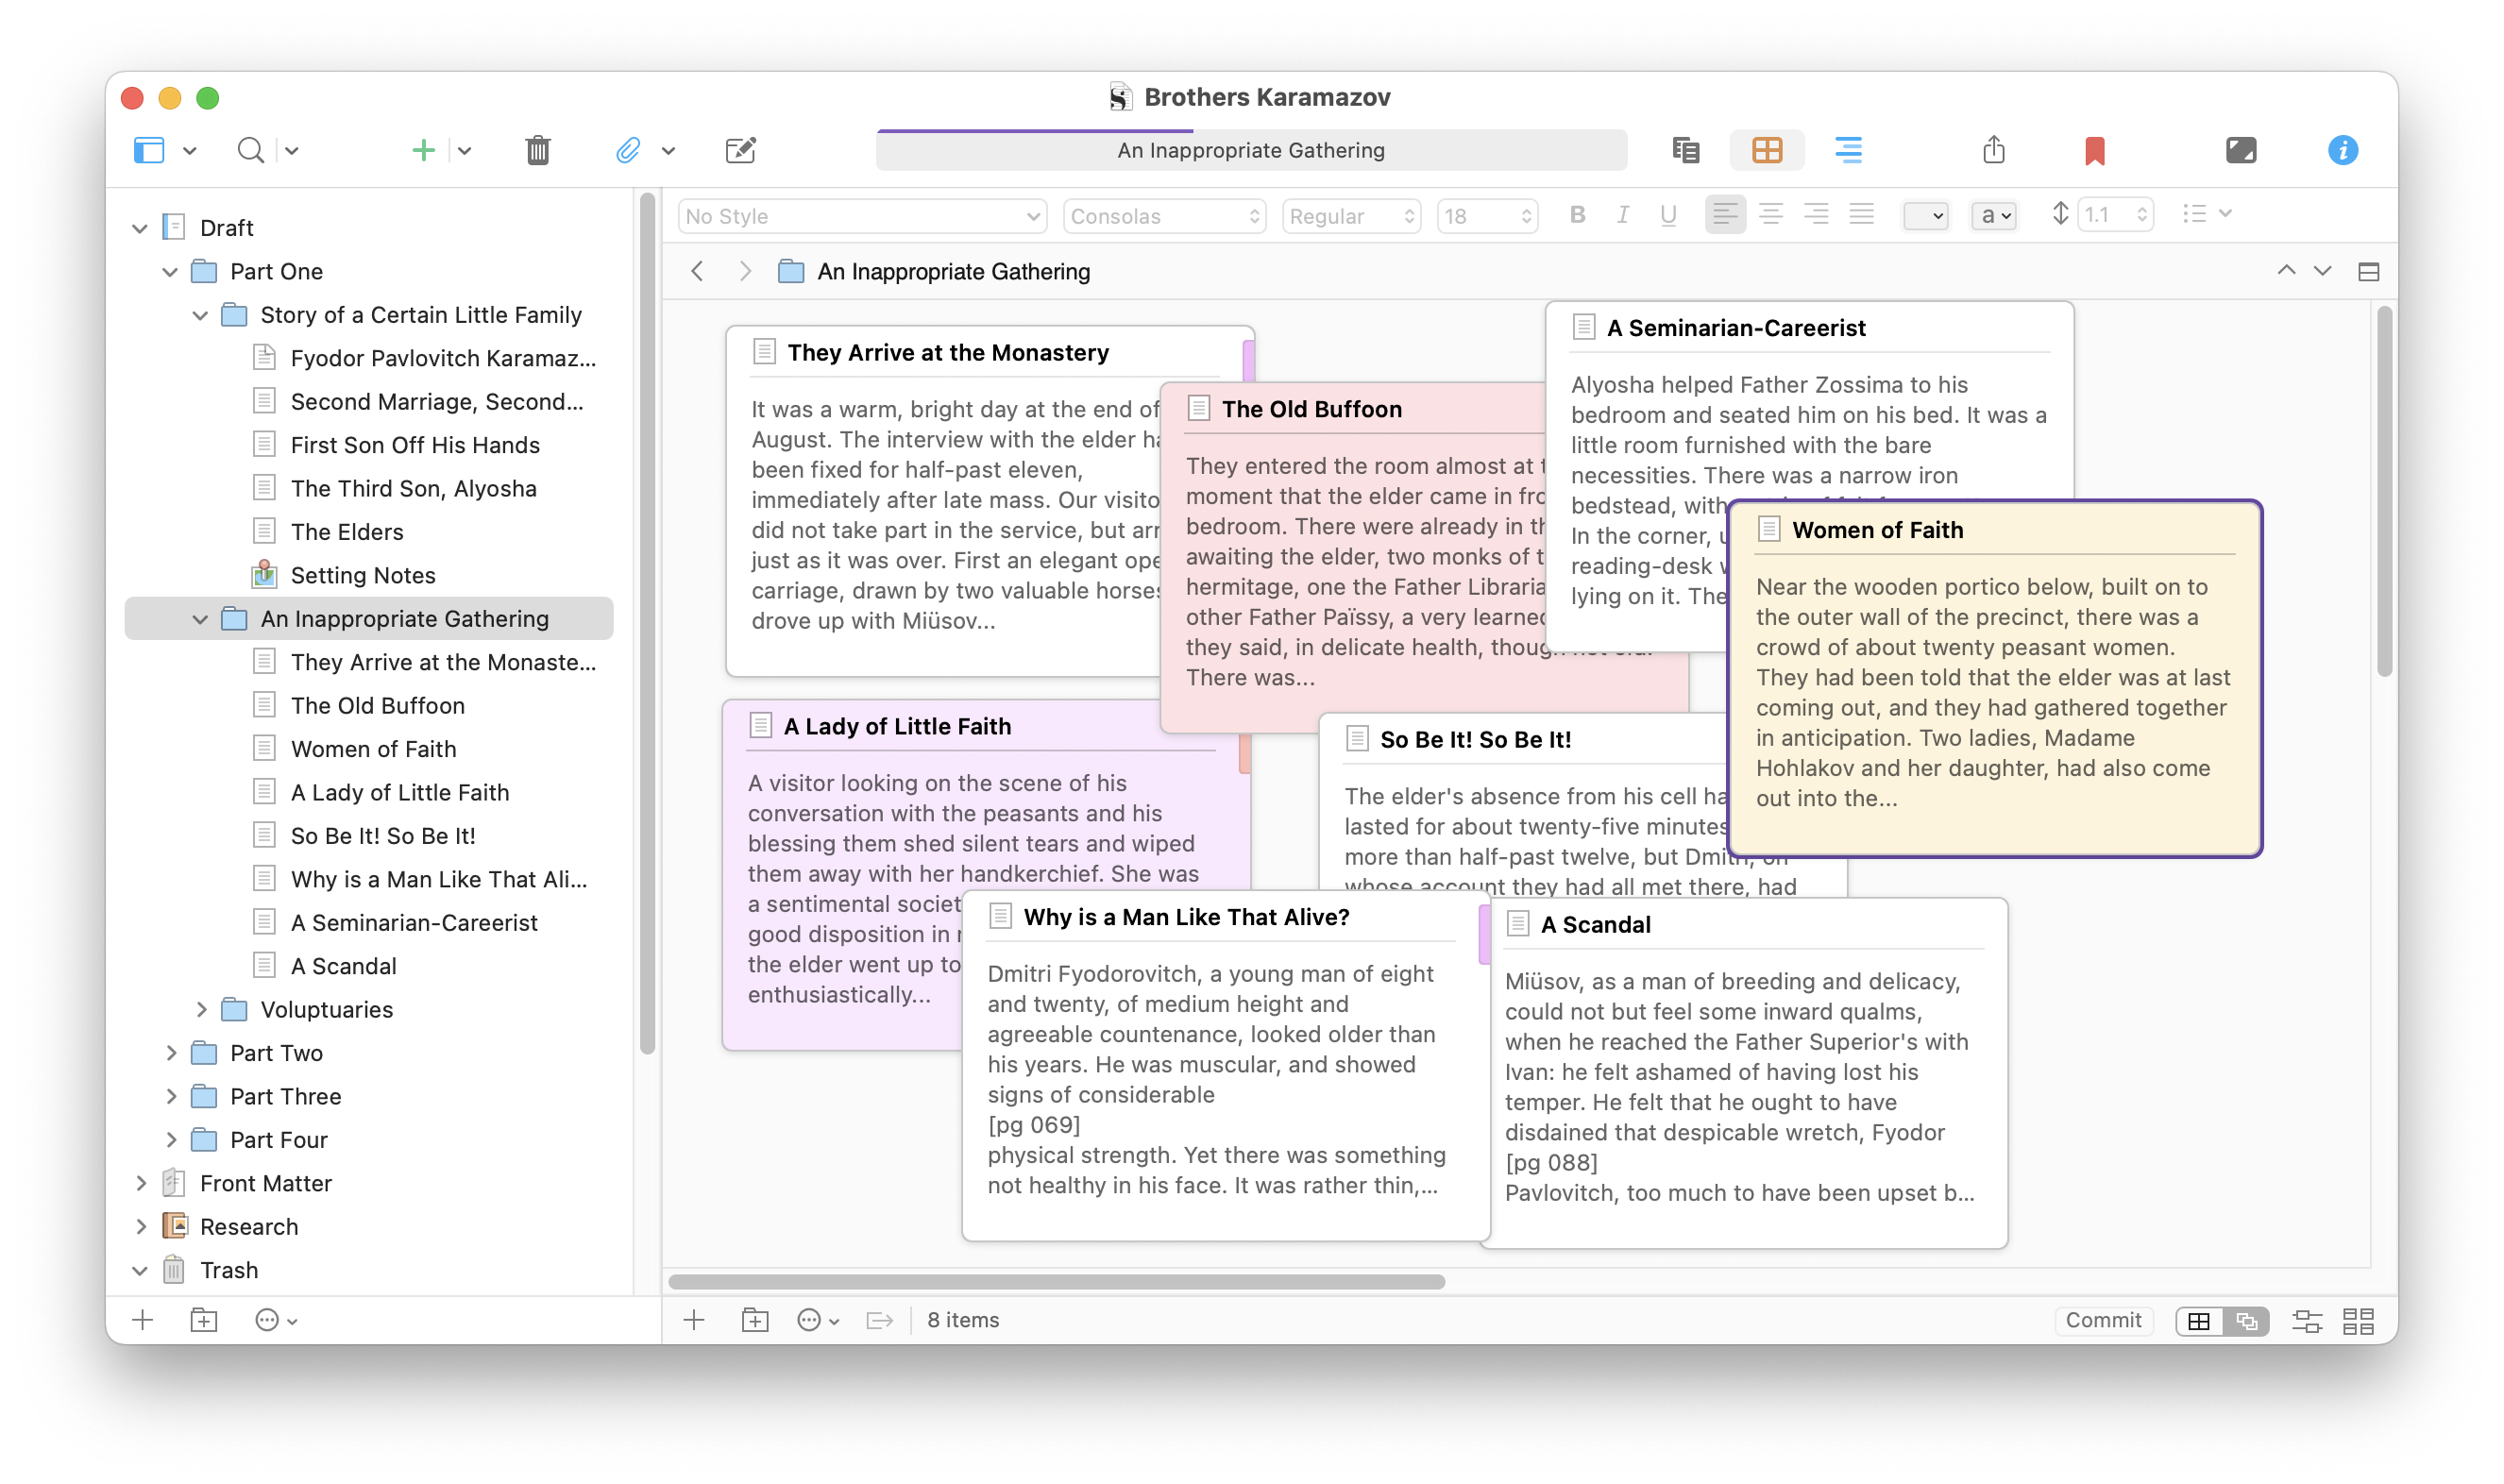
In the example above, if you look at the Binder, you can see the order of the various documents in a specific folder. If you look on the Corkboard, you can see that they have been arranged differently. You can use the Freeform Corkboard to move cards around and see how their juxtaposition might change some thing in your project.
You can now drag cards around on the Corkboard, and you will see that they no longer snap to place. When you click a card, it comes to the front, so if you drag it over another card it will block part of that card which is behind it. If you have lots of cards, it may be difficult to see them all, but just click anywhere on a card to view it.
If you click the grid button in the toolbar — the one to the left of the freeform Corkboard button — the cards will snap back into position, just as they are in the binder, before you enabled the freeform Corkboard. This lets you use the freeform Corkboard as a way of testing out links between elements of your project.
If you want to rearrange your project, according to the new positions of the cards, click the Commit button in the toolbar.

When you do this, Scrivener displays a dialog asking you how you want the cards to be committed. Since the freeform order is free, Scrivener has to guess how you want to arrange the cards. Choose from the options in this dialog.
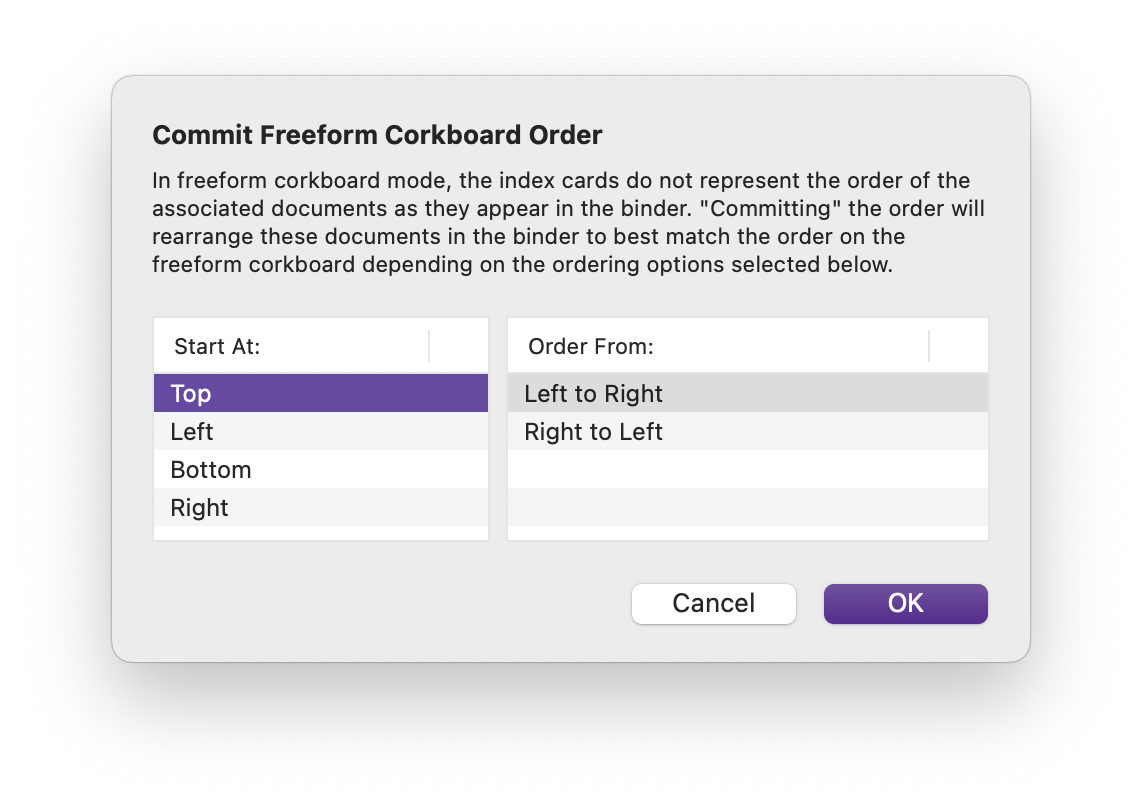
You can, of course, rearrange the cards after you have committed, if the order is not exactly as you wanted, either on the Corkboard on in the Binder.
Another way to use the Freeform corkboard is to rearrange your cards to get a different view of your project, then manually change their position by manually dragging files in the Binder. (See Use Folders and Texts to Power Up the Scrivener Binder.)
You can even move a card to the Binder, instead of moving a file in the binder. Just drag a card to the position you want. The cards in the freeform Corkboard won’t change position, and you won’t have to use the Commit feature to freeze the cards.
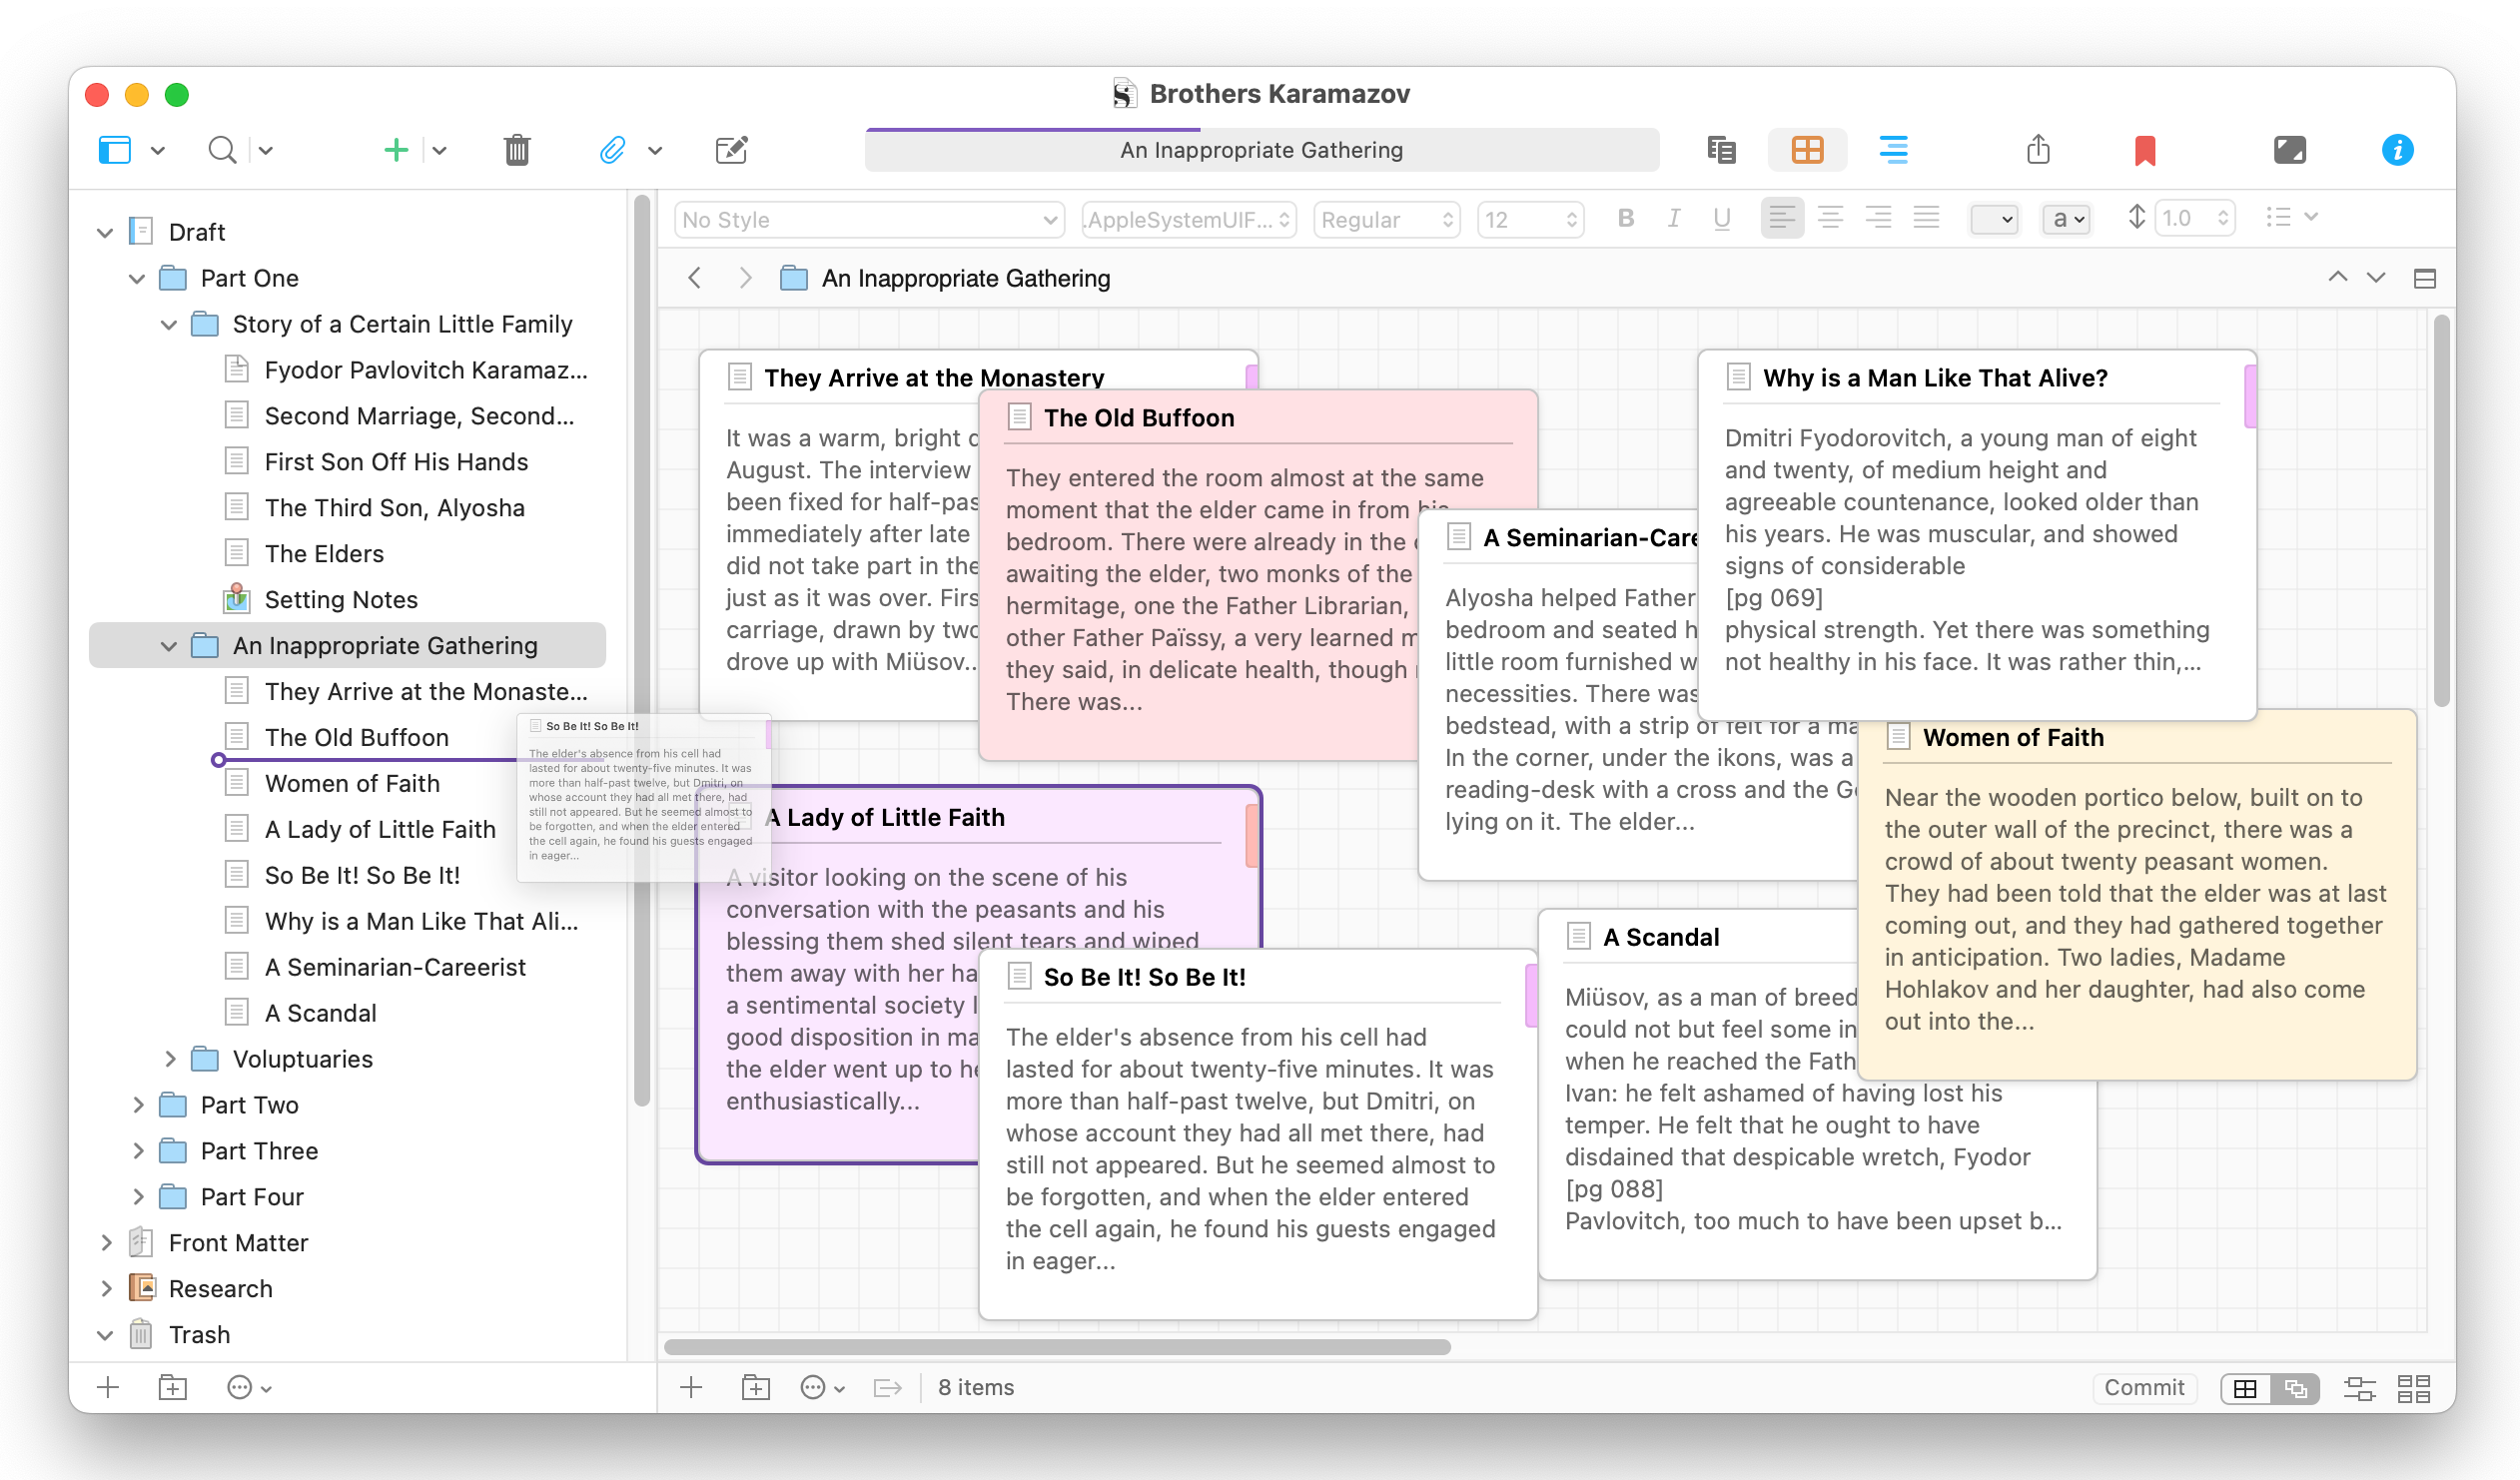
You can use the regular corkboard and the Freeform corkboard together. Perhaps you want to retain the specific order of the elements in your project, but, at times, you want to see relationships that are not linear. Use the Freeform corkboard to rearrange cards, but don’t click the commit button: return to the standard corkboard by clicking the grid button. If you want to return to your Freeform arrangement, just click the Freeform corkboard button again. Scrivener remembers the positions of the cards, so you can shift back and forth between the two as you work.
Freeform Corkboard grid
As its name implies, the Freeform corkboard is free. As you move cards around, they will stay exactly where you placed them. You may want a bit of control over this: if you choose View > Corkboard Options > Snap to Grid, Scrivener displays a small grid and aligns cards to that grid when you move them.
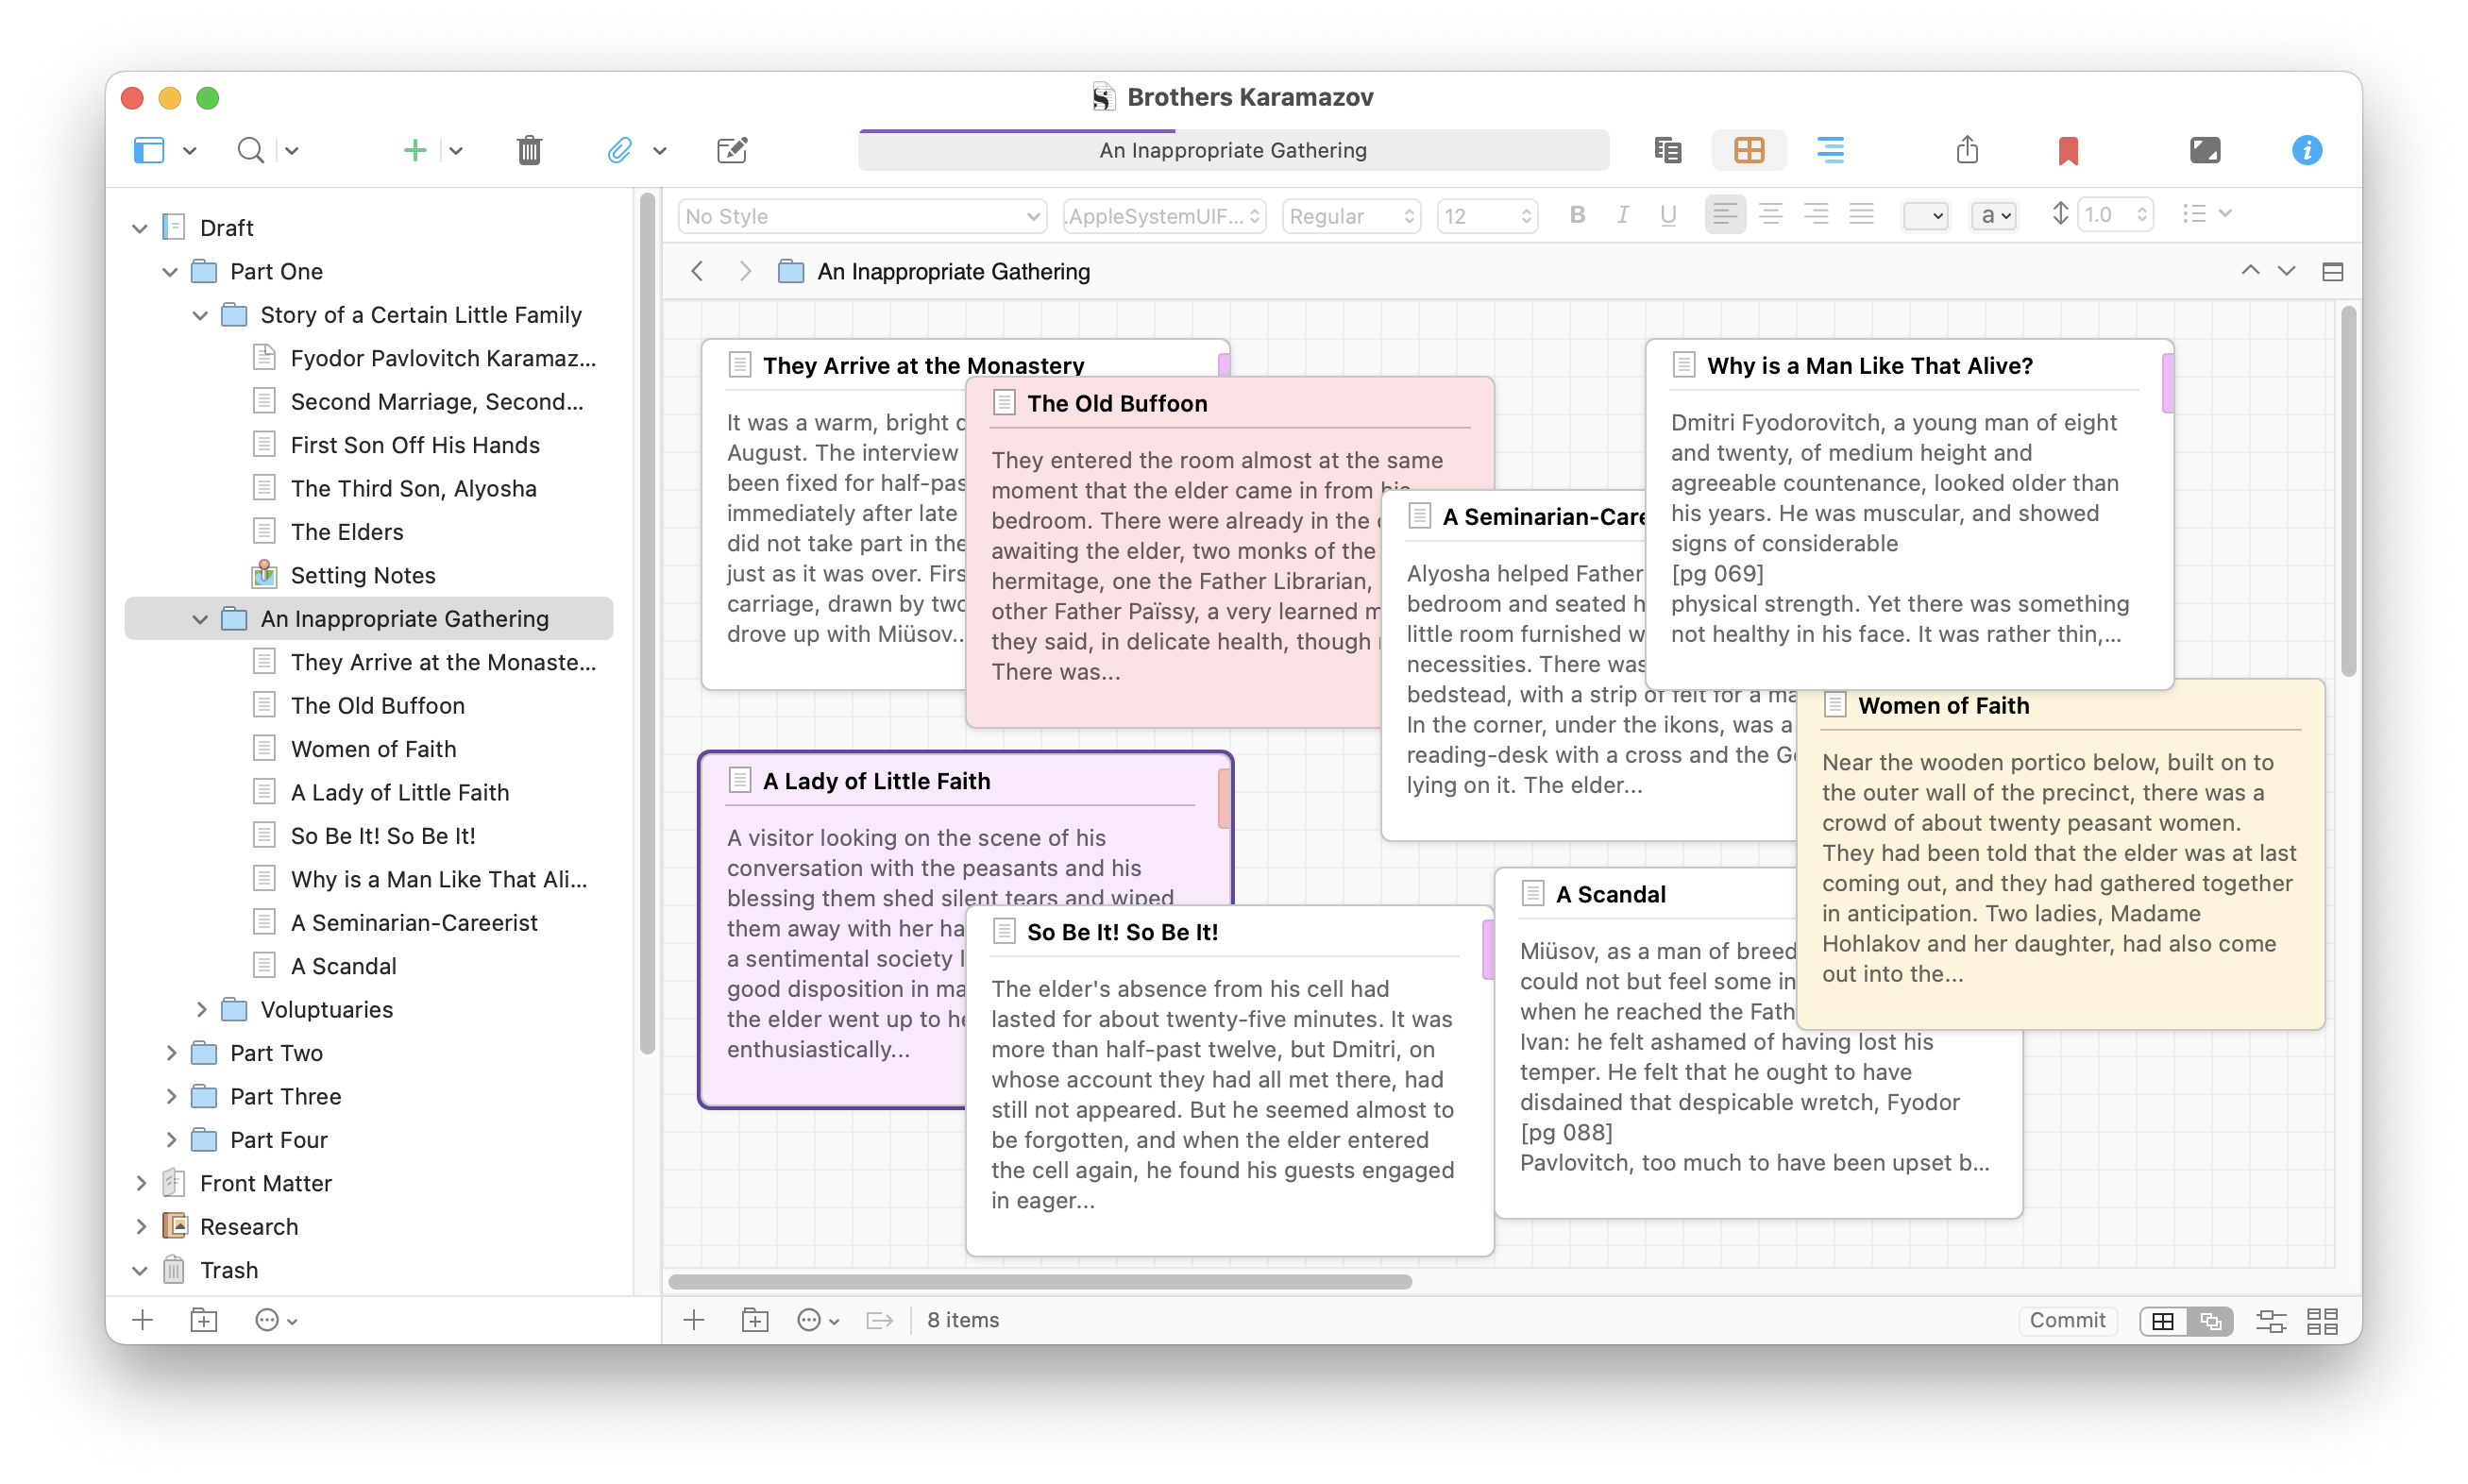
You can adjust the size of the grid in Scrivener > Settings > Appearance, on Mac; or File > Options > Appearance on Windows. A setting allows you to set the size of the grid in pixels.
If you regularly use the Corkboard, try out the freeform Corkboard, and see if this helps you better organize your projects.
Kirk McElhearn is a writer, podcaster, and photographer. He is the author of Take Control of Scrivener, and host of the podcast Write Now with Scrivener.

