Scrivener's Outline mode helps you plan or rearrange your projects.
Plan Your Project with Scrivener’s Outliner
Are you a planner or a pantser*? Do you meticulously flesh out the details of a story, novel, or screenplay, or do you just wing it? If you write non-fiction, do you itemize each chapter and section before you start writing?
If you do plan your work in advance, you may do so by creating an outline, and Scrivener's built-in Outline mode is a powerful tool to prepare for writing. In addition, it interfaces with the Binder to allow you to immediately switch from outlining to writing.
In this article, I'm going to show you how you can outline with Scrivener, and how you can switch back and forth between your outline and the Binder as you progress in your project.
(* pantser, n.: In the writing world someone who prefers to write by the seat of their pants without any forethought or planning.)
What's an outline?
When I was young, I was taught to use an alphanumeric outline, with prefixes such as I, II, III, A, B, C, and 1, 2, 3. I might have a section III.B.1 or VI.F.7 in a complex work. Outlines help organize ideas, and they allow you to build up a plan for a piece of writing non-linearly; you don't have to start at the beginning as you build your outline.
With computers, it's easy to move outline items around, and change their levels. Scrivener is built around the concept of an outline: the Binder itself, with its folders and files, works like an outline, and you can even outline in the Binder and use Scrivener's Corkboard to plan a project with virtual index cards.
The power of Scrivener's Outline mode
The true power of outlining in Scrivener comes when you use the app's dedicated Outline mode. You can use Scrivener's Outline mode to plan, organize, and re-order your project, but you can also use it to get useful information about the various elements of your project.
To enter Outline mode, click the rightmost button in the Group Mode button in the toolbar, or choose View > Outline, or press Command-3 (Mac) or Ctrl+3 (Win). As you can see in the screenshot below, I've got a novel with sections and scenes, and in Outline mode I see more information about each document in the Binder.
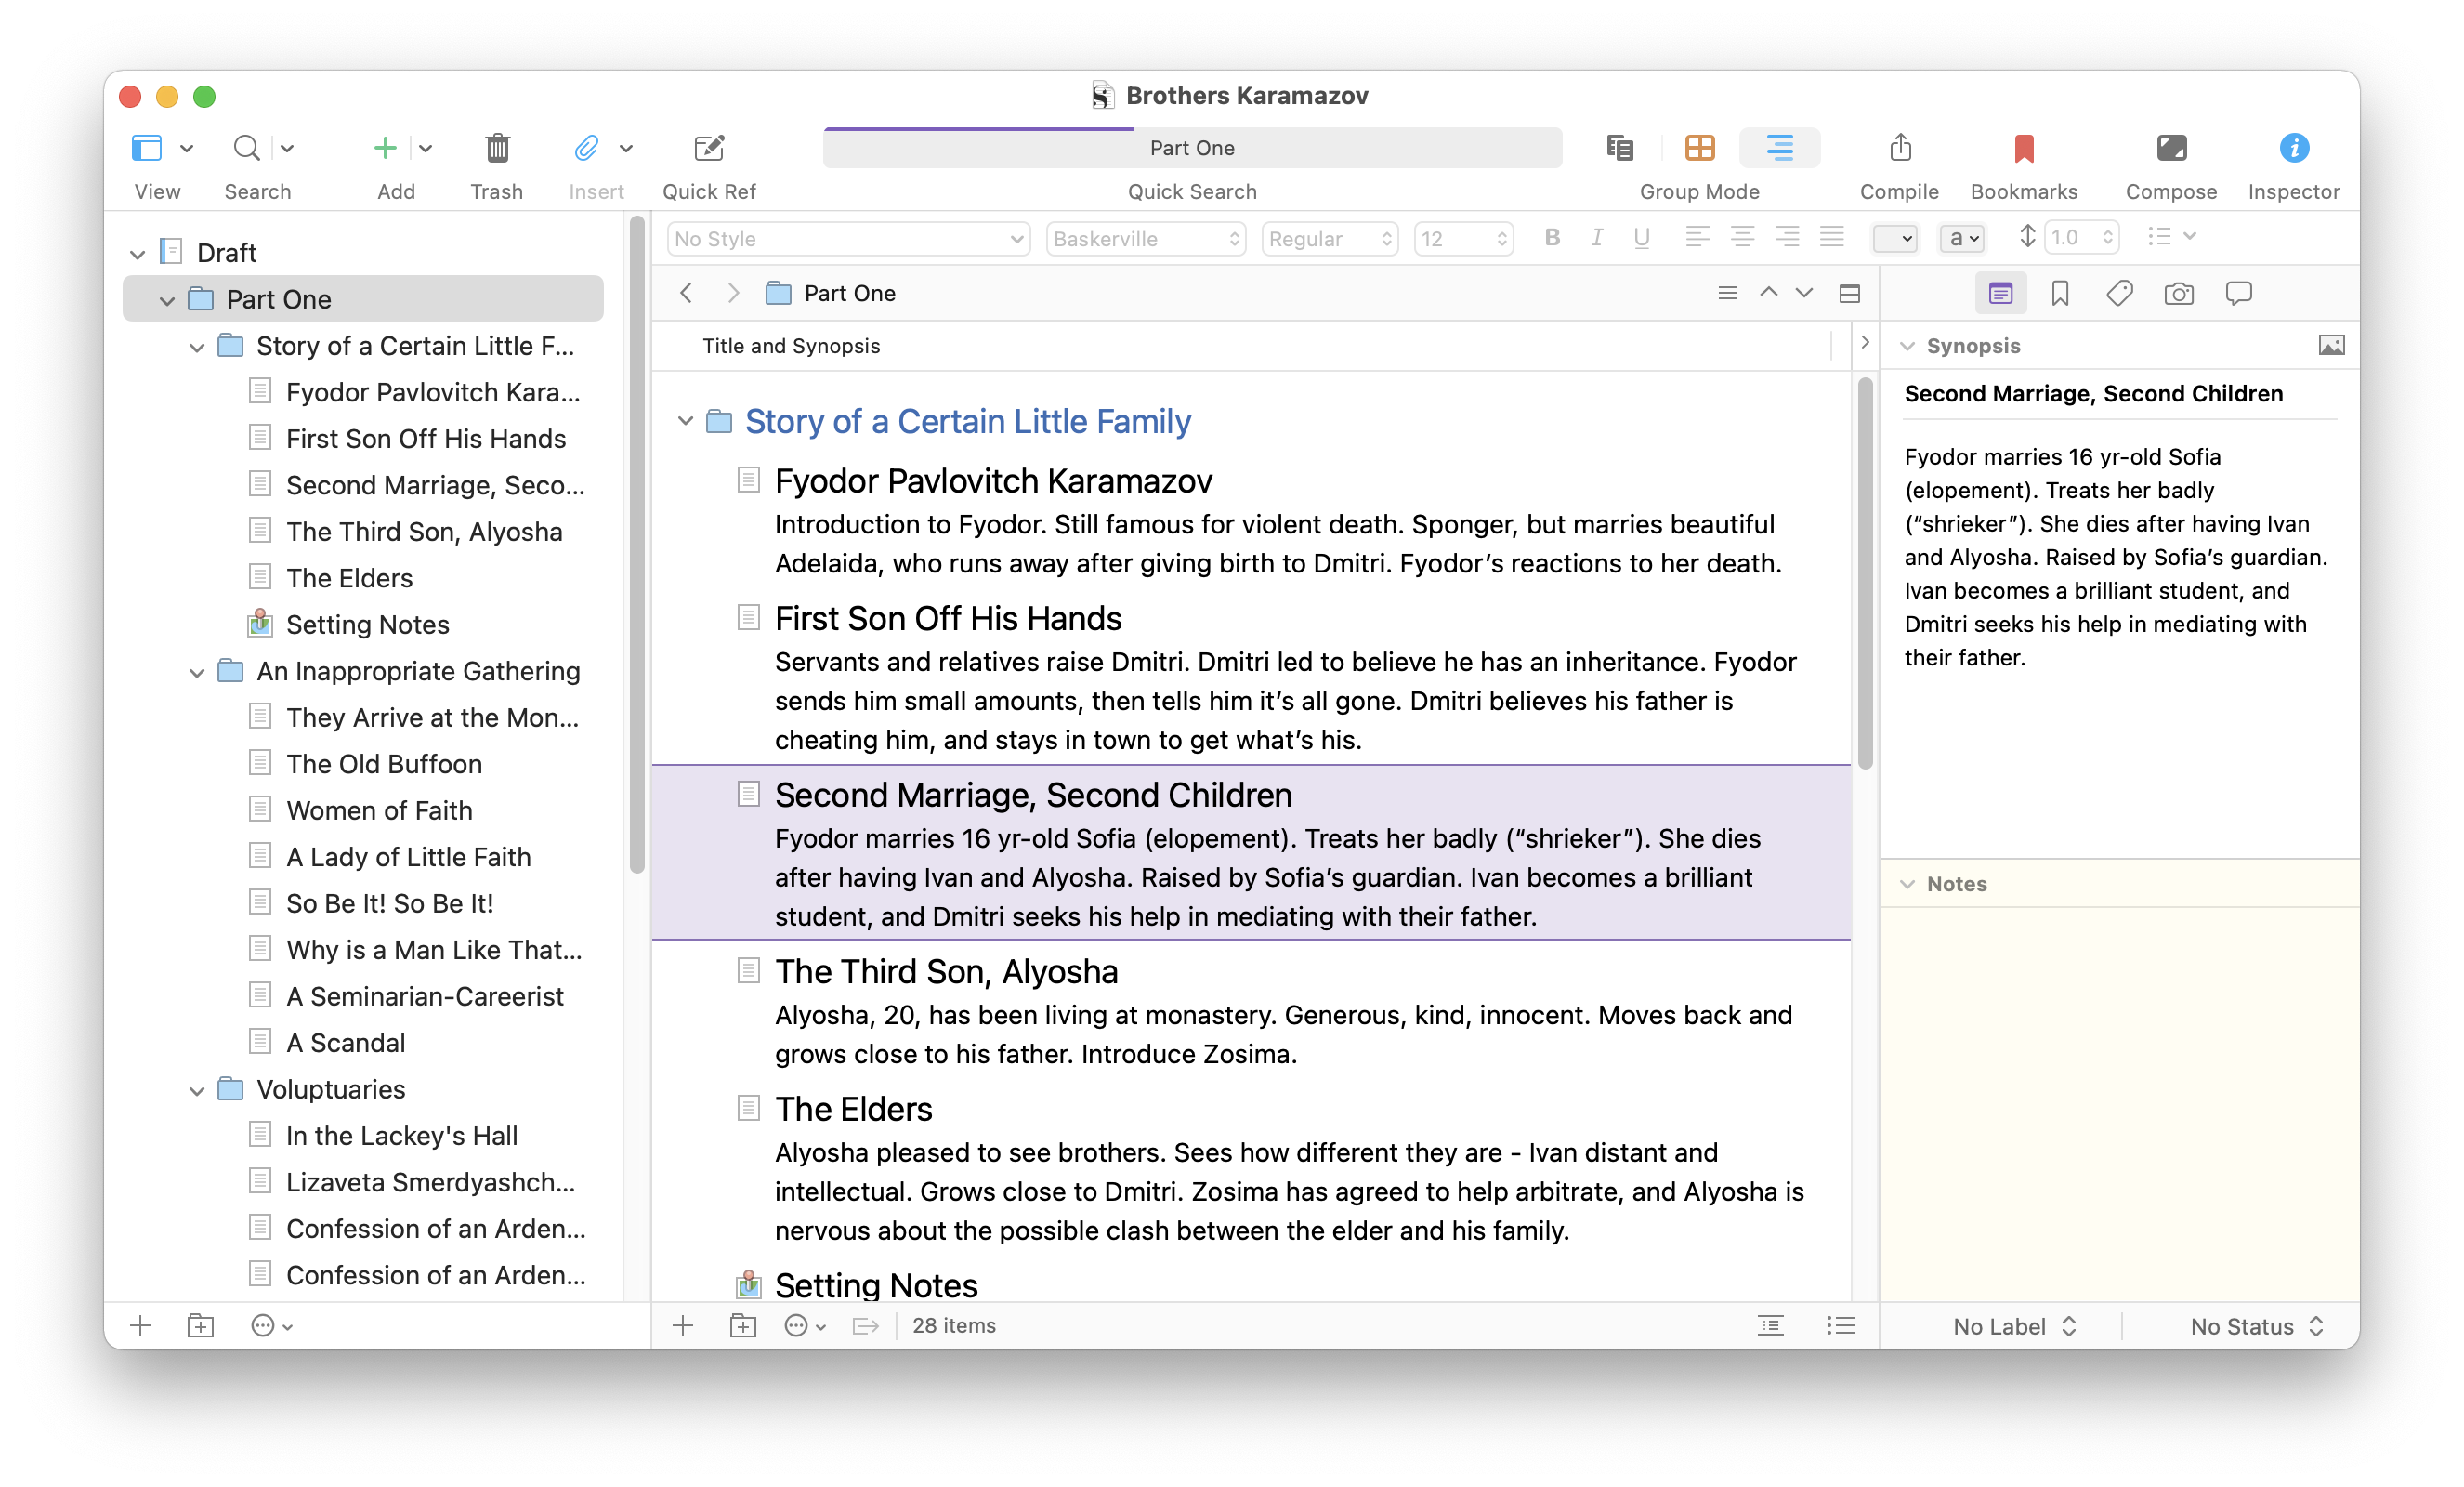
In this screenshot, you can see the names of the various documents, which are reflected in the Binder, as well as synopses. To enter a synopsis for a document, click it in the Binder or in Outline mode, then, in the Inspector, type in the Synopsis pane.
You can see synopses in the outline because this option is selected in the View > Outliner Options menu. Disable it, and you see an outline like this:
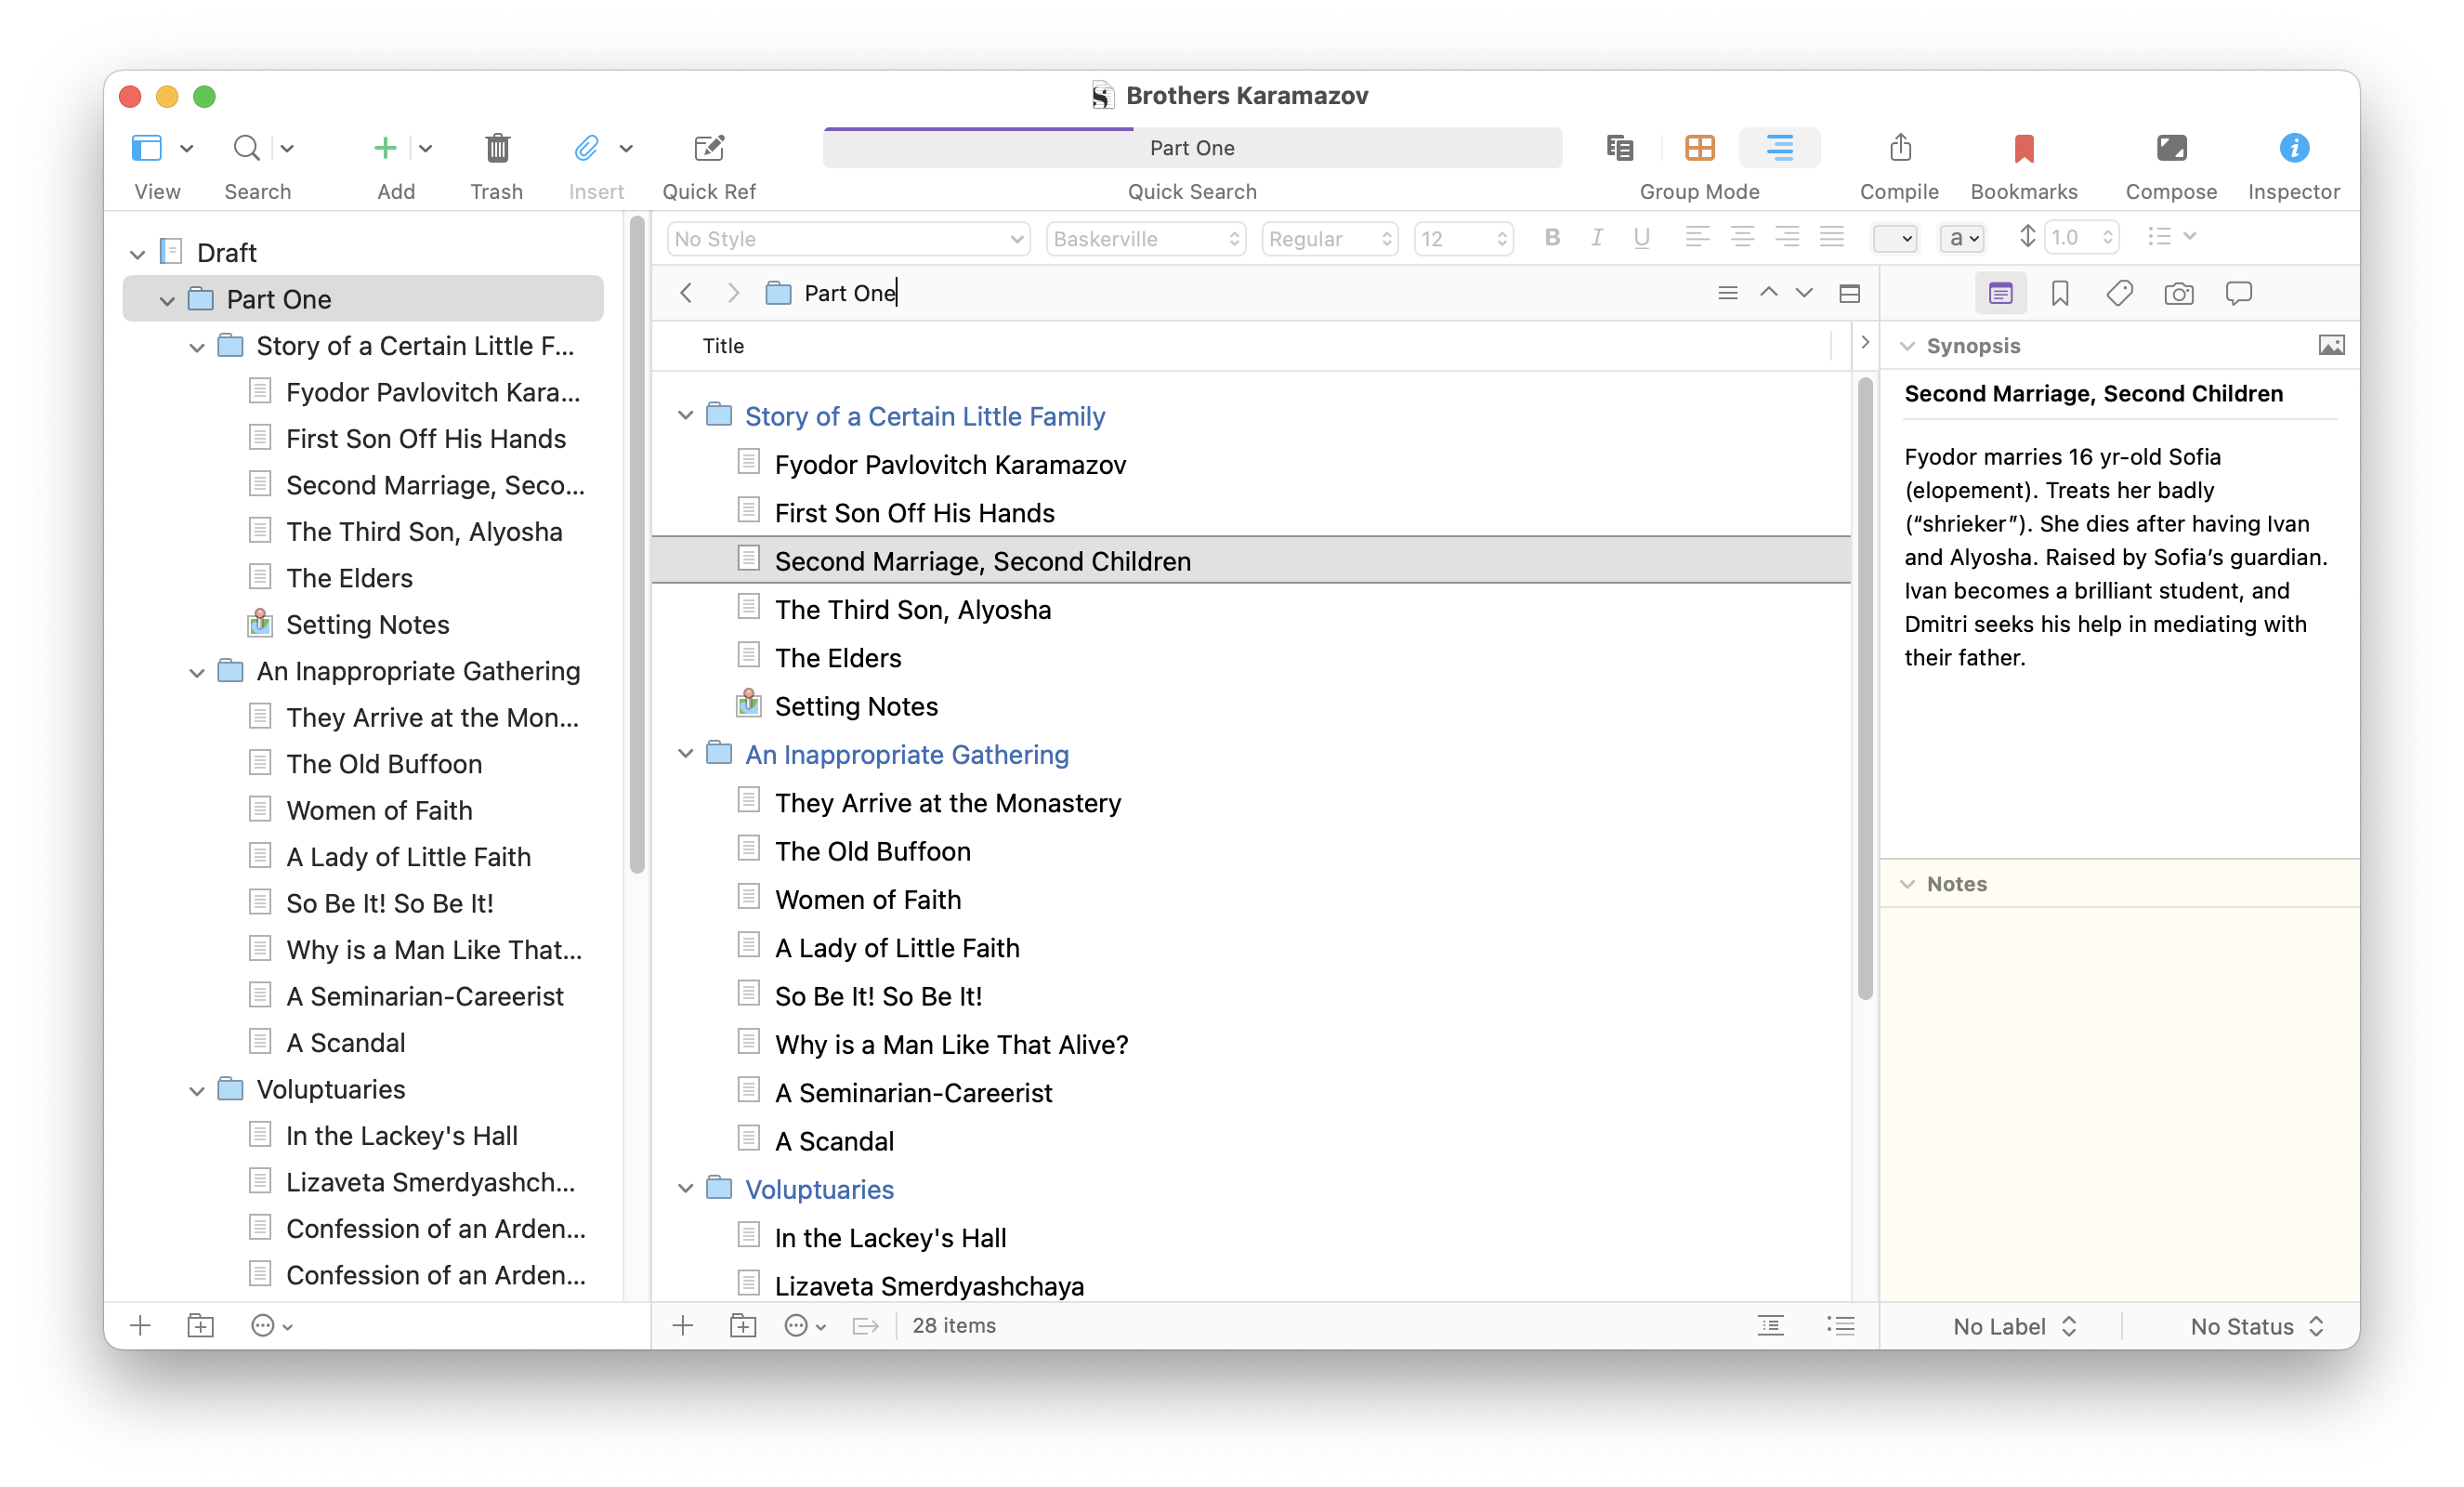
It can be easier to view an outline without synopsis if you're doing early-stage organization, brainstorming, and moving items around, but if you do add synopses to your documents, having them visible in the outline can help you as you rearrange individual scenes.
Outline options
There are many display options for Scrivener's Outline mode. Here are a few of the most useful.
You can add more than 20 columns to the outline. To enable or disable columns and other elements, either choose the View > Outliner Options menu, and choose items in the submenu, or click the small arrow button at the top right of the Editor pane when in Outline mode.
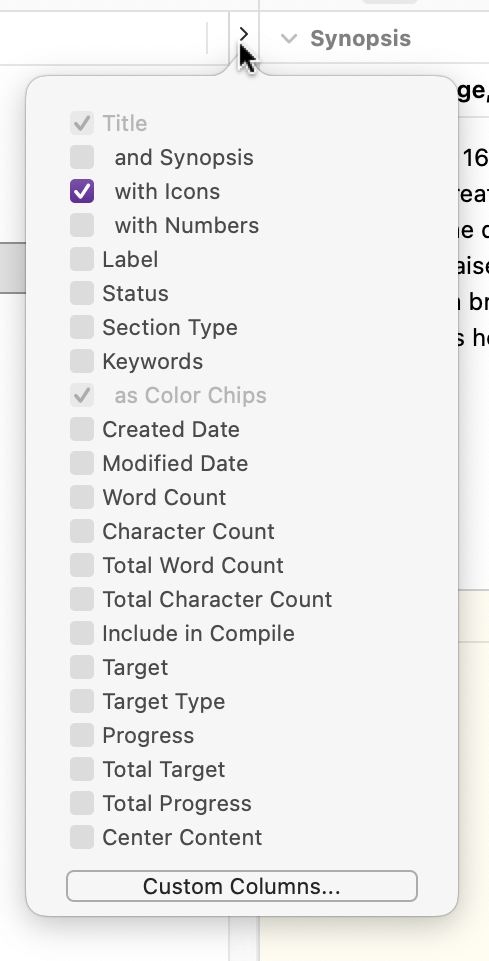
You can choose here if you want to display synopses, icons, numbers (to make an outline with numerical prefixes), and you can choose Fixed Row Height if you want all outline items to be the same height, regardless of how long they are. You can also display all kinds of metadata such as labels, status, keywords, word count, and more. It can be useful to display your word counts in your outline as you progress, to give you an idea of how much you have written, and displaying labels and statuses can also give you an overview of where you are in your project.
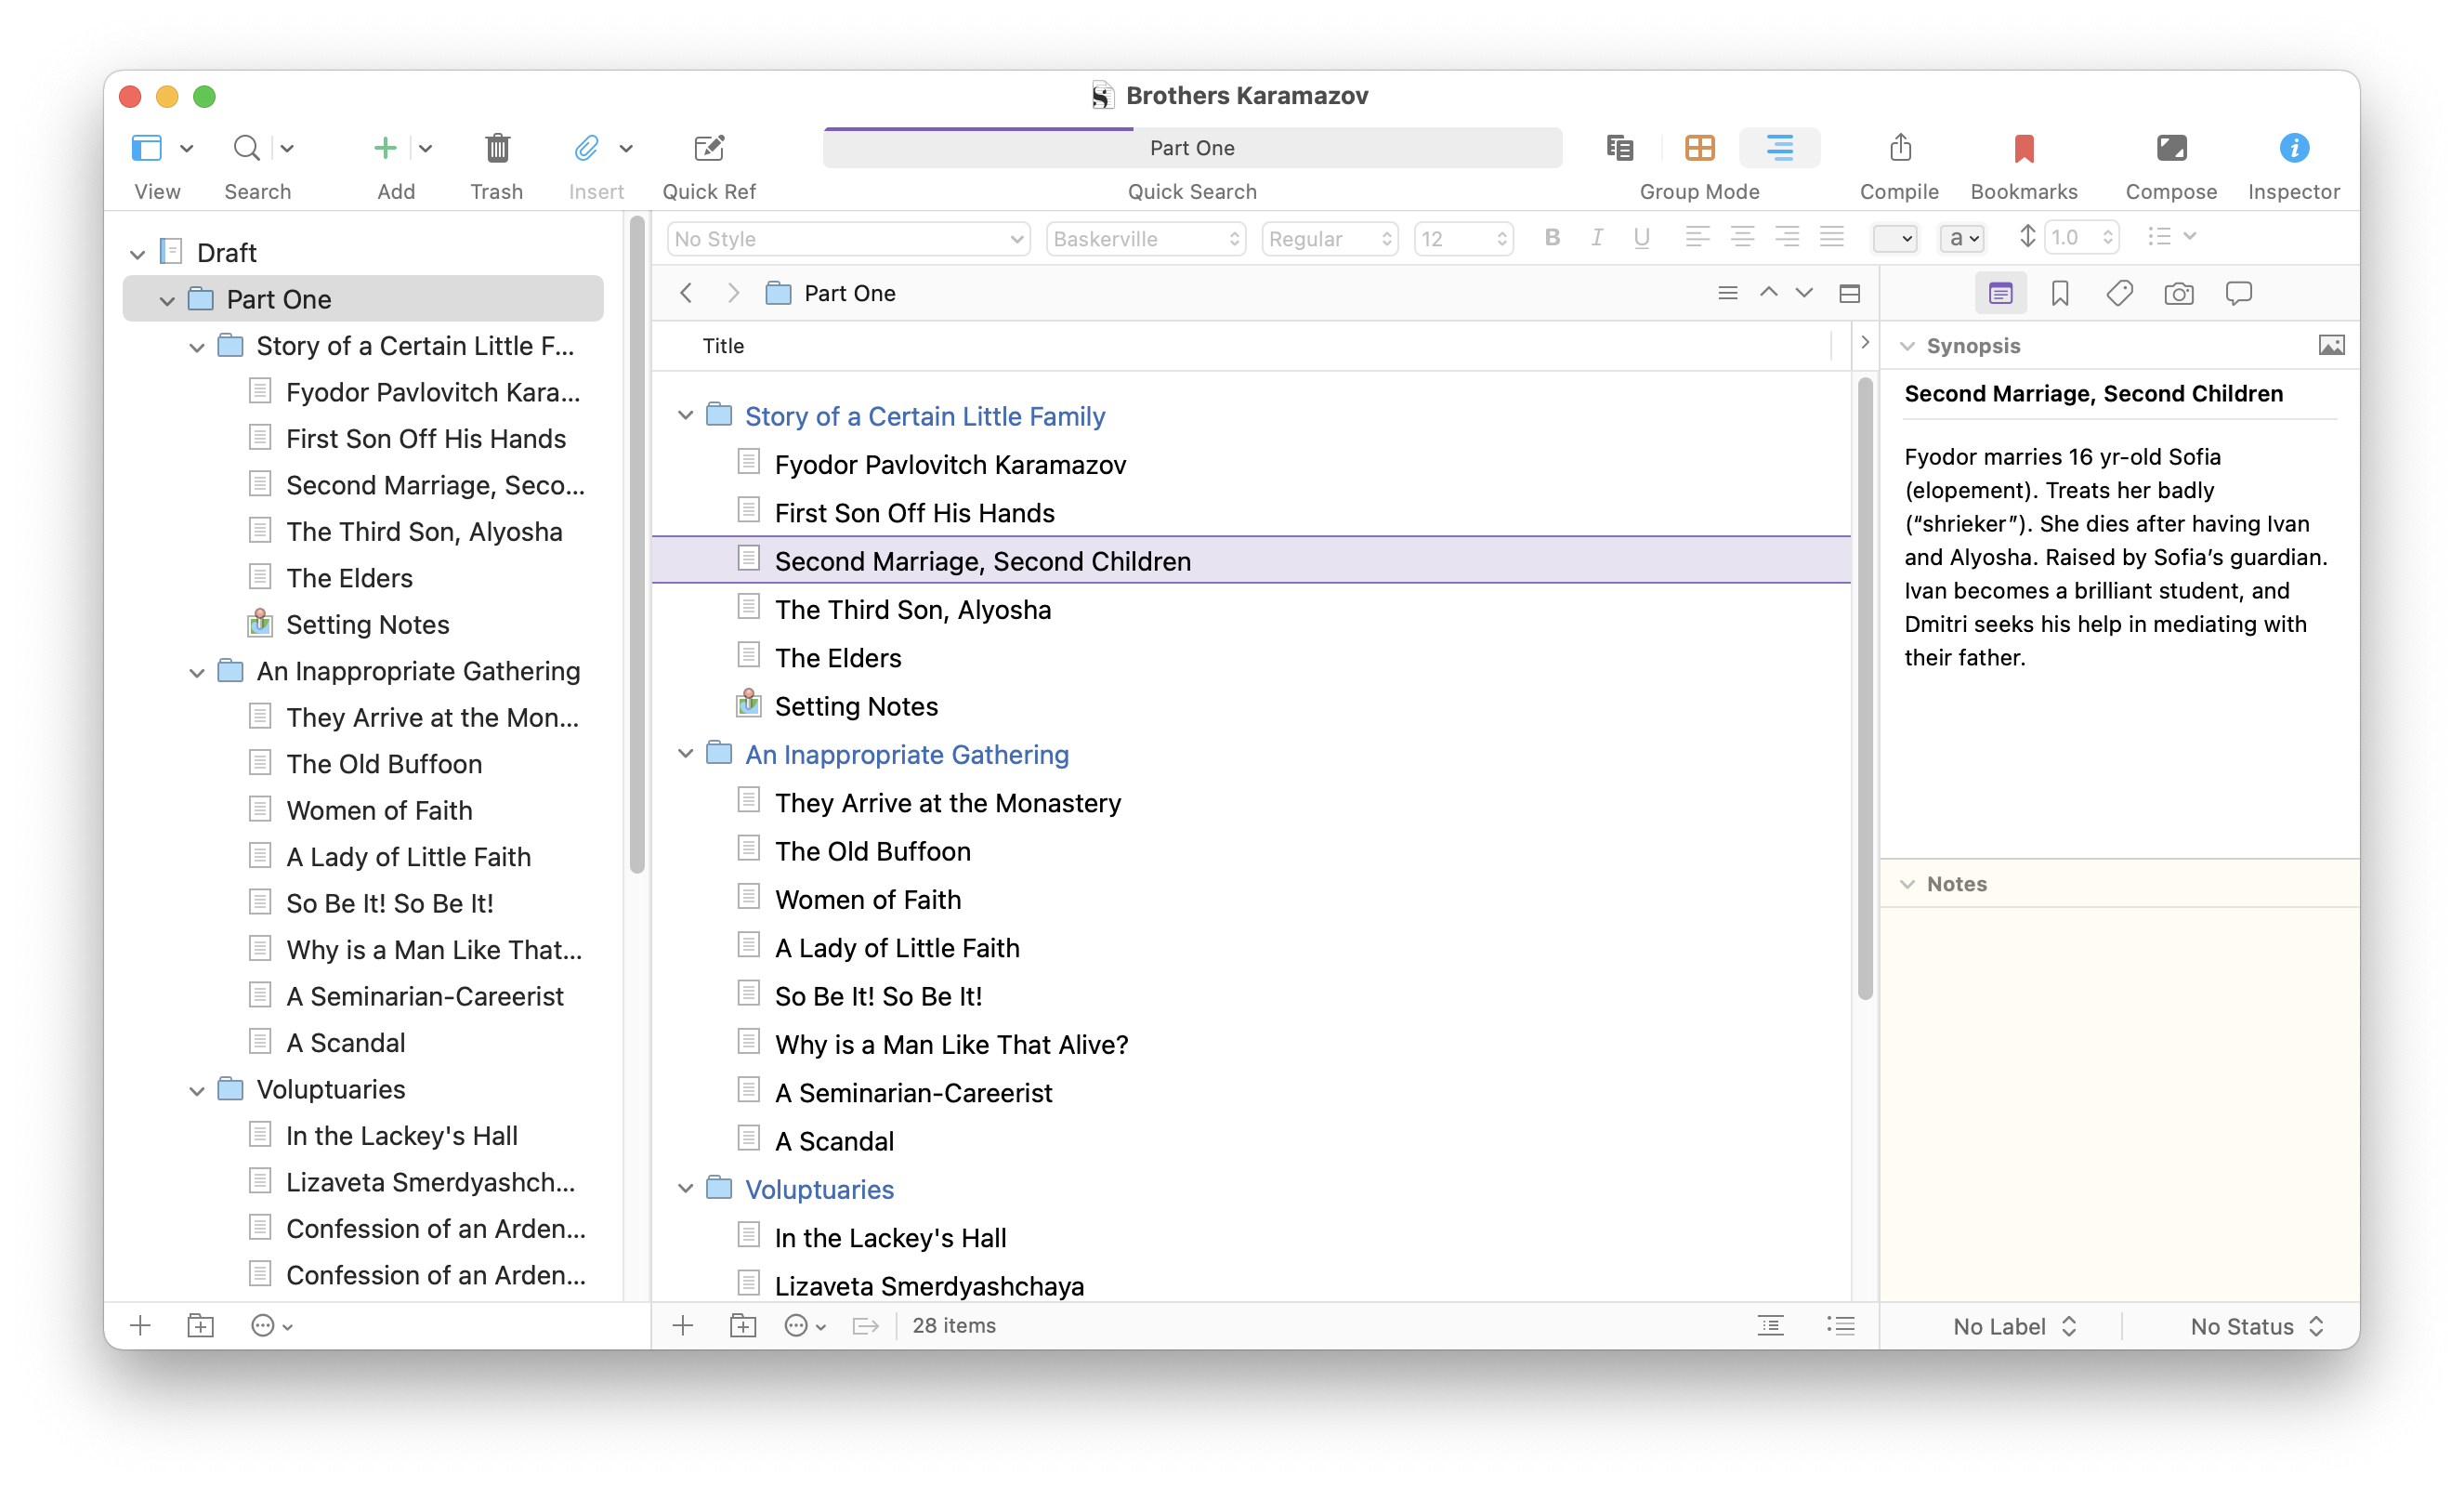
Displaying the outline without synopses is also a good way to re-organize your project, because you'll see more lines in the Scrivener window.
Reorganizing a project in Outline mode
While you can easily reorganize your project in the Binder, using Outline mode gives you much more information about your individual documents, especially if you choose to display metadata as explained above. For example, if you want all the chapters of your novel to be around 2,000 words, and you display word counts in the outline, you'll see any scenes or chapters that may be too short or too long. This can help you find scenes that you might want to expand, join with others, or split into multiple scenes if you want to maintain that similar word count.
And if you apply statuses to your documents, such as First Draft, Revised, or Done, you'll see, at a glance, where you need to focus to complete your project. Your outline will show you what's left to write, revise, or polish.
There are more options in Outline mode worth exploring; if you're a planner, see chapter 8.3 of the Scrivener manual to learn about these.
Kirk McElhearn is a writer, podcaster, and photographer. He is the author of Take Control of Scrivener, and host of the podcast Write Now with Scrivener.