Show and hide different elements of the Scrivener window so your work environment suits your needs.
Tame the Scrivener Window
The Scrivener window contains many elements. In addition to the main Editor, where you compose your texts, there is the Binder, which gives you an overview of your projects, and the Inspector, where you can see notes, comments, snapshots, and more. Above and below these three main elements is a Toolbar, a Format Bar, and more.
All of these elements help you work with your projects in Scrivener, but you don't always need to use them all. Hiding some of these elements can help you focus on your work, on your writing.
In this article, I'm going to show you how to customize the Scrivener window, so you only see those elements that you need when you're working.
The three main elements
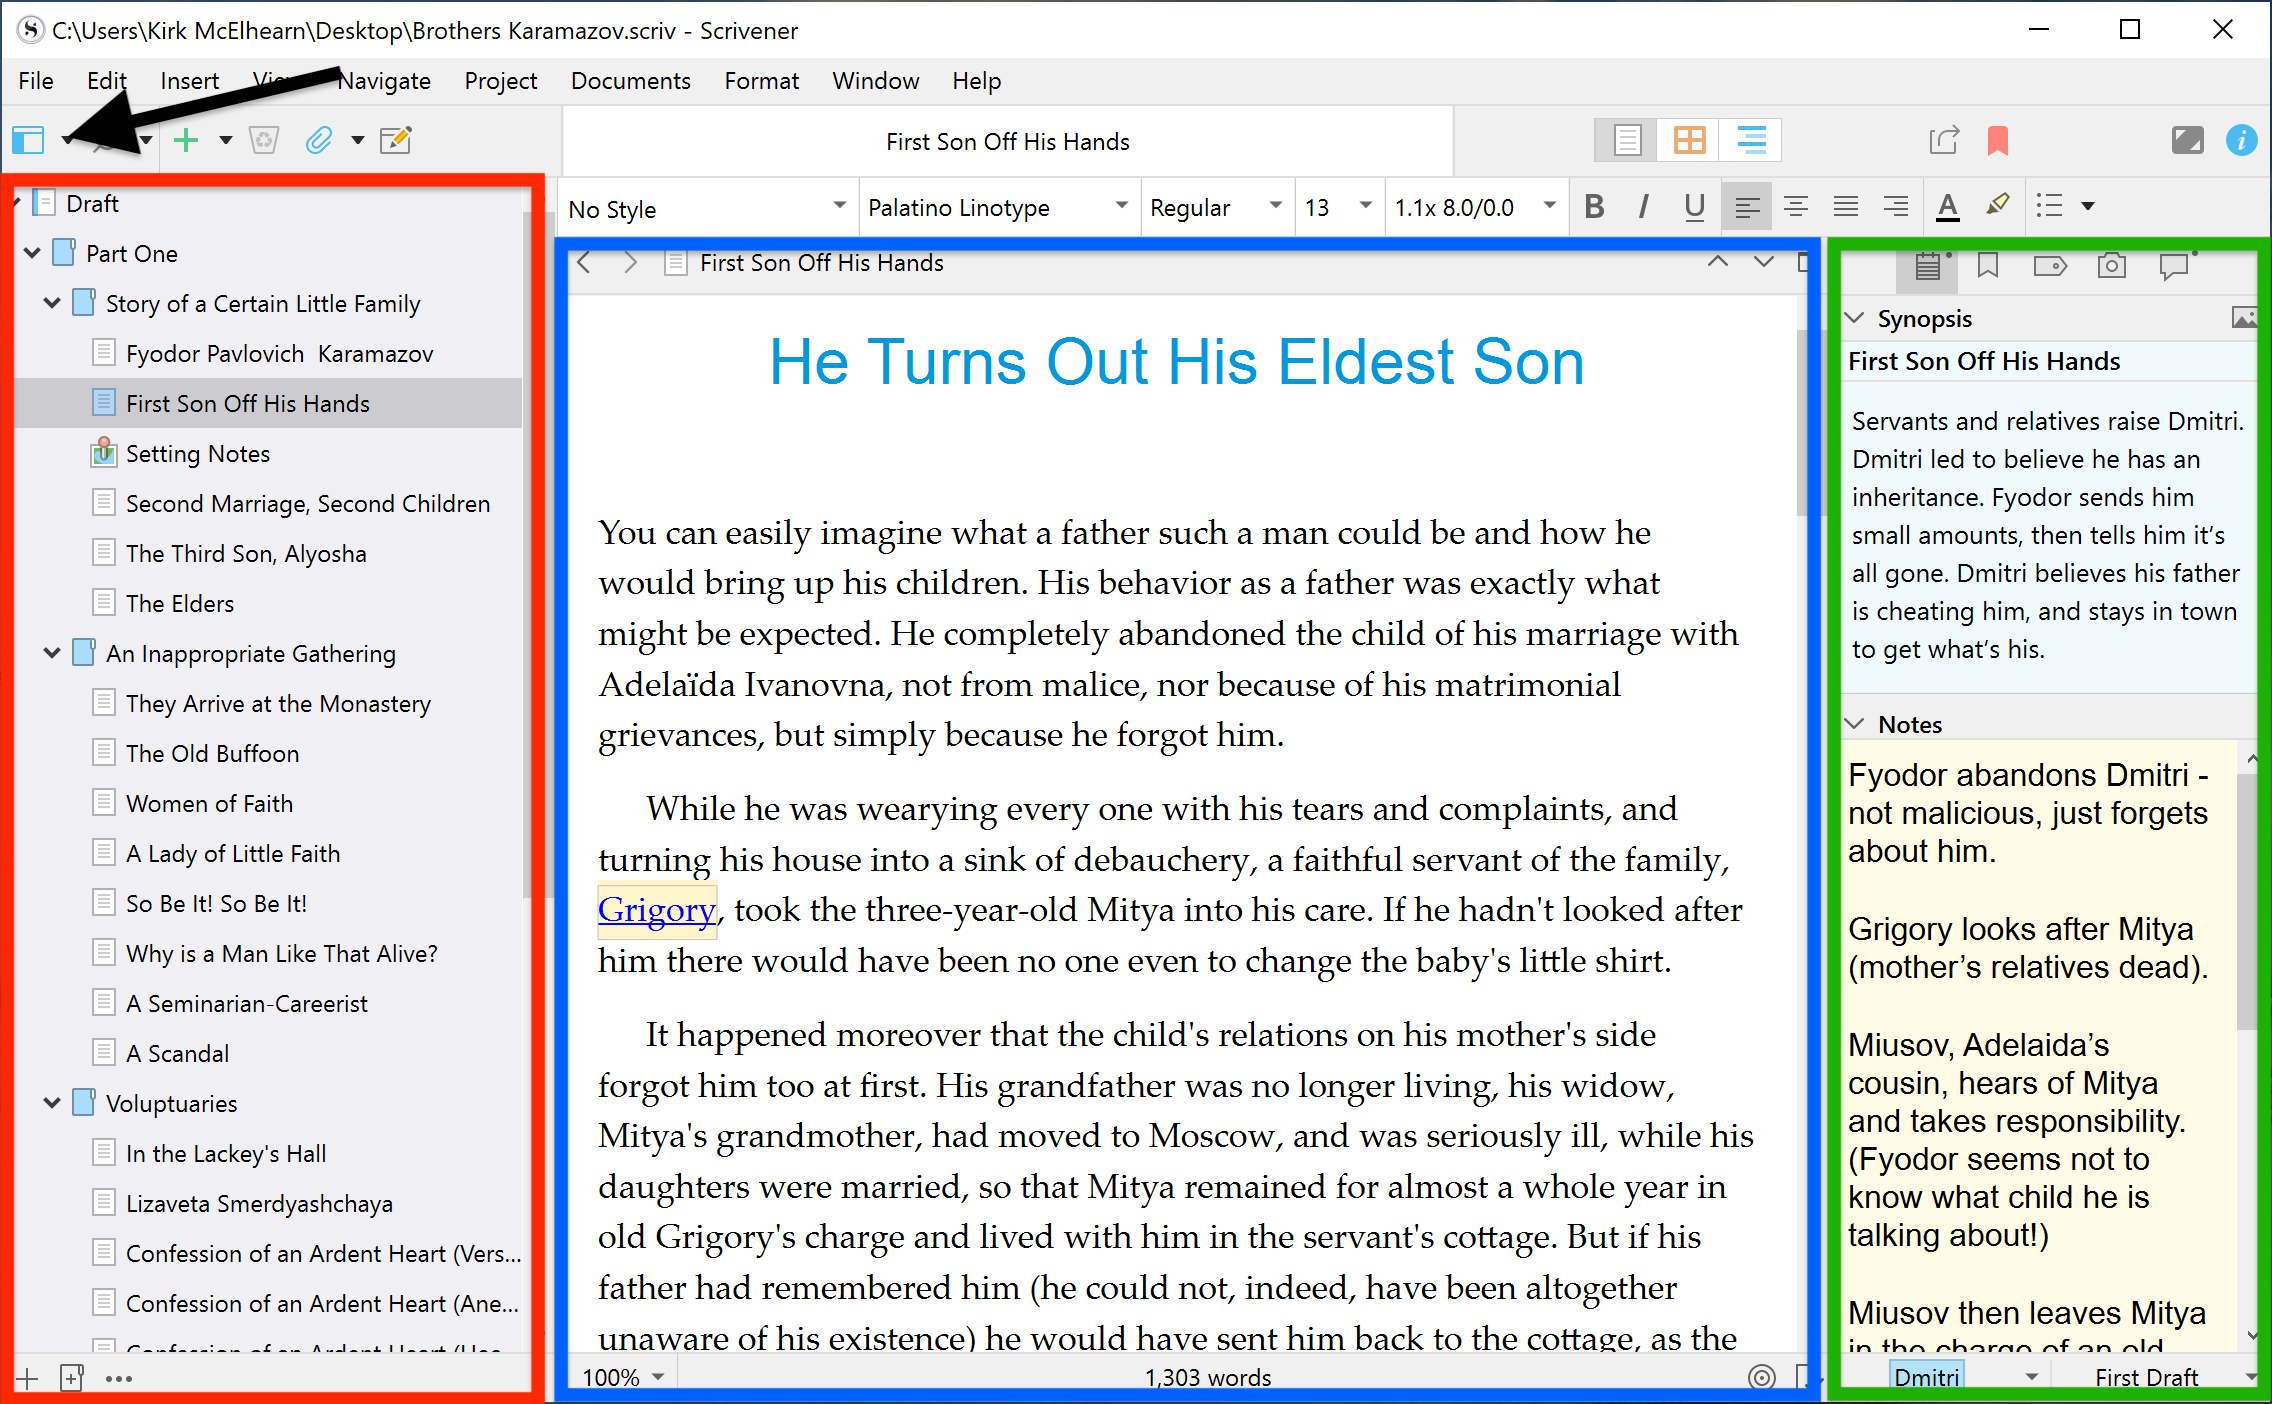
From left to right, the three main elements of the Scrivener window are the Binder, the Editor, and the Inspector. In the screenshot below, the Binder is outlined in red, the Editor in blue, and the Inspector in green.
You may find that you only want to see the Binder occasionally. When you're writing, you might not want the distraction of having it on screen, but you will want to view it when you're working with the structure of your project, adding or moving texts and folders. To hide the Binder, choose View > Hide Binder (Mac), or click the View menu, then click Binder (Windows); if the Binder is visible, you'll see a check mark next to its name in the View menu. To display the Binder again, choose View > Show Binder (Mac), or click Binder in the View menu (Windows). There are also keyboard shortcuts to make this quicker: on Mac, it's Command-Option-B to show or hide the Binder, and on Windows it's Alt+Shift+B.
The same is true for the Inspector: you can hide it from the View menu, as above. On Mac, View > Hide Inspector, on Windows, View, then click Inspector. And there's a quicker way to do this from the keyboard: Command-Option-I on the Mac hides or shows the Inspector, and Alt+Shift+I does the same on Windows.
If you want to alter the visibility of these two elements from the Toolbar, click the View button (pointed at with the black arrow in the screenshot above), then Show/Hide Binder (Mac), or just Binder (Windows). To show or hide the Inspector, you can click the Inspector button in the Toolbar.
You need the Editor visible when you're working, and this is the only one of these three elements that you can't hide.
Other elements you can hide
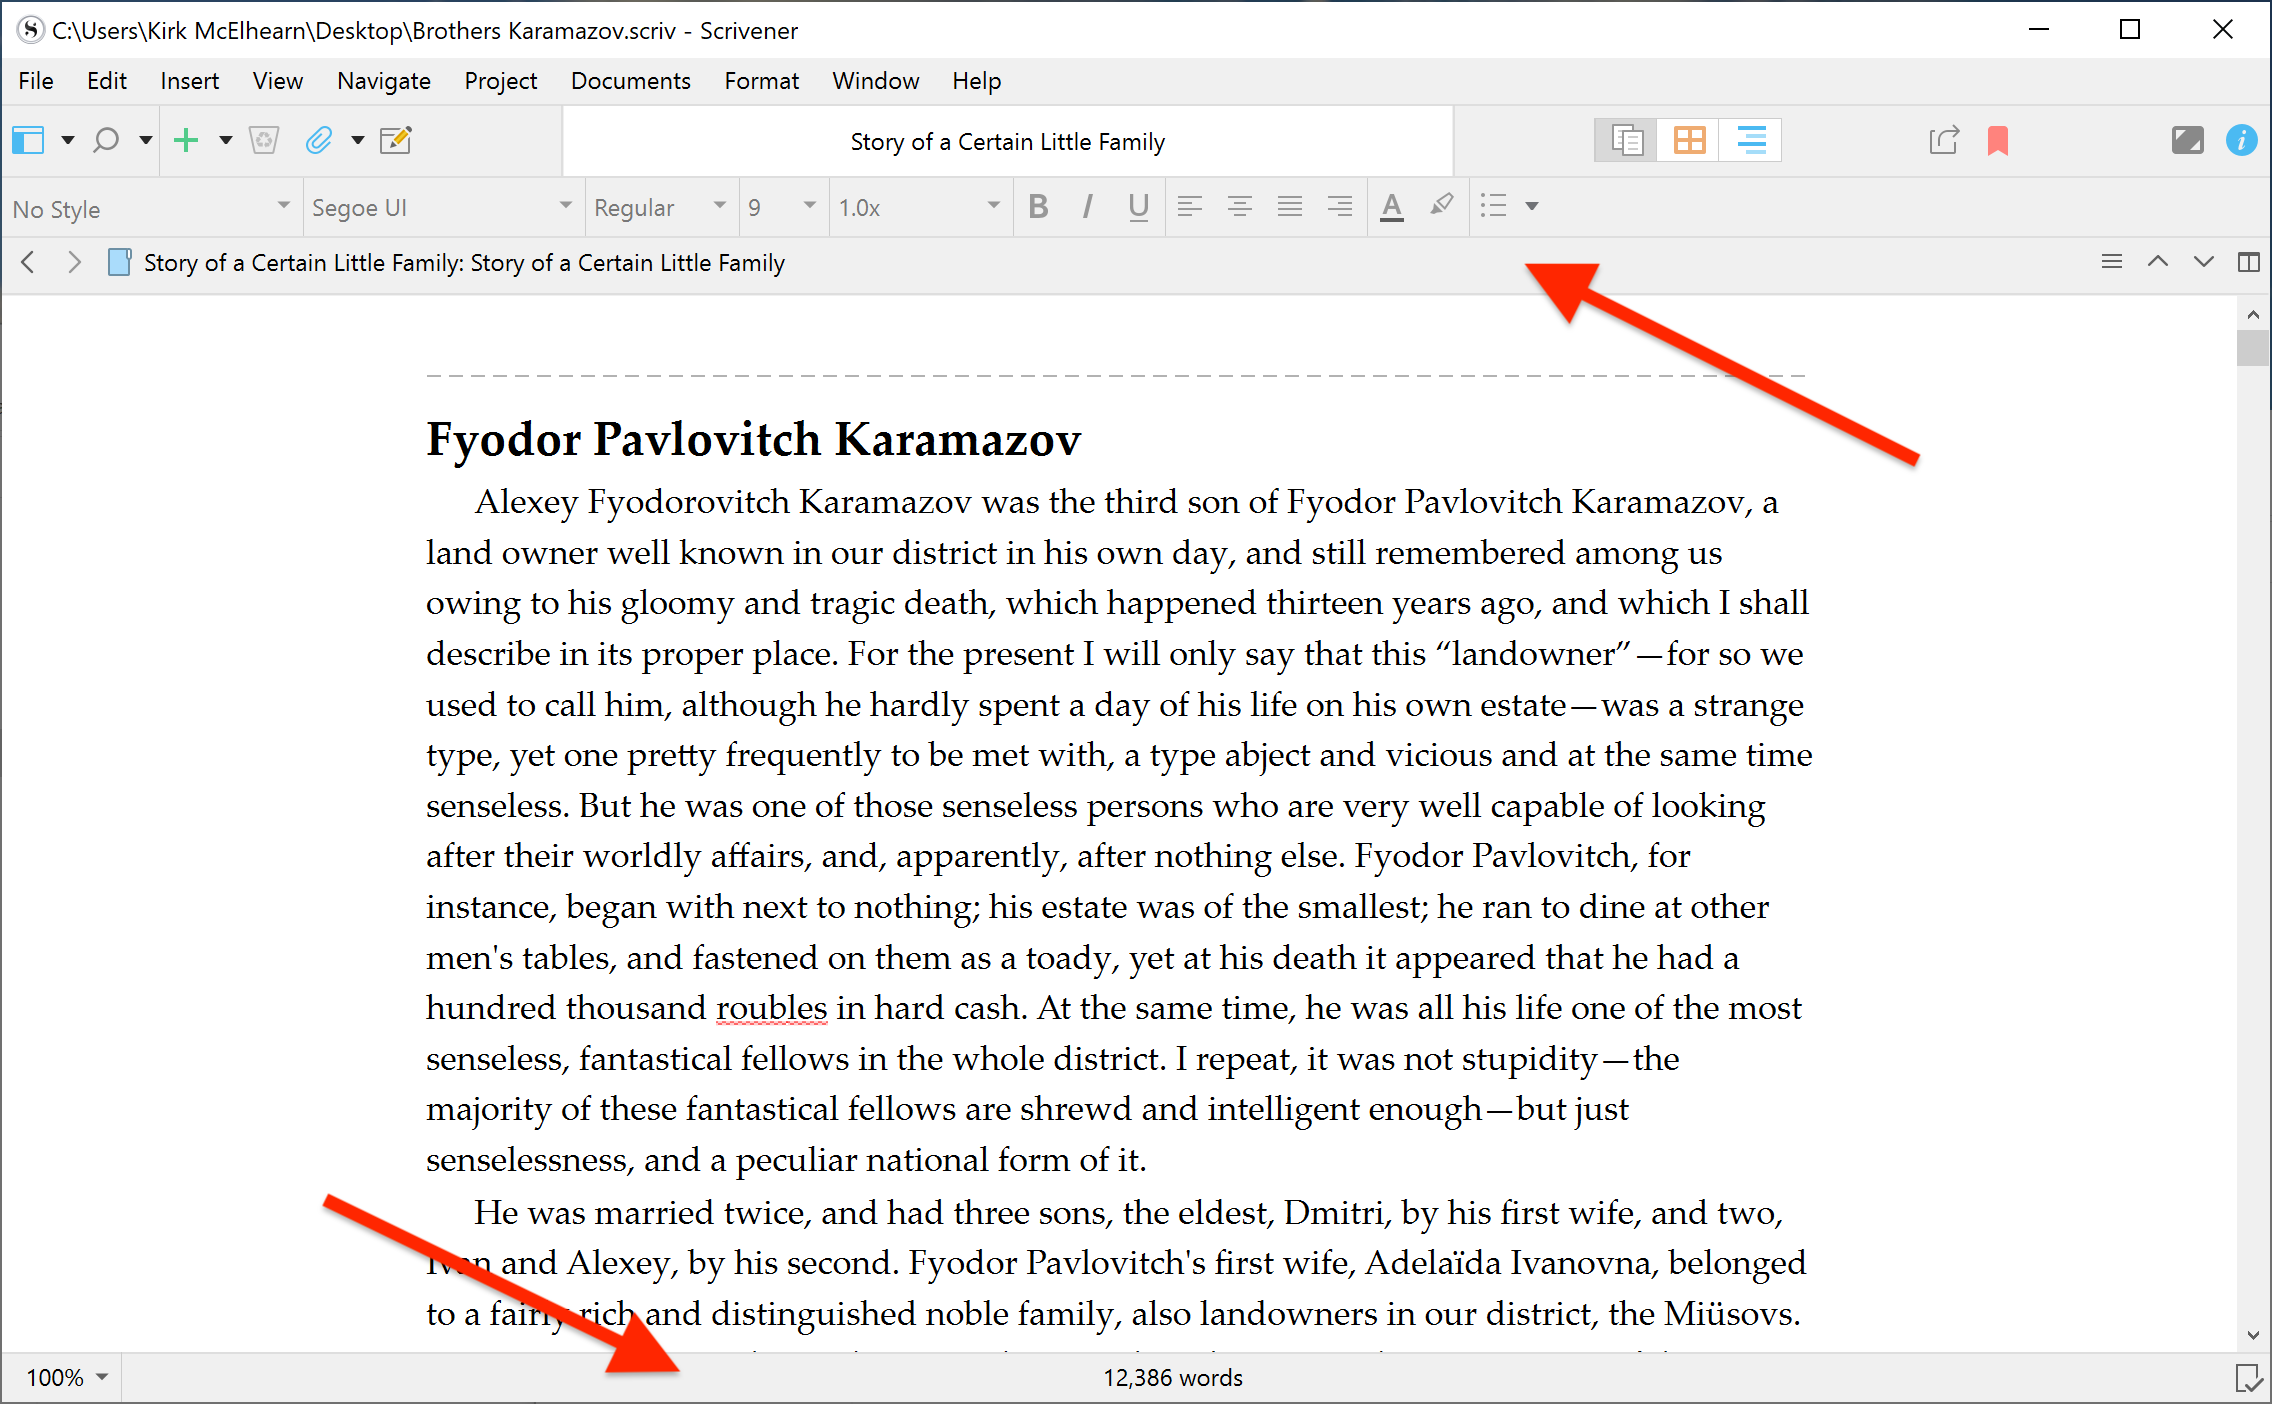
If you want to streamline the Editor - whether or not the Binder or Inspector are visible - there are two elements you can hide. The Editor has a Header View and a Footer View. In the screenshot below, the Header View is at the top of the Editor and the Footer View at the bottom.
You can hide both of these from the View menu. Choose View > Editor Layout, then Hide Header View or Hide Footer View on Mac; on Windows, choose View > Editor Layout, then click Header View or Footer View. You can show them again in the same way.
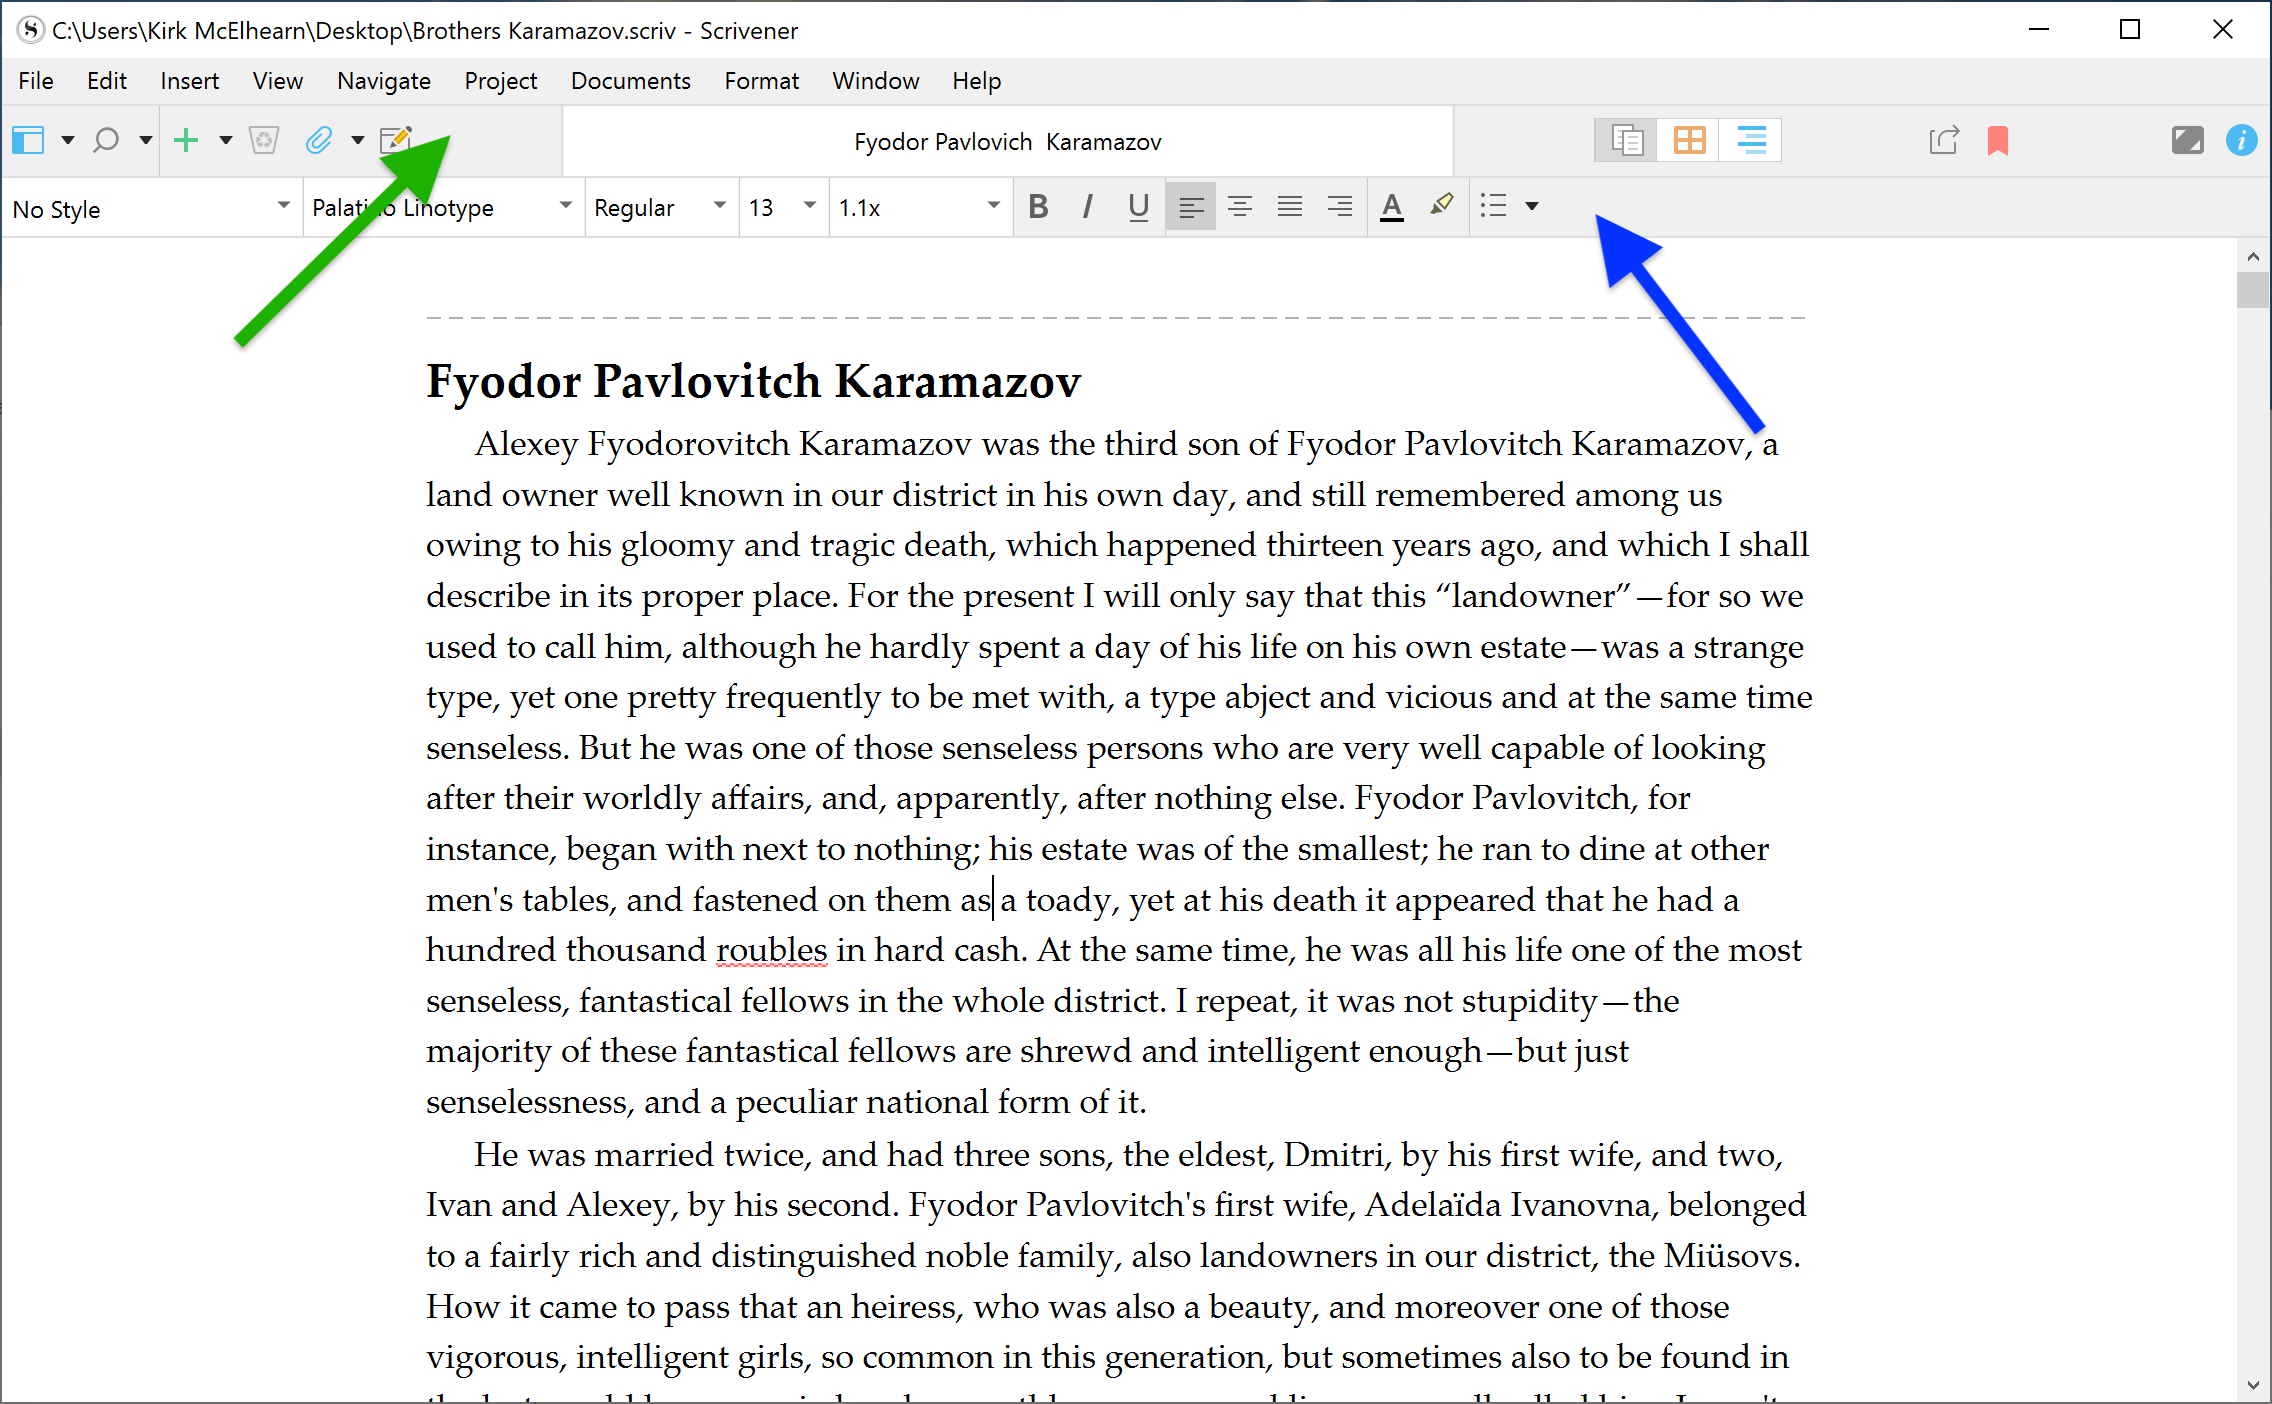
You can go further, and remove two other elements from the Scrivener window. If you choose View > Text Editing > Hide Format Bar (Mac), or View > Text Editing > Format Bar (Windows), you can remove the Format Bar, indicated below with a blue arrow. And View > Hide Toolbar (Mac) or View > Toolbar (Windows) hides the toolbar, indicated by a green arrow.
When you've removed all these elements, you end up with this minimal window:
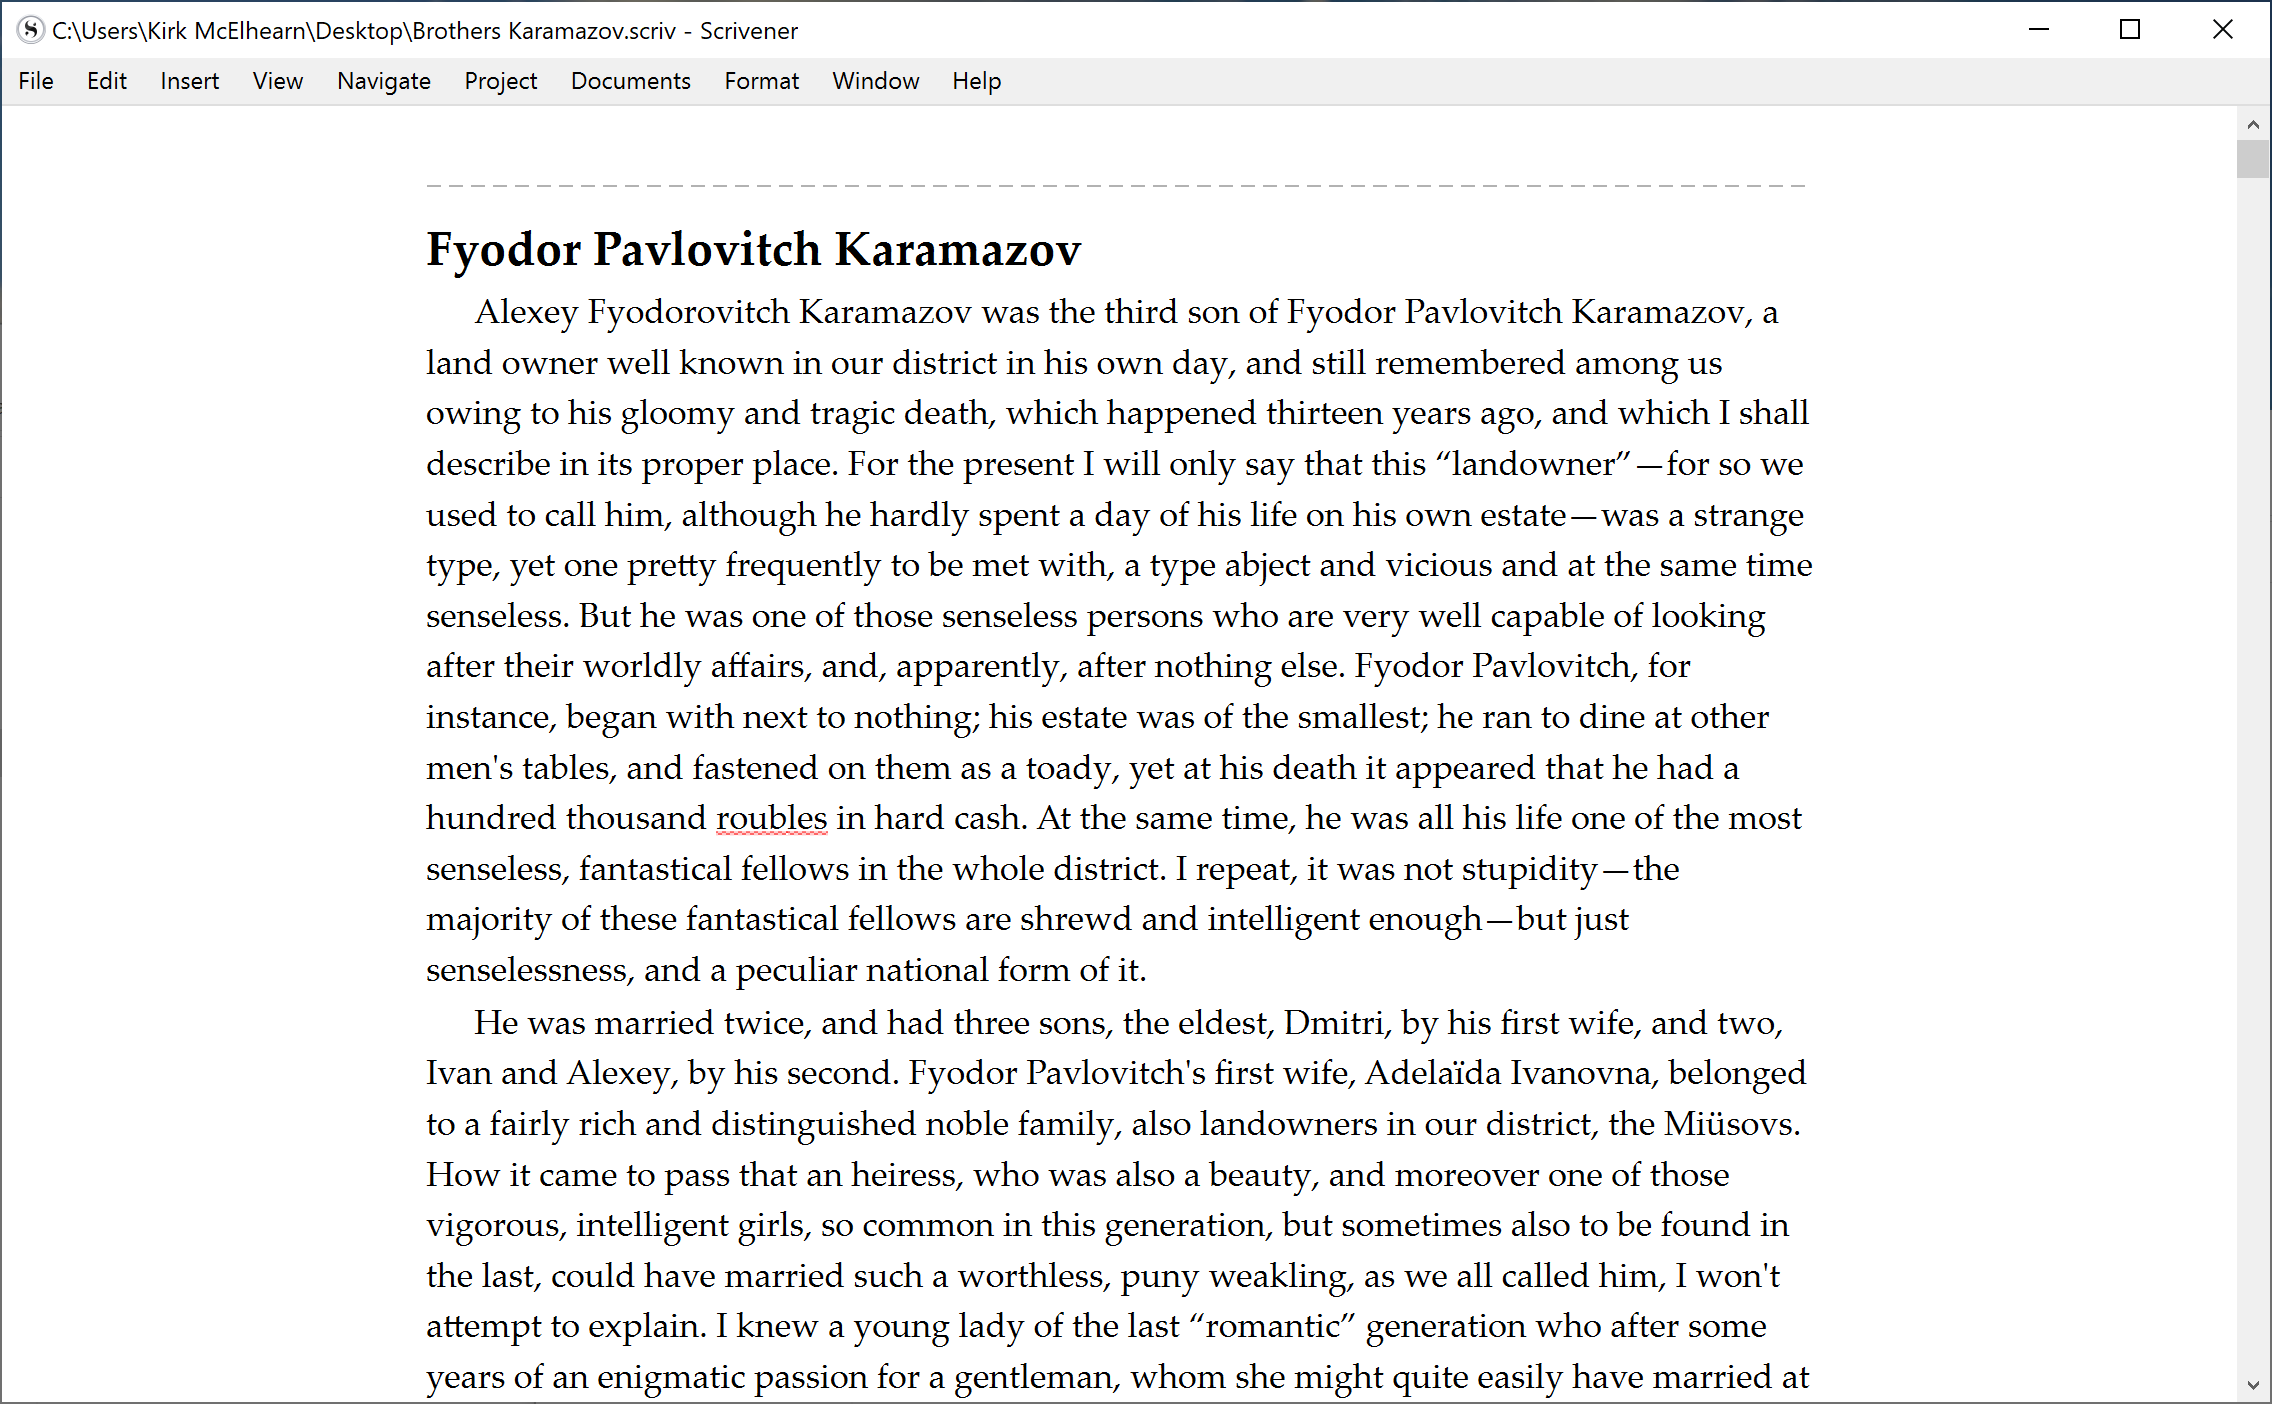
You may find this to be a comfortable way to work with Scrivener, at least when you're writing. When you're editing your work, you may want to have some or all of the elements visible. Remember, each of these elements is just a click or a keyboard shortcut away.
Saving window layouts
If you find that you like to write with the Scrivener window displayed in one way, and edit with different elements displayed, there's an even easier way to switch. You can save the layout of the Scrivener window, and you can do this for many different layouts.
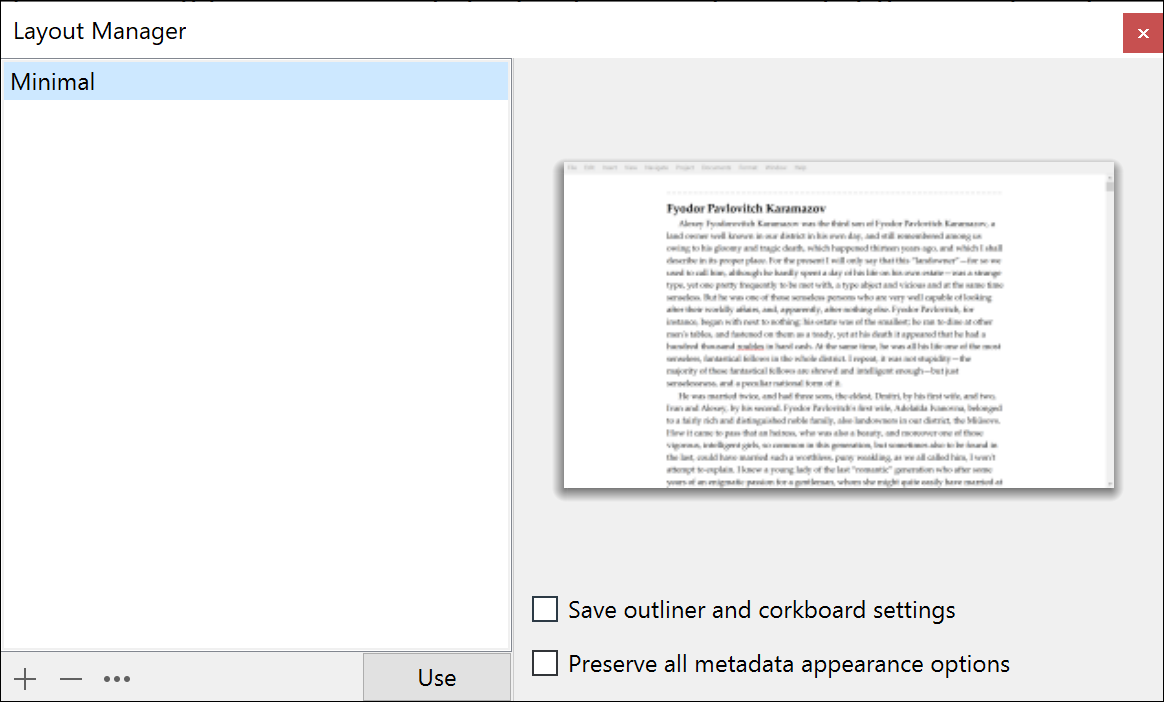
After you've tweaked the window to your desired settings, choose Window > Layouts > Manage Layouts. Click + at the bottom of the window, and name your layout. Scrivener saves the window settings, which you've adjusted as described above, and shows a screenshot.
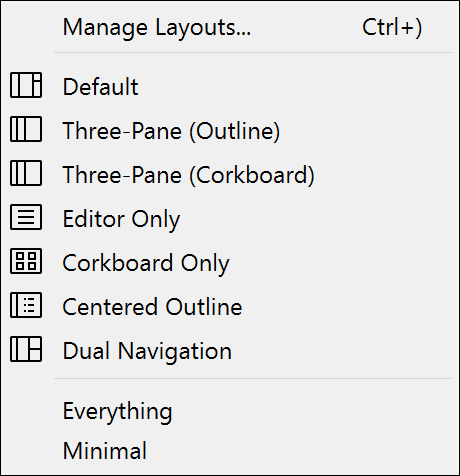
You can then adjust the window and save another layout, add it the same way, and so on, for as many layouts as you like. When you want to switch layouts, just choose Window > Layouts, then choose the name of the layout you want to switch to.
If you want to make a change to a layout you've saved, change the display of the Scrivener window, then choose Window > Layouts > Manage Layouts. Click the current layout, that you've made changes to, then click the Options (...) button and choose Update Selected Layout.
The Mac version of Scrivener shows a number of useful built-in window layouts by default this menu. You can display these in the Windows version by unchecking Hide Built-In Layouts in the Options (...) menu. This is a feature that is still a work in progress in the Windows version of Scrivener.
Take advantage of this flexibility to hide elements you don't need when you're working, and switch between layouts quickly so the Scrivener window always displays what you need to work on your projects.
Kirk McElhearn is a writer, podcaster, and photographer. He is the author of Take Control of Scrivener, and host of the forthcoming podcast Write Now with Scrivener.