It's easy to make a PDF of all or part of your Scrivener project to print out for editing, or to share with others.
How to Make a PDF of Your Scrivener Project
As you’re working on your project, you may want to create a PDF of your manuscript, or of parts of the project. This can be handy if you want to print out some of your text to edit it, or if you want to share it with someone: a friend, a beta reader, a critique partner, or an agent. You might even want to save your project as a PDF as a backup, just in case.
Scrivener gives you several ways to do this: you can compile the entire project as a PDF, you can print (Mac) or export (Windows) the project as a PDF, or you can print or export selected documents from your Binder as PDF files, if you don’t want to create a PDF of your entire project.
Compile your project as a PDF
When you compile your Scrivener project, you tell Scrivener to paste together all the elements in your Binder and format them according to the section layouts you’ve chosen. This allows you to choose precise formatting: font, size, line spacing, margins, and more.
You can compile Scrivener projects to a number of formats, such as .docx or RTF, ebooks, and even plain text. But you can also choose to compile to a PDF, which will create a sharable document of your entire project.
Your compiled project can look very different from what you see in Scrivener, if you’ve set the Editor view and formatting to be as comfortable as possible when you’re writing. You may use a large font when writing, but you may want to create a PDF in a 12 point font, which is easier to read. This can be especially useful if you want to print your draft to edit it on paper.
See Compiling Your Scrivener Project: The Basics to learn how to compile your project as a PDF, and in other formats.
Print a PDF
While you don’t actually print a PDF - it’s a digital document - you can use the print function on a Mac or a Windows PC to create a PDF. This is a quick way of generating a PDF of your manuscript, but it doesn’t change the formatting like when you compile the project. The PDF will retain the font and size you have set in the Editor, as well as any other formatting you’ve applied.
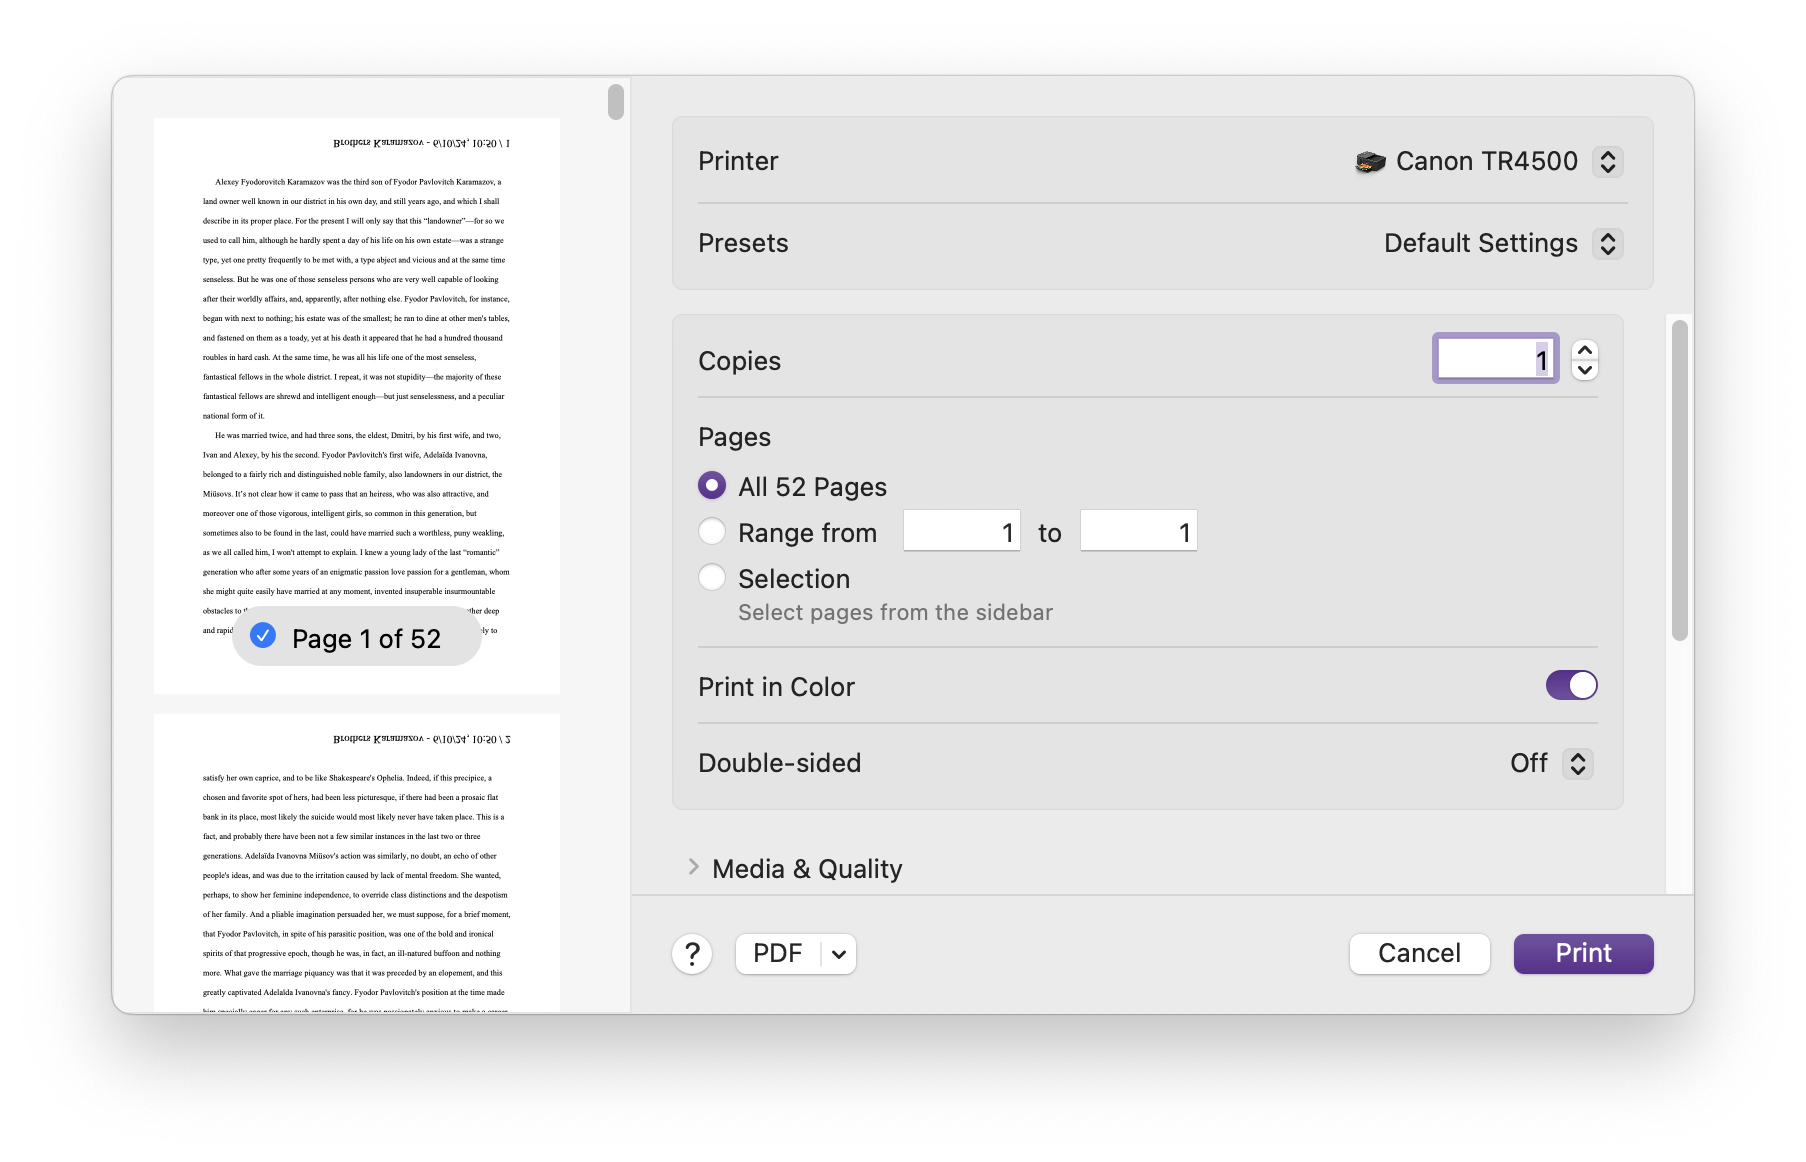
To print a PDF on a Mac, click the top-level folder in the Binder: this is generally Draft or Manuscript. Choose File > Print Current Document, then click PDF at the bottom of the window and choose Save as PDF. Select a location to save the file, then click Save.
On Windows, you can’t print by selecting the top-level Draft or Manuscript folder. You can, however select any other folder, which displays all its contents in Scrivenings view.
Choose File > Print Current Document, and choose Microsoft Print to PDF from the Printer menu. Click Print, then enter a name for the PDF and choose a location to save the file, and click Save. You won’t get a single document of your entire project, but you can use Acrobat Reader, if you have this installed, or you can use Adobe’s online Merge PDF tool to upload the files and download a single file. Many Windows PDF viewers and tools can also merge files like this.
Save selected files as a PDF
You may not want to save your entire project as a PDF, but only certain parts of it. You can do this to to re-read or edit individual scenes or chapters as you’re progressing with your project, or send excerpts of your project to a critique partner or agent.
To do this on Mac, select one or more files in the Binder, then use the Print Current Document command as just above. You can select multiple contiguous files by clicking on the first file you want to save, pressing Shift, then clicking on the last file. To select non-contiguous files, click on the first one, then press Command (Mac) or Ctrl (Windows). Each time you click on another file, as long as you hold down the modifier key, that file will be selected.
On Mac, choose File > Print Current Document, then proceed as above to save your selected files as a single PDF file.
On Windows, once you’ve selected files as above, choose Export > Files > Export Text Files as Adobe PDF. Click Export, and Scrivener exports each file as a separate PDF. You can then merge them, as explained above.
It’s easy and useful to save your Scrivener project, or parts of it, as a PDF. You may find this useful to be able to share your project with others, or when you want to revise or edit your work.
Kirk McElhearn is a writer, podcaster, and photographer. He is the author of Take Control of Scrivener, and host of the podcast Write Now with Scrivener.