Learn about Scrivener's tools that can help you proofread your manuscript.
How to Proofread Your Manuscript in Scrivener
When you finish the first draft of your manuscript, there are several steps you need to complete to prepare it for submission to agents or publishers: revising, editing, and proofreading. Revising looks at the big picture of a book: the characters, the flow, the plot and subplots, and the timeline, to improve the overall clarity, coherence, and logical flow of the writing. Editing focuses on refining the language and style of the writing to ensure that it is clear, concise, and that it is in the author's voice.
Proofreading is the final stage, and it involves identifying and correcting surface-level errors. The goal of proofreading is to ensure that the document is free of minor mistakes that could distract the reader.
In this article, we look at specific tools in Scrivener that can help you proofread your manuscript.
Let your manuscript sit for a while
You've completed your first draft, and you've done the revisions and edits, so now you should put your manuscript aside and wait for a while. As you've seen going through the revision and editing process, when you keep reading the same text over and over you lose perspective.
To proofread, to spot small errors that you've missed in your previous edit passes, you need to see the manuscript with new eyes. It's impossible to achieve this perfectly, but if you take some time away from the manuscript, your brain will be in a better position to notice things you've missed before when you go to proofread it.
Change the font
You've probably chosen to use a font in Scrivener's Editor that you're comfortable with, that allows you to work for hours on your computer without fatiguing your eyes. But you've become familiar with seeing your words in that font. The best way to start proofreading is to change the font to something different. If you use a serif font, such as Times or Palatino, change to a sans serif font, like Arial or Helvetica, or vice versa. You may also want to change the font size to something bigger and easier to read.
You can make this change in the Editor, or in Scrivener's Settings or Options, and you can change it back when you've finished proofreading. You'll find that a different font makes the text look very different, and you'll spot typos and homophone errors - words like they're, their, and there - more easily.
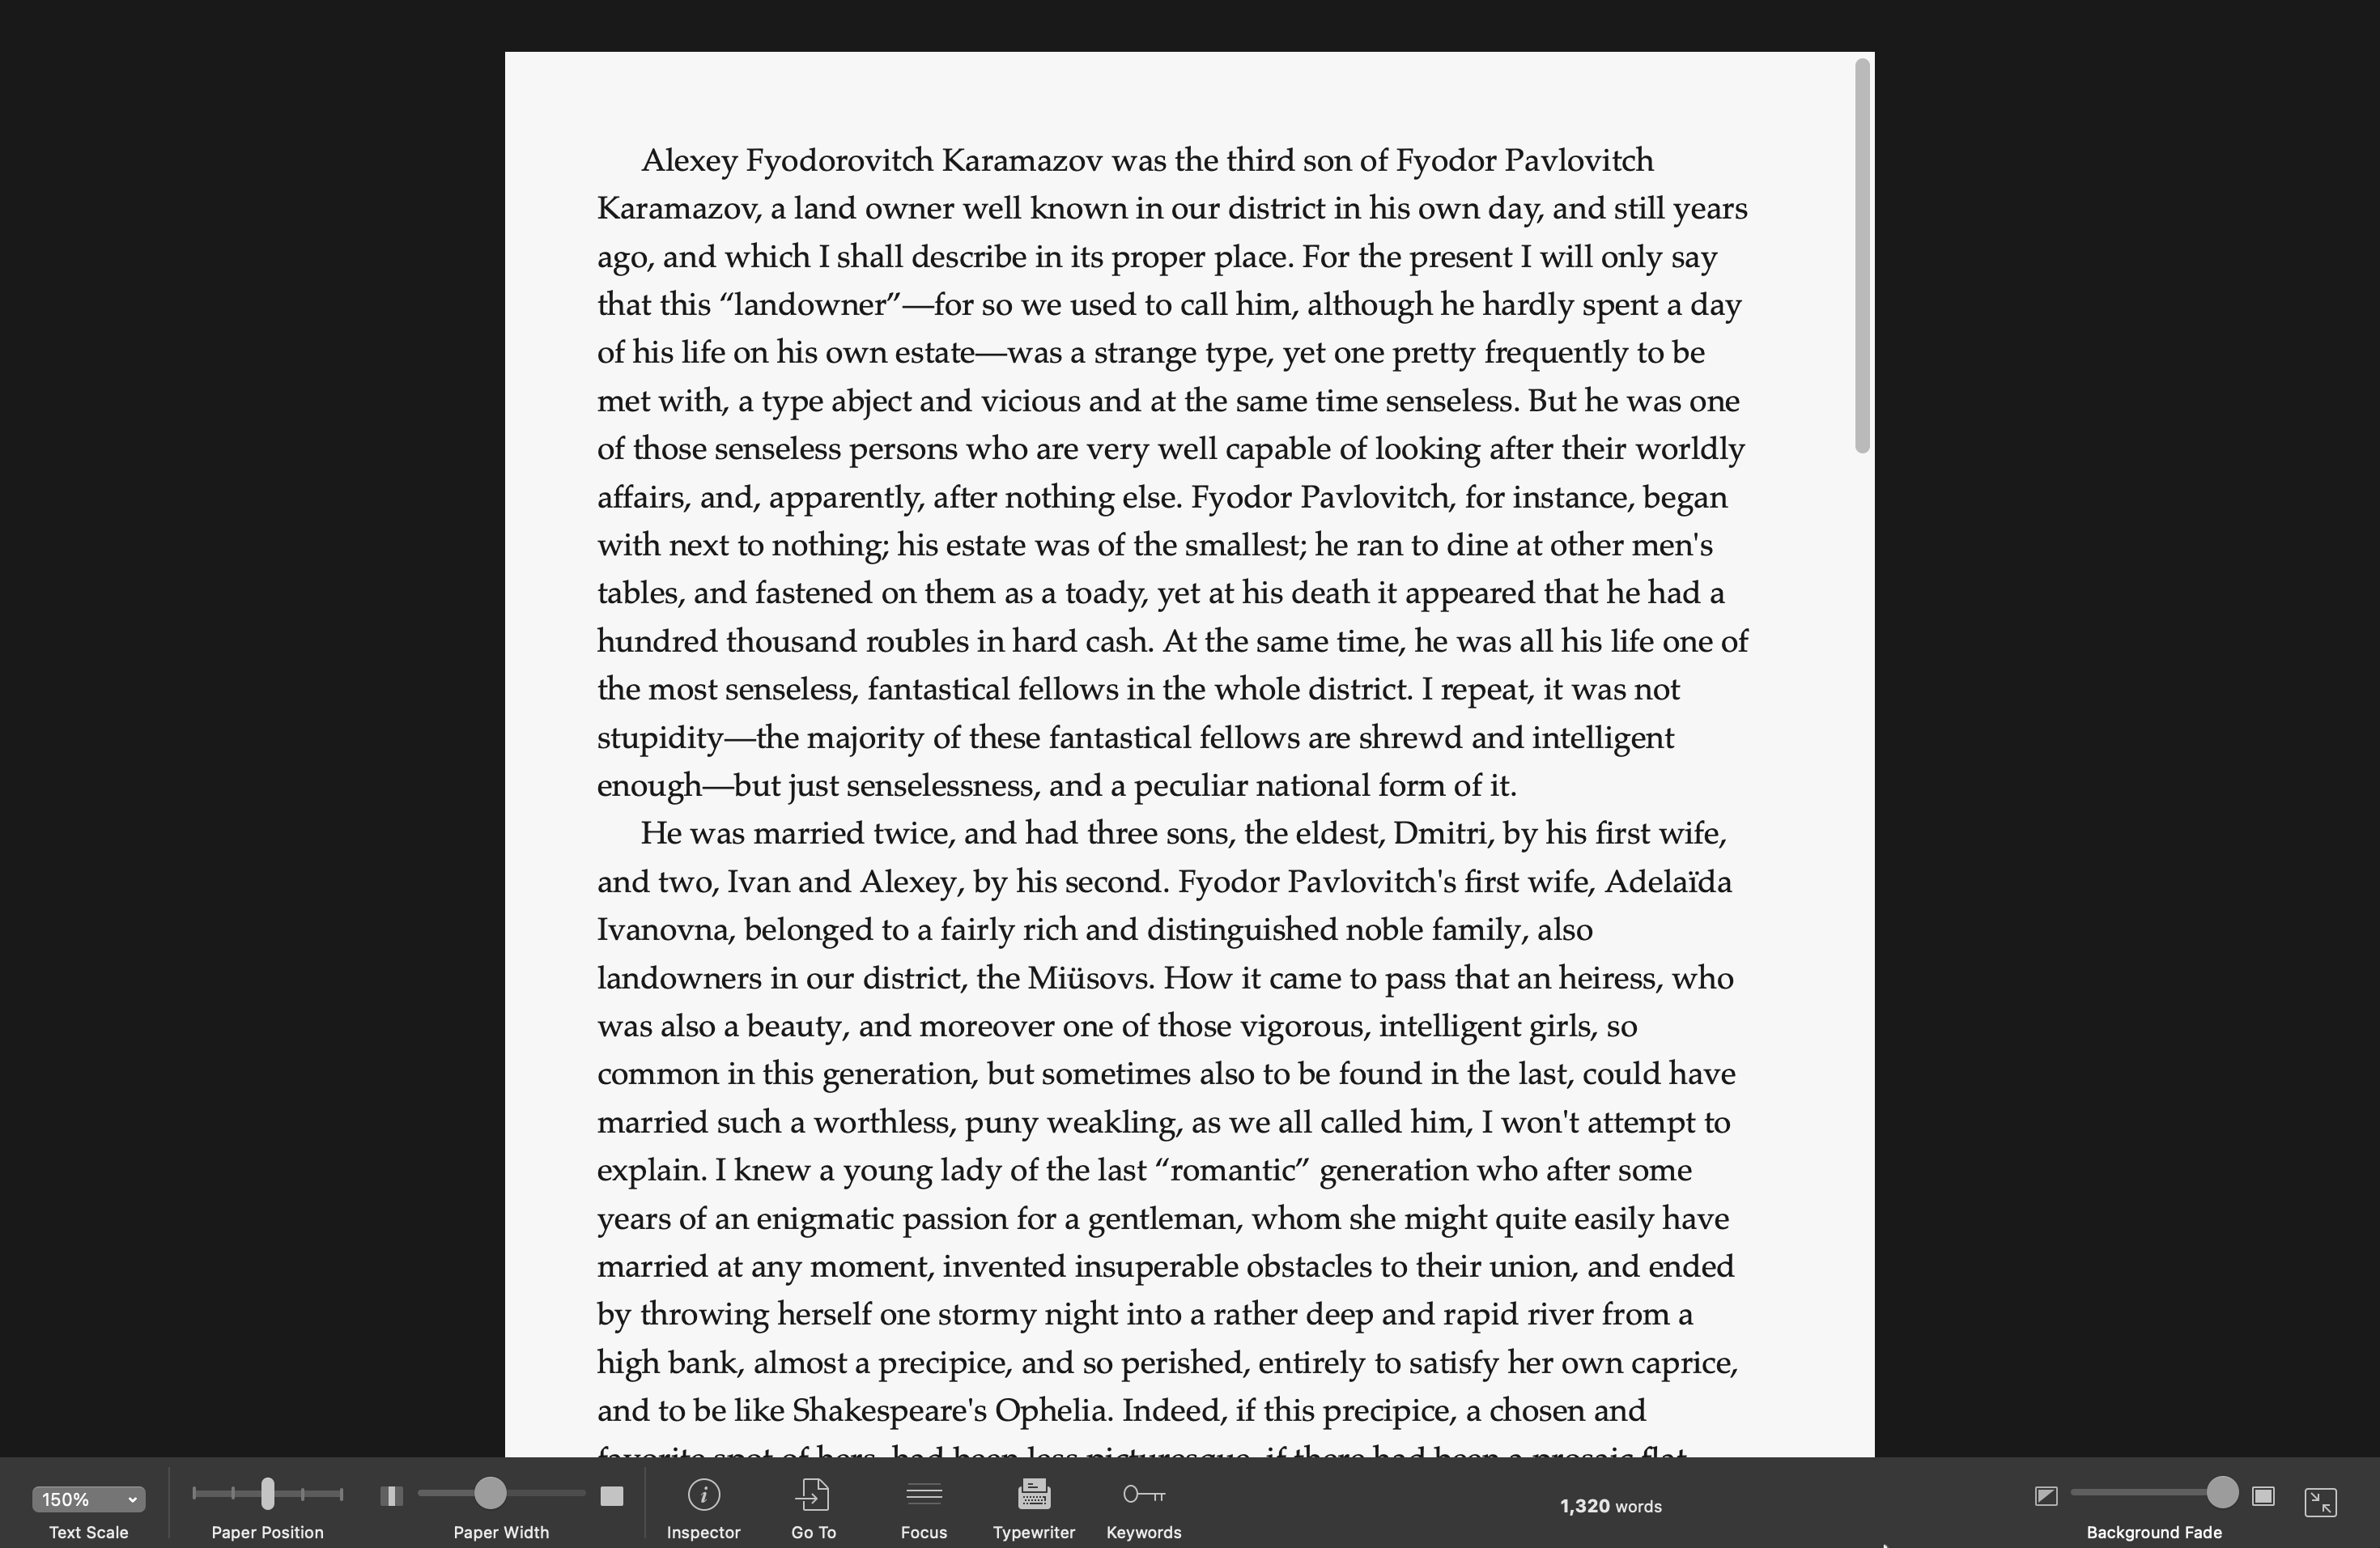
Use Composition Mode
The Scrivener window has many elements: the Binder, Editor, and Inspector, along with the header and footer bars. When proofreading, you don't need to see any of these. You don't need to see synopses, metadata, or the structure of your manuscript in the Binder.
Switch to Composition Mode. When you do this, Scrivener displays your text on a background, and nothing else. It allows you to focus on the text without being distracted.
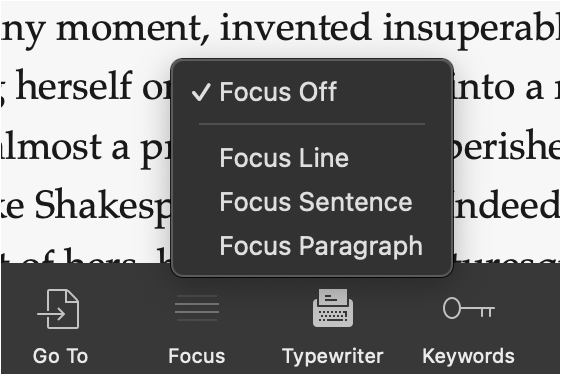
Use Focus Mode
It could be difficult when proofreading to really focus on your words and sentences. When you look at one sentence after another, one paragraph after another, things get blurry after a while. Whether you use Composition Mode or not, you can use Focus Mode to look at your manuscript in closer detail.
Choose View > Text Editing > Focus, then choose Line, Sentence, or Paragraph. If you're in Composition Mode, you can move your cursor to the bottom of your screen to show the toolbar, then click Focus to see these options.
Using Focus Mode by sentence is a great way to see your sentences on their own, without being influenced by what comes before and after.
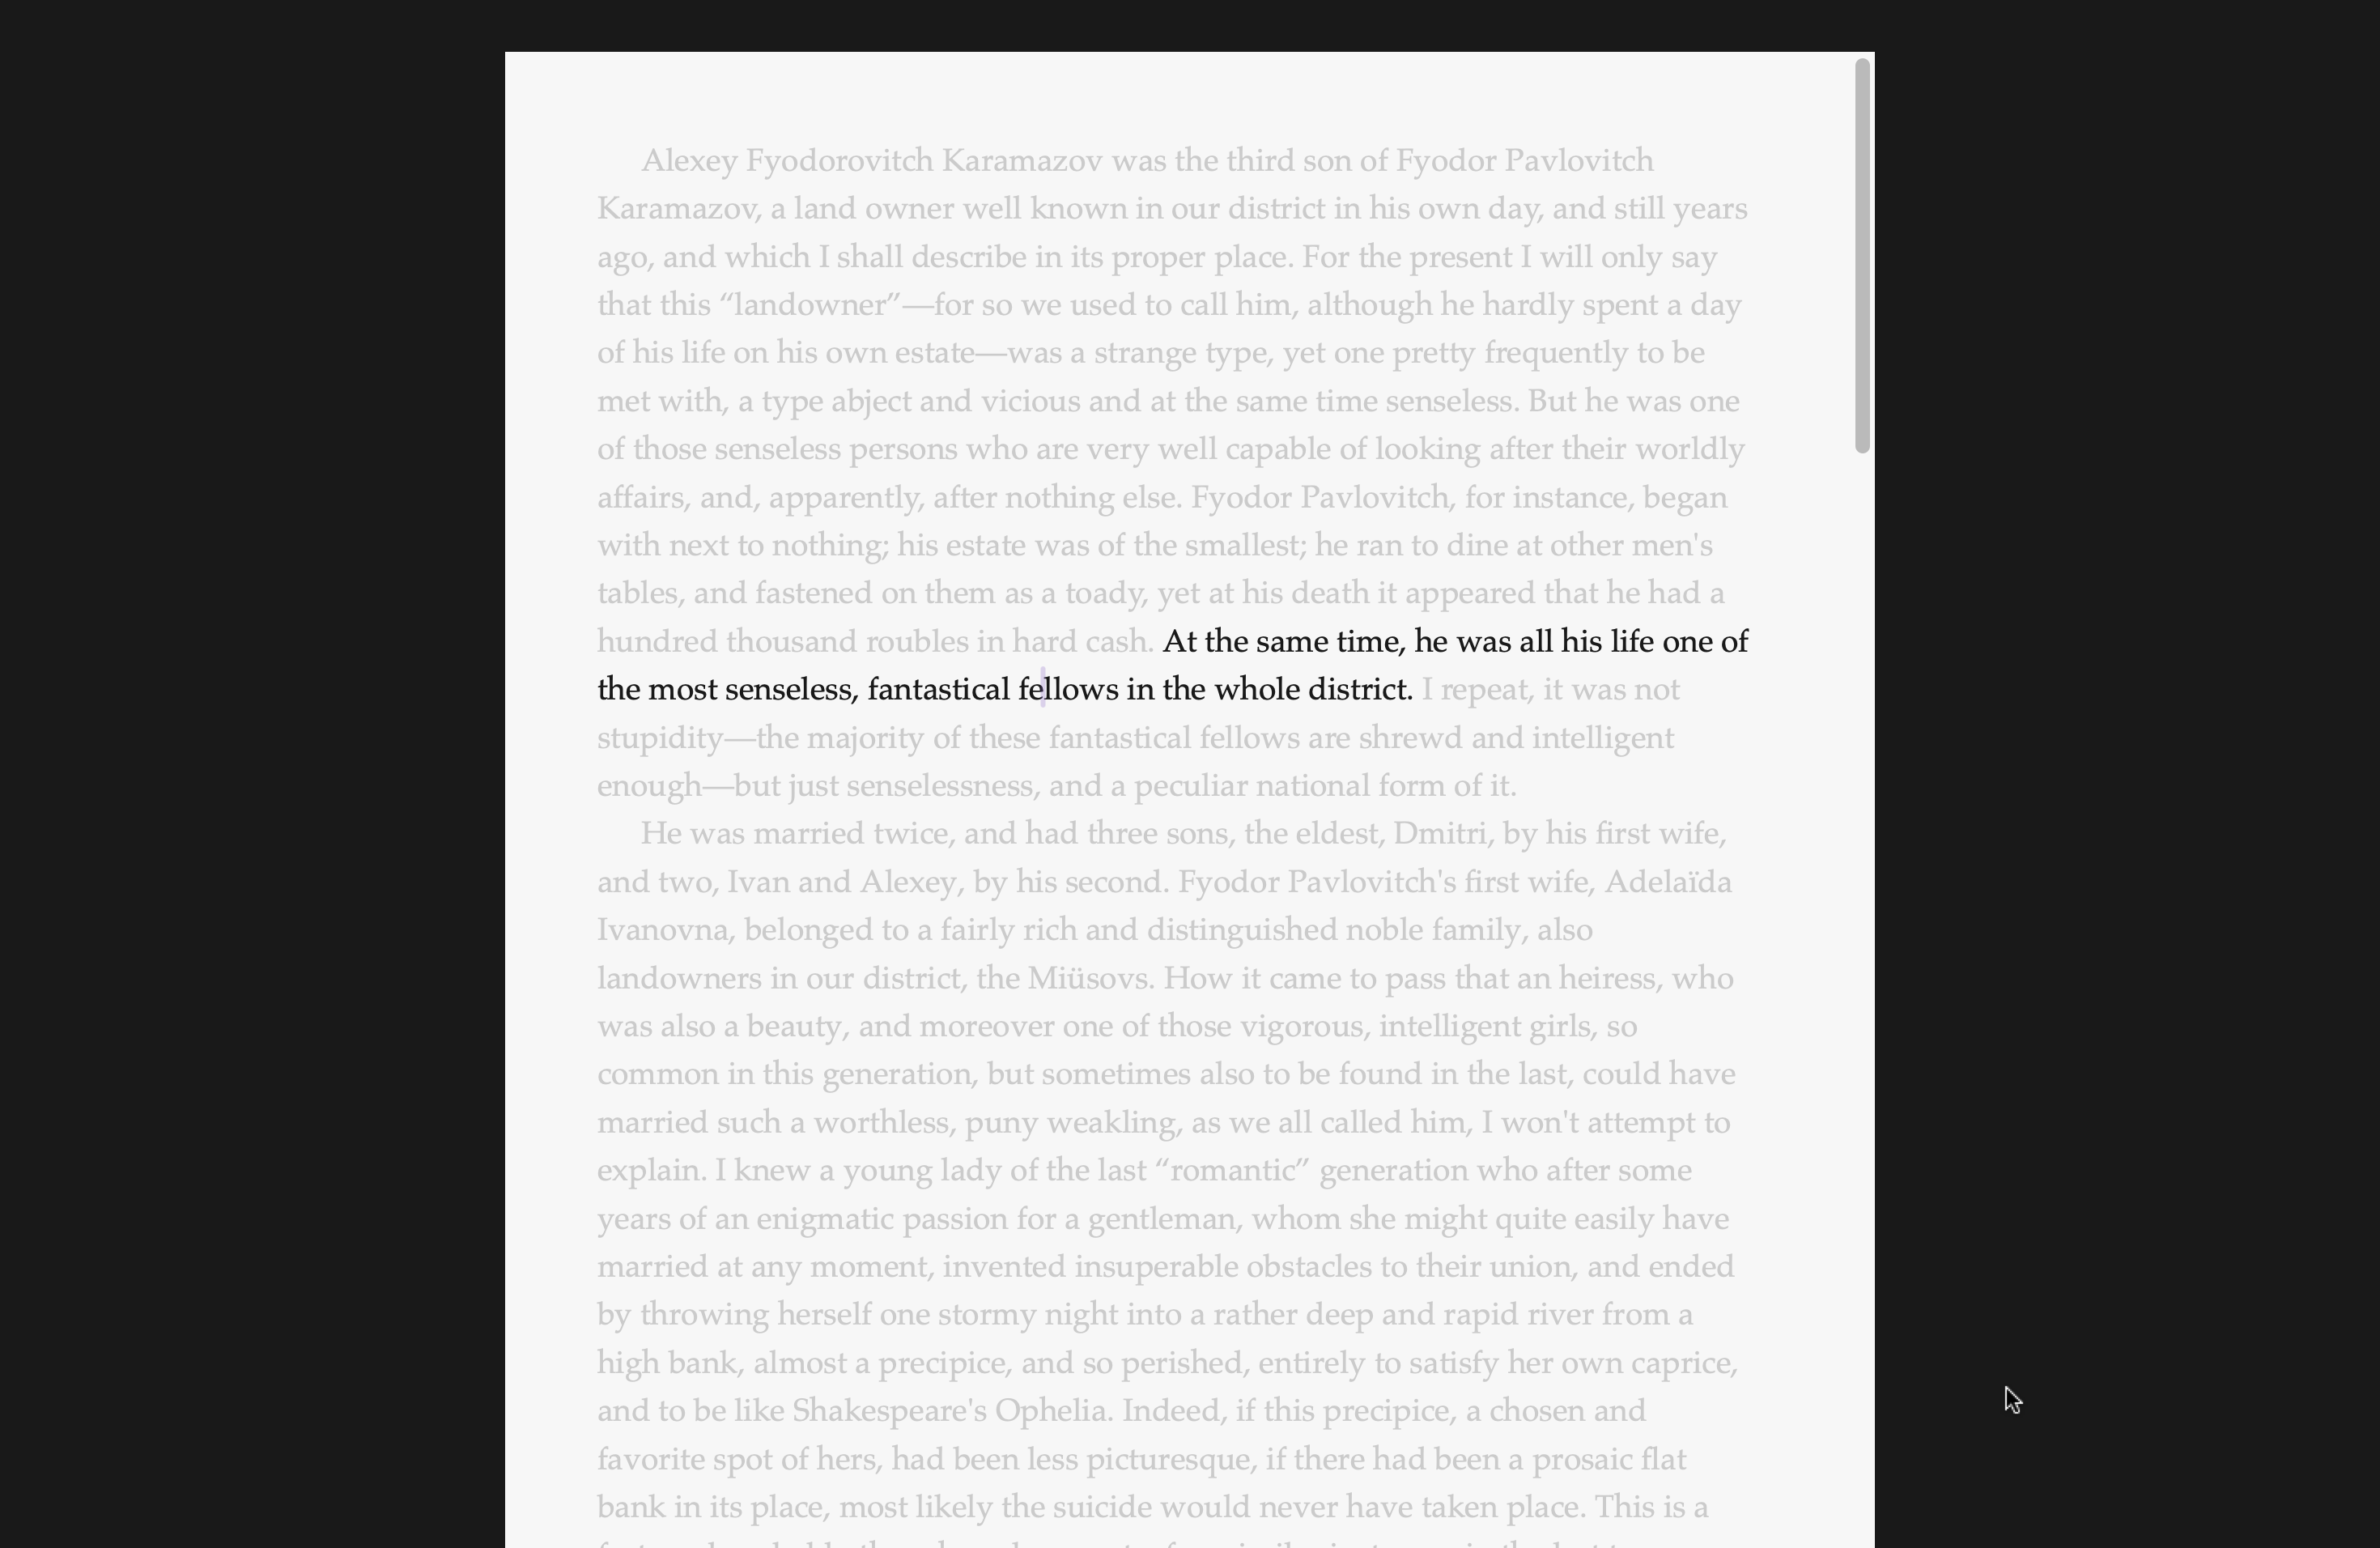
Working like this, you can use the up and down arrow keys to move from one line to the next; as you get to a new sentence, it is highlighted, and the rest of the text is dimmed.
Use Dialog Focus to proofread dialog
When proofreading, you look at your entire manuscript. But if you've written a novel, you should pay close attention to dialog because it's very easy to trip the reader up with typos and errors in spoken text. Scrivener's Dialog Focus works like Focus Mode above, but you can choose to only highlight direct speech.

You might want to do one proofreading pass just focusing on dialog to make sure the dialog flows correctly.
Read your text out loud
While you may miss typos and errors when you read on a screen, if you read your text out loud, you will immediately notice places where you stumble. This is a good way to not only find typos but also find clunky sentences. This takes a while, but it's a great way to experience your text differently.
If you don't want to read your text out loud, you can have your computer do it for you. Both Mac and Windows computers can read text. The voices may not be ideal, but they've gotten better in recent years.
On Mac, put your cursor where you want the computer to start speaking, then choose Edit > Speech > Start Speaking. You can choose which voice you want to use, and the speed at which it reads, in Settings > Accessibility > Spoken Content. In the System Voice menu, you'll see a number of voices, some of which are installed on your Mac, some that you may need to download. Try these out, and try adjusting the Speaking Rate slider to see which speed works best.
On Windows, you use Narrator for this. Press the Windows key + Ctrl + Enter to start reading. Type Narrator in the Search field in the Taskbar to open Narrator settings where you can choose a voice, change keyboard shortcuts, and download "natural" voices.
When you get to the proofreading stage of your manuscript, take advantage of these tools in Scrivener to correct every last typo.
Kirk McElhearn is a writer, podcaster, and photographer. He is the author of Take Control of Scrivener, and host of the podcast Write Now with Scrivener.